The assumptions
Just as in the previous articles, for this article and the steps detailed within it, I will assume that you have:- A Bitbucket account and repository with working code
- Administrative rights on the Bitbucket repository (so you can add CI/CD variables)
- A Platform.sh account and a project for your code base with working code
- A default branch in BitBucket which is the same branch as your production branch in Platform.sh
- A default branch in Platform.sh which is also your production branch
- You do not have a source code integration created between Platform.sh and BitBucket.
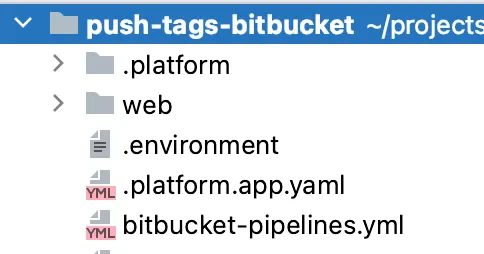
The bitbucket-pipelines.yml file
While GitHub has a .github/workflows directory where any *.yaml file can be a workflow definition, Bitbucket has
a similar approach to GitLab and consolidates your
CI/CD configurations into a single file
named bitbucket-pipelines.yml. This file must be in the root of your repository, have a .yml extension, and contain
everything needed to run your Bitbucket pipeline.
Start your engines!
Similar to GitHub Events, Bitbucket pipelines are triggered by start conditions, which allows you to control the scenario when a pipeline should be triggered—and lucky for us, one of those conditions is focused on start conditions involving tags. In the tags property, we can define all tag-specific build pipelines, where the name or expression in this section is matched against tags in your repository. Glob patterns can also be used for matching tags. Following along with our previous examples, I’ll use a wildcard for all tags1.The steps to limiting deployments
Now that we have our event defined, we need to define our firststep and despite sharing the same name, it is not at
all like GitHub’s step. Instead, it is much closer to a job in GitHub as each BitBucket step in a pipeline will
start a separate Docker container to run the commands configured in the script option. Much like GitLab, Bitbucket
will clone your repository into the runner’s file system. However, Bitbucket limits the clone to the last 50 commits.
For purposes of this tutorial, I will set the depth to full to ensure we have the commit associated with the tag in this
step.
step. In Bitbucket, these go under the script
property, which is very similar to steps in GitHub: each one executes a shell command or script and is executed in
sequential order. The first step we’ll execute is to make sure we have all the tags in our repository:
name property to the step to make it more easily identifiable when viewing my pipeline in
Bitbucket’s pipelines interface.
Now that we have our repository checked out into our runner’s workspace, we can check to see if the tag that triggered
this pipeline is the tag nearest to the most recent commit in the production branch. To do that, we’ll use the Git
command describe and will compare this to the predefined CI/CD variable
BITBUCKET_TAG that contains the commit tag name that triggered the pipeline. This allows us to ensure we’re not
pushing a tag that has been added to an old commit, or on another branch and pushing unnecessary commits over to
Platform.sh.
Please note: to keep the sample code short, I’m
<snip>ing the code we’ve already covered. The
complete workflow file is available at the
end of this article.
I’ve also unindented the lines and reduced the font size for it to fit this page.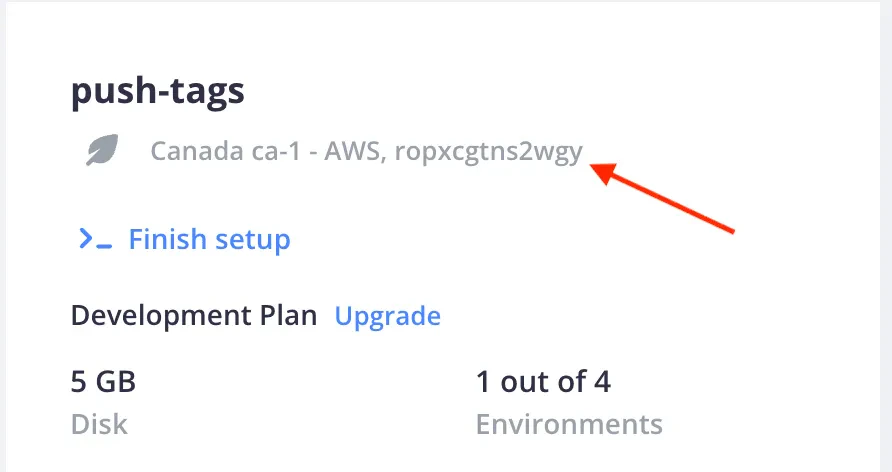
PLATFORMSH_CLI_TOKEN2 and one for PROJID, setting the
values as appropriate.
From here the rest of the steps are almost identical to the steps we used in the GitHub Actions and Gitlab pipelines
articles:
- Set up the Platform.sh CLI tool
- Associate our Project ID with the repository in our runner workspace
- Determine the default branch in our Platform.sh project
- Push the tag to Platform.sh targeting the default branch
bitbucket-pipelines.yml file is now ready to commit to your repository and push to Bitbucket. You’ll need to
follow whatever workflow path you use to get the file into your production branch, be it pushing directly, if allowed,
or through a pull request process.
All set to deploy
Now that thebitbucket-pipelines.yml file is committed into your default branch, any future tags that are pushed to
Bitbucket, or created on Bitbucket when creating a release will trigger the pipeline. If the tag is newer than any other
tags (closest to the current commit), your pipeline will run and push that tag to Platform.sh and deploy your new code
base.
Wait a second, something’s different!
Eagle-eyed readers may have noticed that the specific steps taken during the push to Platform.sh are distinctly different from what I showed in parts one and two for Github and Gitlab, respectively. While building out the pipeline on Bitbucket, I discovered that the version of SSH on the public runner is 6.6.1p1 which is roughly 10 years old. As it turns out, to use the SSH certificates our CLI supports, it needs version 7.3 of OpenSSH or above. Despite numerous attempts, I was unable to find a way to easily update the runner to a newer version and use that version between individual script calls. While trying to resolve the issue, the amazing Patrick Dawkins, developer and maintainer of the Platform.sh CLI tool pointed out that the CLI can push any Git reference, commit, or tag to Platform.sh, not just a specific branch. Despite using the CLI for over 5 years, I never noticed it would actually accept a source, always assuming it would push the current commit of the branch you are on which it defaults to doing if no specific source is given. This method has one big advantage over the methods I showed previously: you don’t have to set up the SSH certificates as it will handle authentication automatically for you via thePLATFORMSH_CLI_TOKEN we set up. This means we don’t need to determine the
Git address, create the SSH certificates, or add the Platform.sh endpoint to the known_hosts file, giving us a much
more streamlined process when performing the push.
It’s true that no matter how much you know or how deeply you know something, there’s always more to learn!
Complete bitbucket-pipelines.yml file
The complete Bitbucket pipeline file is available on GitHub as a gist.
Footnotes
- Free accounts on bitbucket are limited to 50 build minutes per month. If you regularly create tags that you do not want to trigger a push to Platform.sh, I strongly suggest using a pattern to limit how often your pipeline is triggered. ↩
-
You can use a different name for the CI/CD variable but if so, then you will need to add a
variables property to the
job, mapping
PLATFORMSH_CLI_TOKENto the name you used. ↩