

 Dispatch
 Cloud
Cloud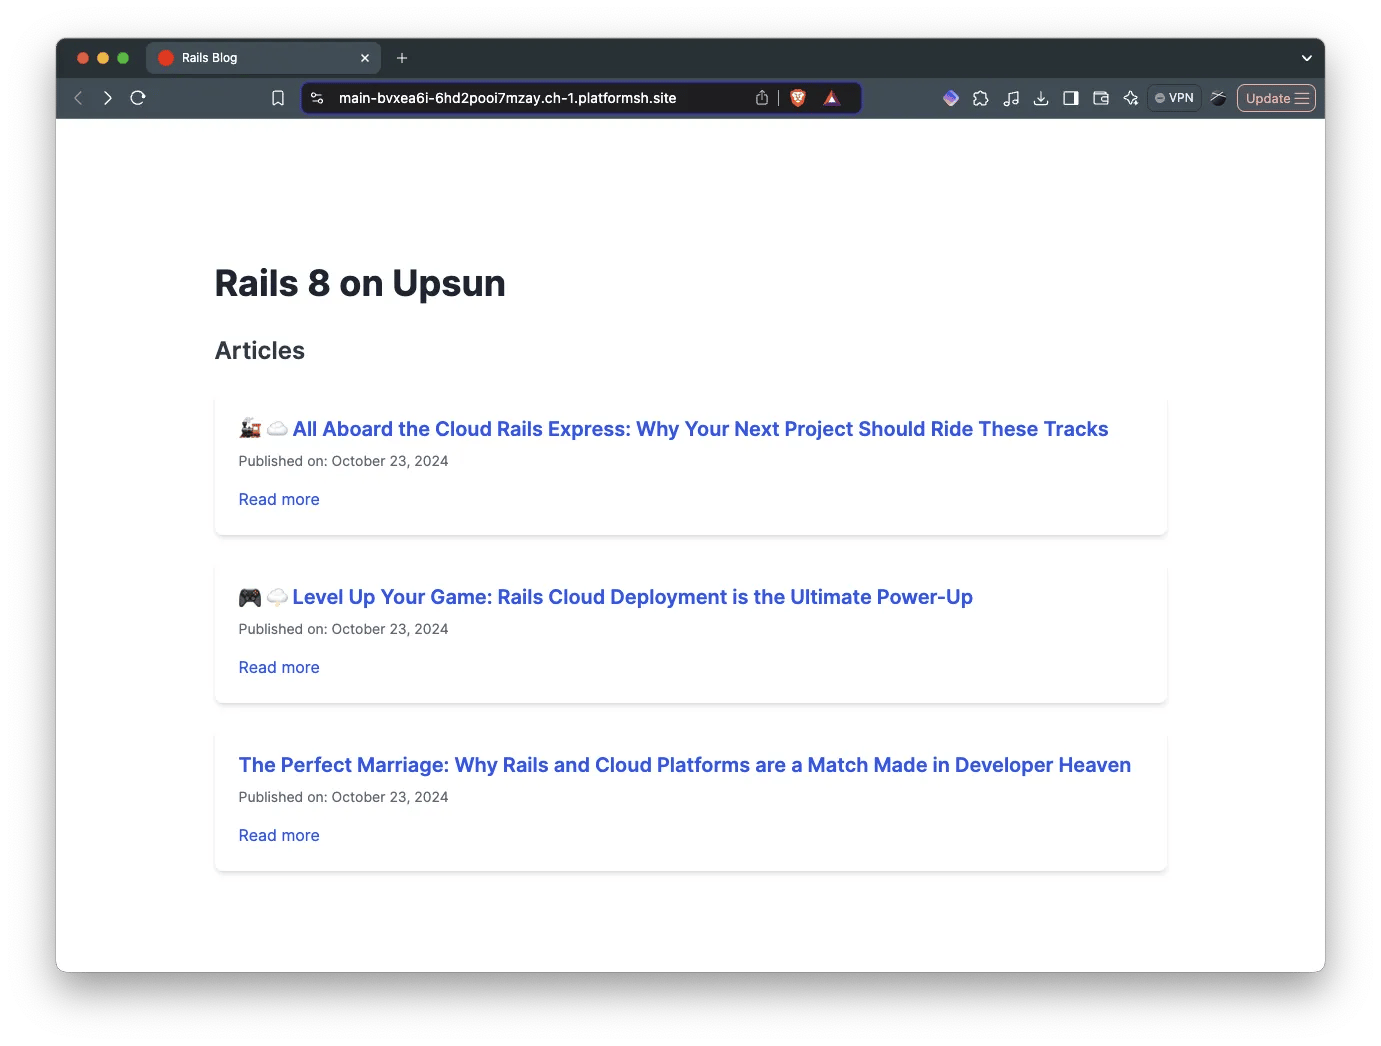
Prerequisites
- Basic Ruby knowledge
- macOS (though Windows/Linux instructions available)
- Upsun CLI installed
- Ruby 3.3+ installed
Part 1: Local Development
Setting Up Your Environment
First, let’s install Ruby and Rails on your Mac:pg gem, you need to install postgresql@15 on your machine to compile the extension:
sqlite locally and pg on your production install, you will need to add bundle config set frozen false to the Upsun build phase so that bundle can still install the gem on Upsun.
Bootstrapping your Rails 8 blog
Let’s create a new Rails application:Pro tip: Rails 8 uses SQLite by default, which works great for local development but also with Upsun’s persistent storage!
Building the Blog Features
We’ll follow the standard Rails blog tutorial but with some modern twists. Here are the key models we’ll create:app/models/article.rb to map the relationship between Articles and Comments:
routes.rb and define the following:
resources here to make thing simple but we could also specify only the index and show routes.
And add the reverse one:
To the controllers
Let’s create the two controllers we need there to handle ourArticles and Comments.
The articles_controller.rb just specifies two actions, index and show:
comments_controller.rb only handles the Comment creation process as the display is handled by the ArticlesController directly:
Let’s create the Views
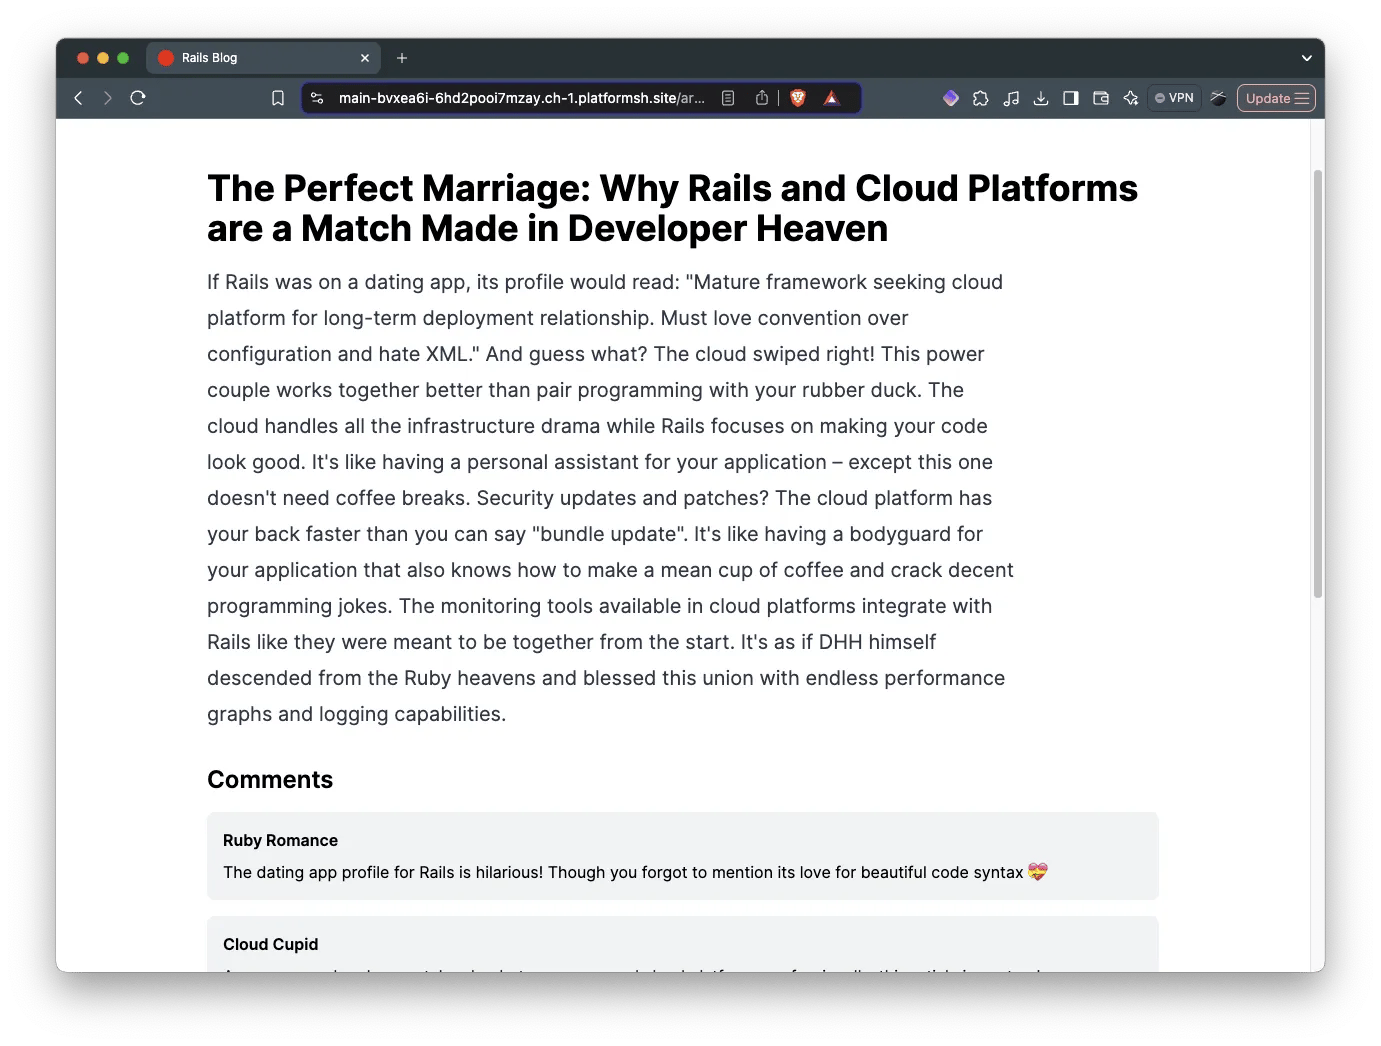
With the magic of Claude.ai, we can generate some boilerplate TailwindCSS templates for our pages. If you are curious, here is the prompt that was used. Don’t forget to upload your.erb template in the UI first.
Prompt: Refactor the following Ruby on Rails template. Using TailwindCSS, create a simple and modern design to list the articles from the blog. Include the main blog name. Each article will be show with its title, publication date and a read more button.
app/views/articles/index.html.erb:
app/views/articles/show.html.erb:
Add the TailwindCSS gem
If you refresh your project, you will notice that the styles are not yet applied. We need to add TailwindCSS to our project:tailwind.config.js file. No need to change anything there.
You can now either build once or watch automatically for any change:
application.html.erb:
Part 2: Preparing for Upsun deployment
Creating Your Upsun Project
Configuring for Deployment
The magic happens in.upsun/config.yaml.
Let’s break down each section of a production-ready Rails configuration:
1. Application Definition
rails-blogis your application nametype: "ruby:3.3"specifies the base image we want to use and the Ruby version
2. Database Relationship
- Links your app to a PostgreSQL 15 database
- Makes the database credentials available via environment variables
DATABASE_. - Creates a secure internal network between your app and database
3. Web Server Configuration
startcommand launches Puma using a Unix socketsocket_family: unixoptimizes for performance by using Unix sockets instead of TCPlocationsconfigures the web server:root: "public"serves static files from the public directorypassthru: trueforwards requests to Rails when no static file is foundexpires: 1hsets cache headers for better performance
4. Build and Deploy Hooks
buildruns during the build phase when you are not connected to any other services:- Installs Ruby dependencies
- Compiles assets
deployruns when deploying the new container on the host:- Runs database migrations
- You could other actions like cache clearing and the likes
5. Persistent Storage
/logfor application logs/storagefor uploaded files and Active Storage/tmpfor temporary files- Each mount persists data across deployments and can be shared between containers
6. Environment Variables
PIDFILEspecifies where Puma should store its process IDRAILS_ENVensures Rails runs in production mode
7. Services Definition
- Creates a PostgreSQL 15 database instance
- Automatically manages backups and updates
- Provides high-availability configuration
8. Routing Configuration
- Sets up HTTPS automatically
- Routes requests to your Rails application
- Redirects www to non-www (or vice versa)
{default}is replaced with your environment URL
DATABASE_URL environment variable. Upsun automatically detects any .environment file at the root of the repository.
You can fetch the complete configuration on the example repository.
Database Configuration
Updateconfig/database.yml:
Asset Serving
Rails 8 uses Propshaft for asset compilation, which works seamlessly with Upsun’s static file serving:Deploying Your Application
💡 Remember you can always use
upsun ssh to connect to the container and upsun sql to connect to your database.seeds.rb, ssh to the container and run: