

 Dispatch
 Cloud
CloudPre-requisites
Before starting, make sure you have these tools installed:- Git
- PHP 8.2+
- Composer
- Node.js 20+
Initialize a new local project
Start by creating a new project directory and setting up Git:Add test hostnames
Configure test domains for local development by adding entries to your hosts file:Set up a new Next.js 15 project
Create your Next.js frontend application with TypeScript, Tailwind CSS, and the App Router:npm process running and create a new terminal session for the next steps.
If you use Cursor, here’s a
.cursorrules file for Next.js.Bootstrap a new Laravel project
Create a new Laravel backend that will serve as your OAuth server at the root of the project:cd into the api folder to install additional packages.
Install Sail for local development
Laravel Sail provides a Docker-based development environment, making it easy to run your application with isolated dependencies:.env file:
.bashrc, .zshrc, etc.). Don’t forget to source that file afterwards or open a new terminal.
http://api.oauth-project.test/.
For any troubleshooting needs, check the Sail documentation.
Install Telescope to debug requests
Laravel Telescope provides debugging tools for your application, including insights into requests, queries, and more:Install Passport and the API package
Install Laravel Passport to handle OAuth authentication:HasApiTokens trait to your User model:
auth.php:
Install Fortify for auth boilerplate
Laravel Fortify provides authentication scaffolding without a specific frontend implementation:If you use Cursor, here’s a
.cursorrules file for Laravel..Deploy both apps on Upsun
Commit your project before deploying to Upsun:Upsun multi-apps configuration
Create a new Upsun project to host both applications:.upsun/config.yaml file to configure your multi-applications project. You can copy/paste the configuration file in the repository.
This configuration:
- Routes requests to the appropriate application based on the hostname (
@(root) andapi.) L80-82. As we are using the{all}value, all added hostnames and Upsun auto-generated hostnames will be directed to thenextapplication while allapi.prefixed hostnames will be routed to the Laravelapi. - Sets up PostgreSQL and Valkey (Redis-compatible) services L85-89
- Configures both applications with proper build and deploy hooks
.environment file for Laravel to set environment variables:
.environment:
First deployment
Create an encryption key for Laravel as an environment variable. You can use your local key that has been generated in your local.env or create a new one with sail php artisan key:generate.
Review of the OAuth flow
Let’s understand the OAuth flow you’ll implement.Understanding OAuth grant types
OAuth 2.0 offers several grant types, each suited for different scenarios. For browser-based applications like yours, the Authorization Code Flow with Proof Key for Code Exchange (PKCE) provides the best security. PKCE (pronounced “pixy”) adds security by ensuring that only the application that initiated the authentication flow can exchange the authorization code for tokens. This prevents authorization code interception attacks. Auth0 provides a great introduction to different OAuth grant types. Here’s a helpful diagram by Alex Bilbie to choose the right grant: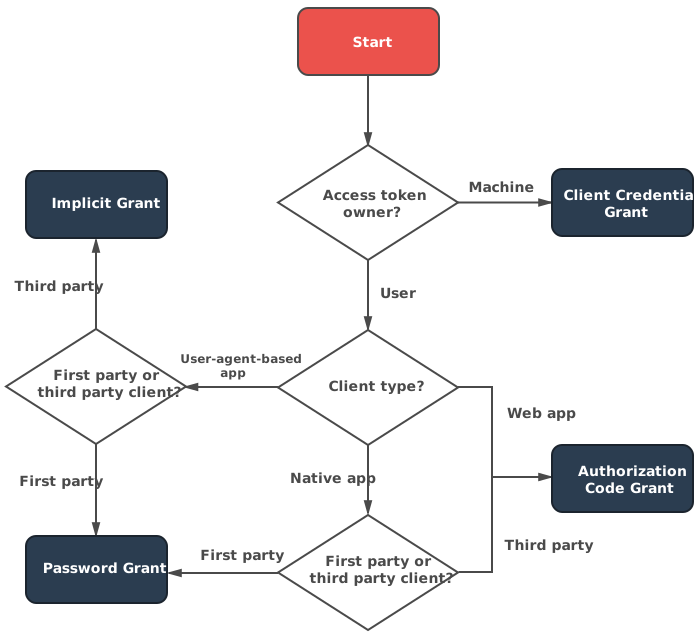
Your OAuth flow
Here’s the detailed flow between your Next.js client and Laravel backend: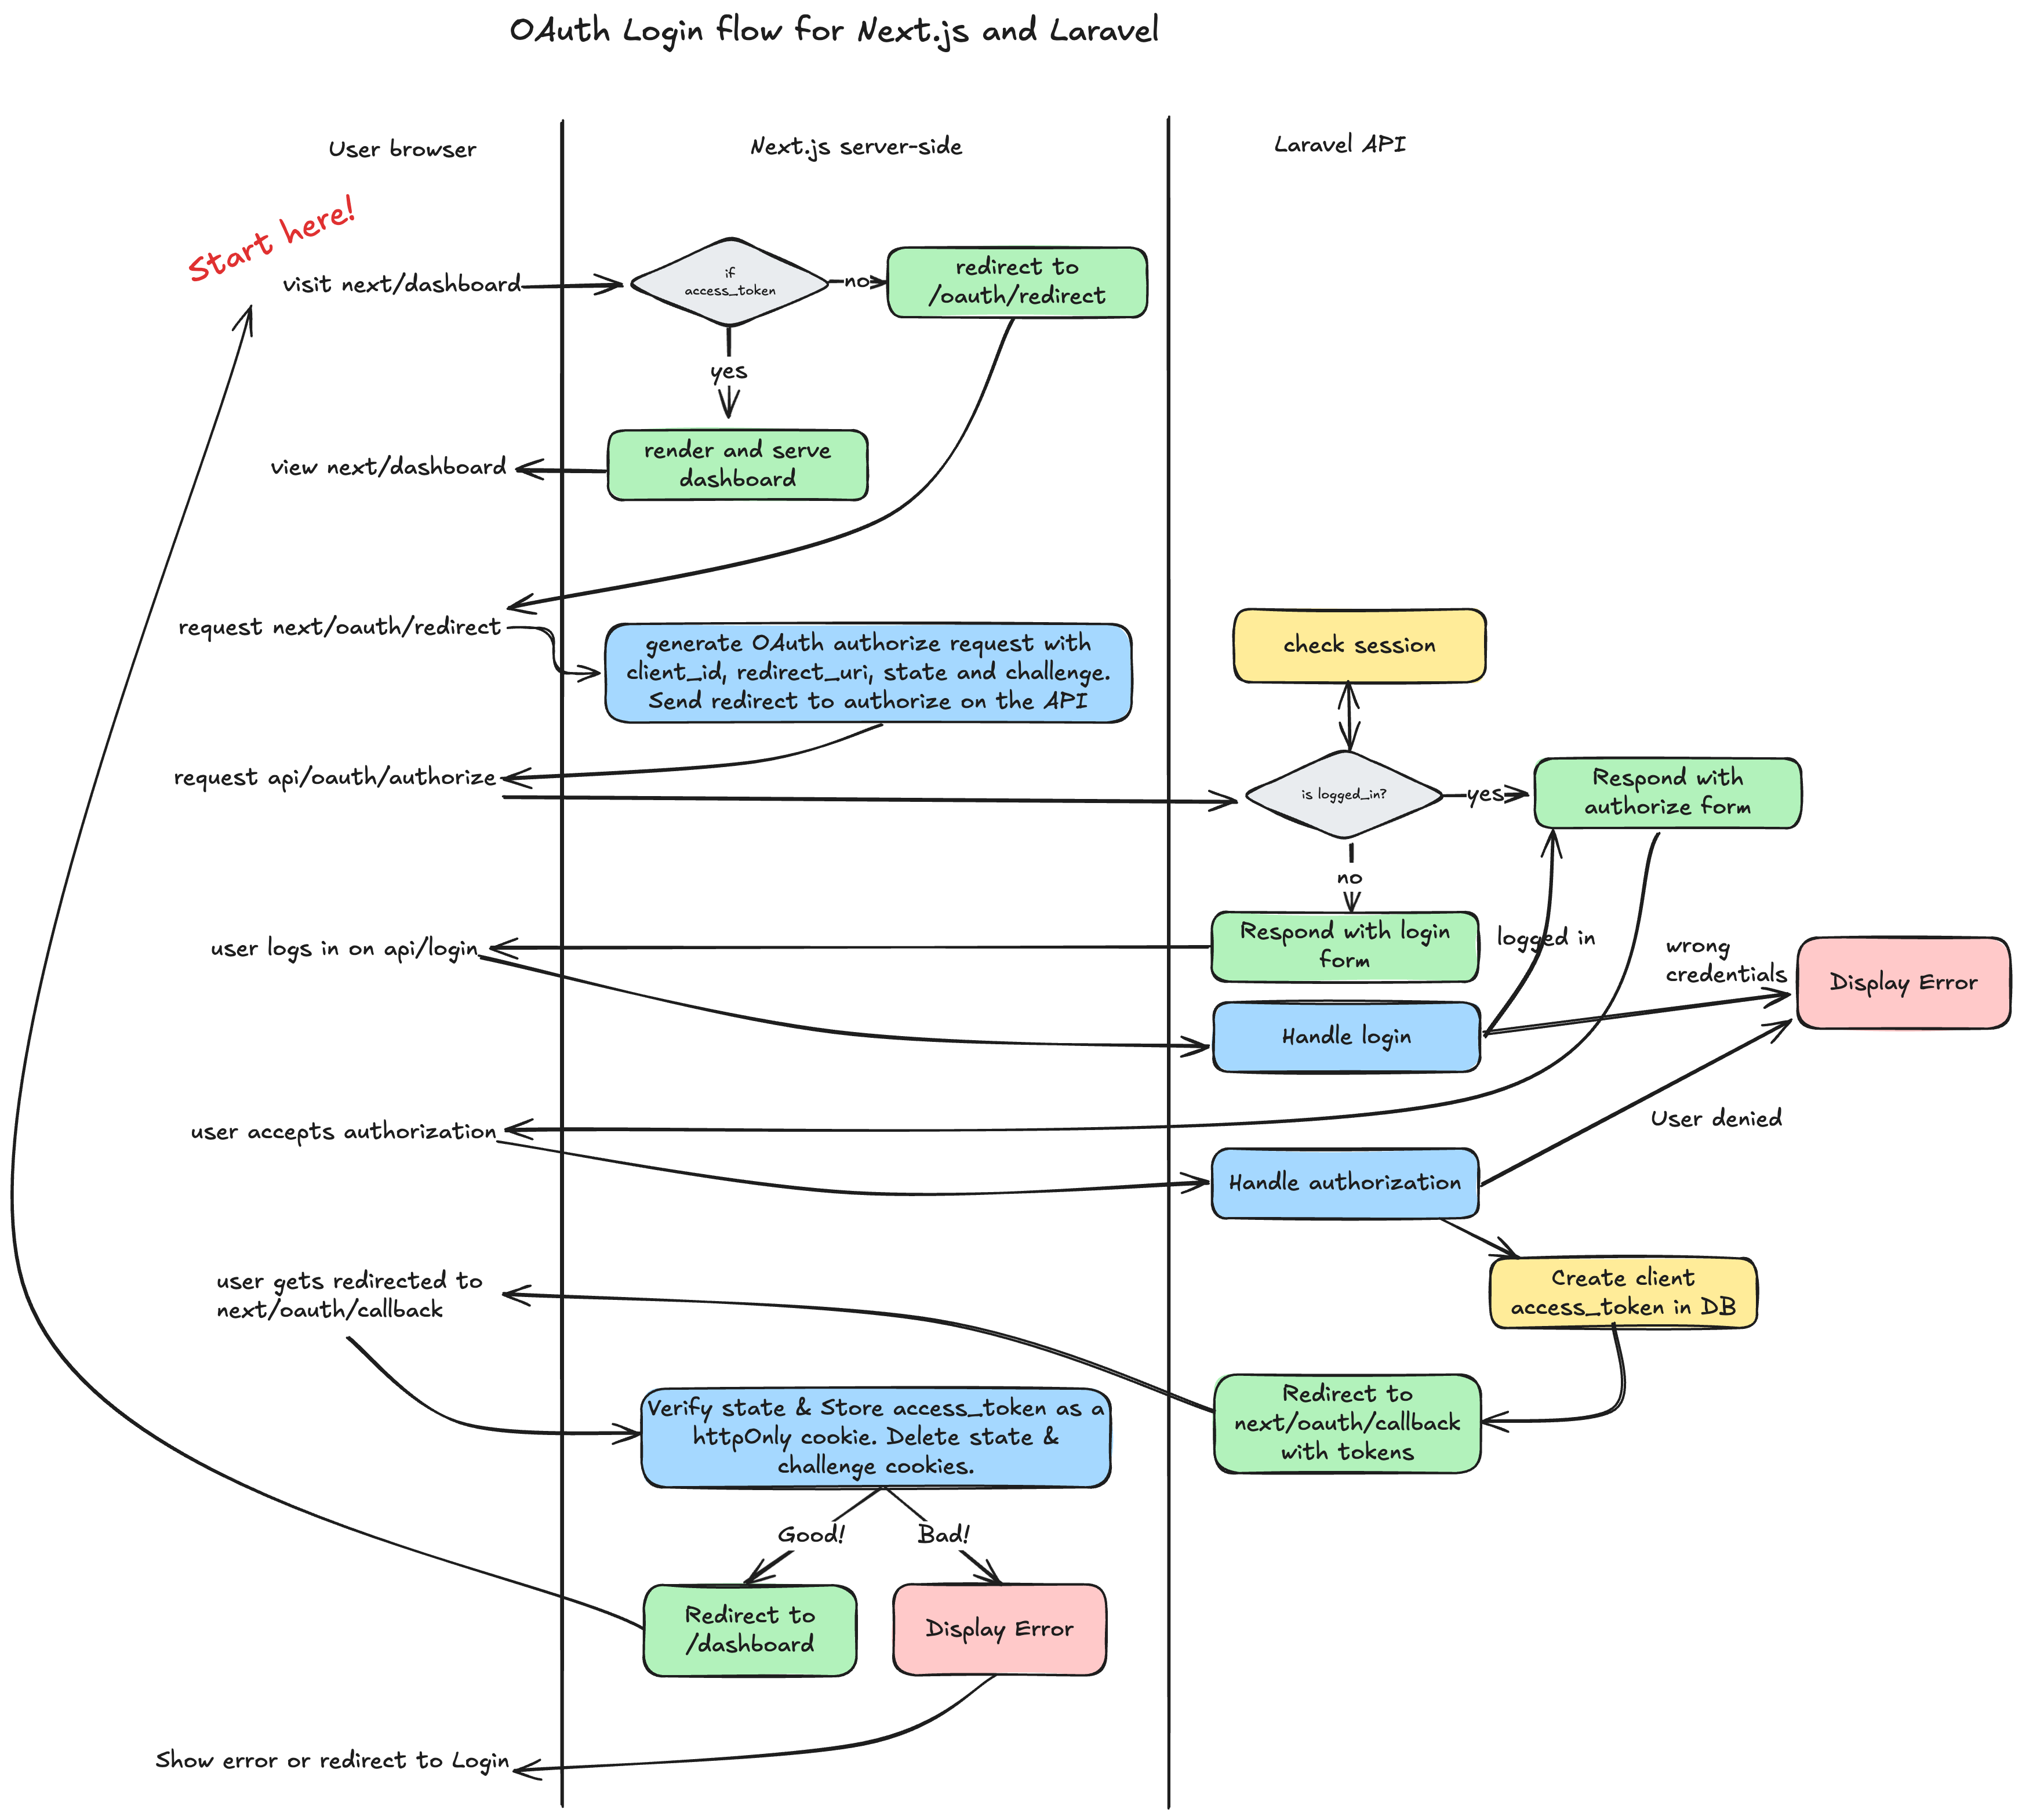
Step-by-step breakdown
1. User starts the flow- User visits
/next/dashboardin the browser. - Next.js server checks for an
access_token:- ✅ If found: renders the dashboard.
- ❌ If not found: redirects to
/oauth/redirect.
- Generates an OAuth
authorizerequest with:client_idredirect_uristate(for CSRF protection)code_challenge(for PKCE)
- Sends redirect to Laravel API
/api/oauth/authorize.
- Laravel checks if the user is logged in:
- ✅ If logged in: shows authorization form.
- ❌ If not: displays login form.
- After login:
- Valid credentials → continues the flow.
- Invalid credentials → shows error.
- If user approves the app:
- Laravel handles the authorization.
- Creates and stores a client
access_tokenin the database. - Redirects to
/next/oauth/callbackwith the authorizationcode.
- Validates the
stateto prevent CSRF attacks. - Exchanges the
authorization codeandcode_verifierfor anaccess_token. - Stores the token as an HttpOnly cookie.
- Cleans up temporary cookies (
state,challenge). - Redirects to
/dashboardif successful. - Shows an error page or redirects to login if something fails.
- Users authenticate directly with the authentication server
- Access tokens remain secure and inaccessible to browser JavaScript
- The application securely accesses protected resources
Laravel OAuth implementation with Passport
Laravel Passport simplifies OAuth implementation by handling token generation, storage, and validation. You need to create OAuth clients and implement login and authorization views.Create a client and a test user
Create a test user and OAuth client through a database seeder:- A test user with email
test@example.comL19 with a default password set topassword. - A public OAuth client (no secret, as required for PKCE) L29
- A redirect URI matching your Next.js callback route L28
OAuth and Fortify routes
Define API routes for user information and logout:auth:api middleware, ensuring they’re only accessible with a valid access token.
Add the login view to the boot method of FortifyServiceProvider L46:
api/resources/views/auth/login.blade.php. You can find an example in the GitHub repository.
Customize the OAuth authorization form by publishing and modifying the Passport views:
api/resources/views/vendor/passport/authorize.blade.php. Find an example in the GitHub repository.
Test your login page at http://api.oauth-project.test/login to ensure it works correctly.
Next.js client implementation
Now for the client-side of your OAuth flow in Next.js. You need to create three key components:- A dashboard component that checks authentication and loads user data
- The
/oauth/redirectendpoint that initiates the authorization flow - The
/oauth/callbackendpoint that processes the authorization response
Home and dashboard
Create a simple home page with a button linking to your dashboard. First, install the Button component:next/src/app/page.tsx) with a dashboard link:
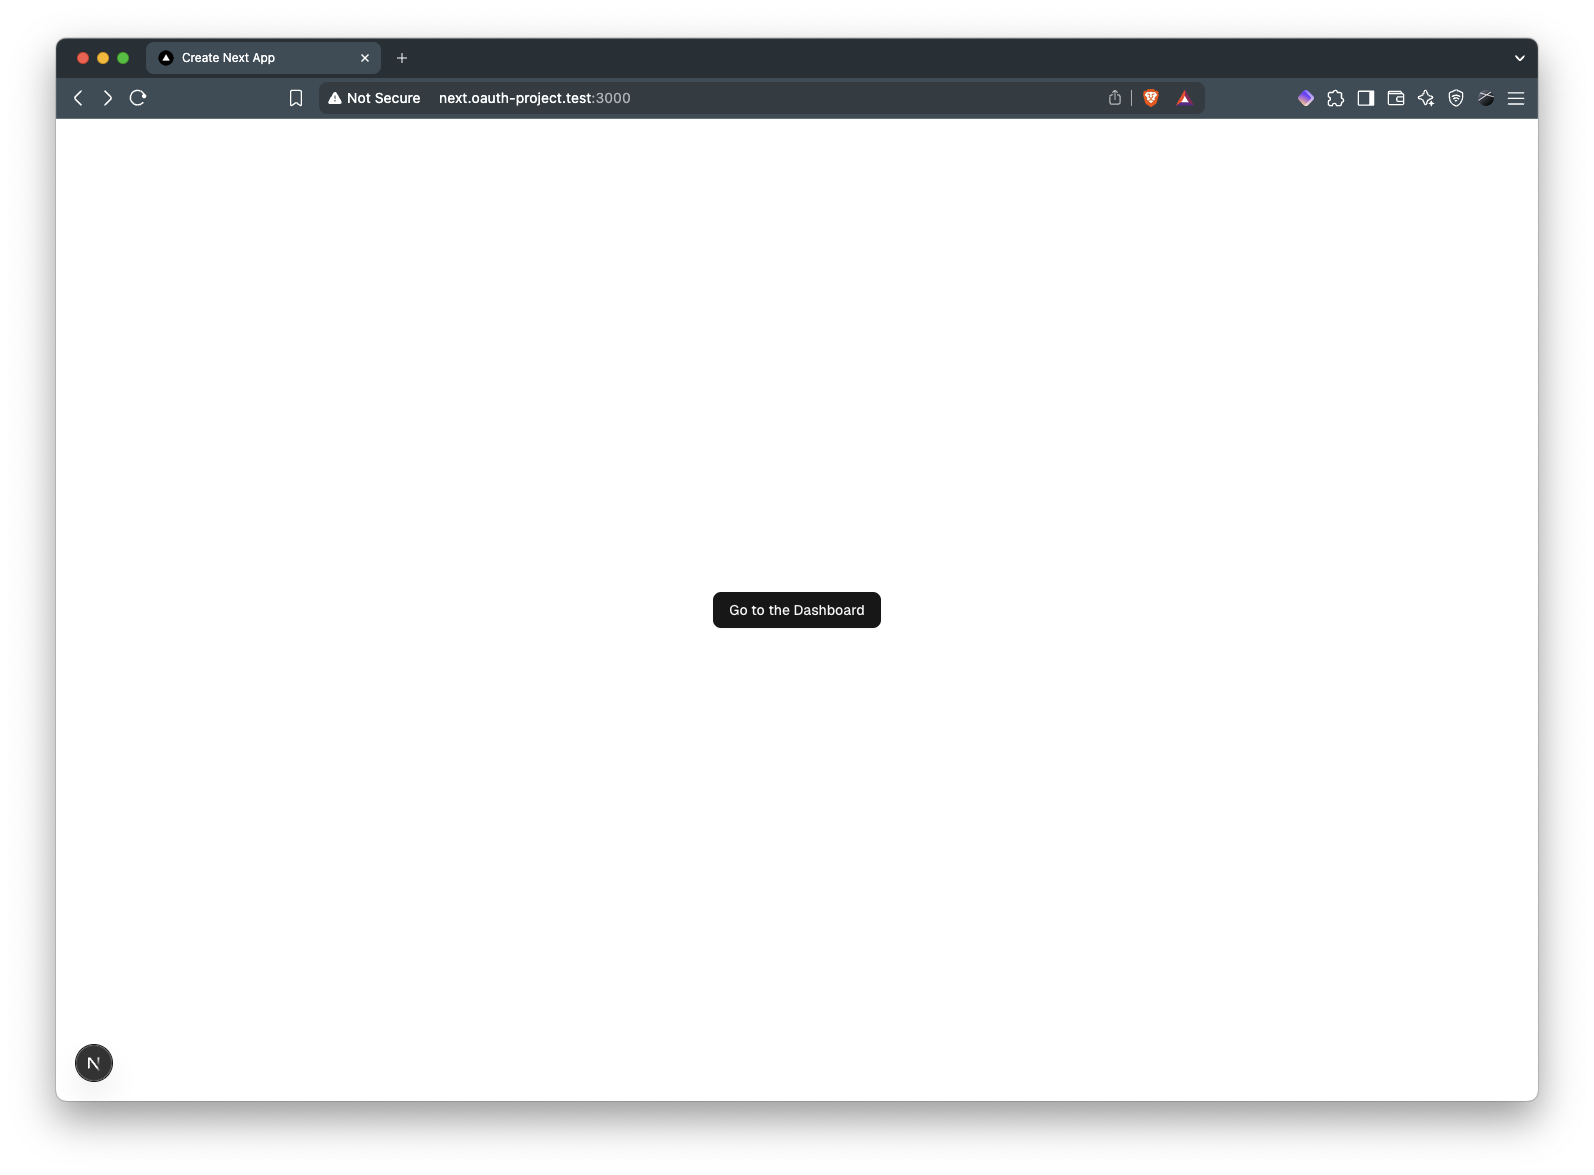 Next, create a dashboard page that handles authentication checks. Don’t forget to also create the components it relies on.
First, add the
Next, create a dashboard page that handles authentication checks. Don’t forget to also create the components it relies on.
First, add the shadcn dependencies:
- Checks for an access token in cookies
- Redirects to the OAuth flow if no token exists
- Fetches user data to verify the token is valid
- Redirects to the OAuth flow if the token is invalid or expired
- Renders the dashboard for authenticated users
The /oauth/redirect endpoint
Create a server action that initiates the OAuth flow at next/src/app/oauth/redirect/route.ts. View the full implementation.
- Generates a random state value for CSRF protection
- Creates a code verifier and code challenge for PKCE
- Stores these values in HTTP-only cookies
- Builds the authorization URL with required parameters
- Redirects the user to the Laravel authorization endpoint
prompt parameter controls the authorization server’s behavior:
login: Always show the login formconsent: Always show the authorization formnone: Skip forms if the user is already logged in- Empty: Use default behavior (may skip forms if logged in)
.env.local file with the necessary variables:
The /oauth/callback endpoint
Create a callback endpoint to handle the authorization response at next/src/app/oauth/callback/route.ts.
View the full implementation.
- Retrieves and deletes the stored state and code verifier from cookies
- Validates the state parameter to prevent CSRF attacks
- Exchanges the authorization code for an access token using the code verifier
- Stores the access token in an HTTP-only cookie
- Redirects to the dashboard upon successful authentication
.env.local:
Local testing
Verify that all routes are available before testing the complete flow. Check Next.js routes:http://next.oauth-project.test:3000/ and click “Go to the Dashboard.” This should trigger:
- Redirection to the Laravel login page (
test@example.com/password) - After login, presentation of the authorization form
- After approval, redirection back to your Next.js dashboard
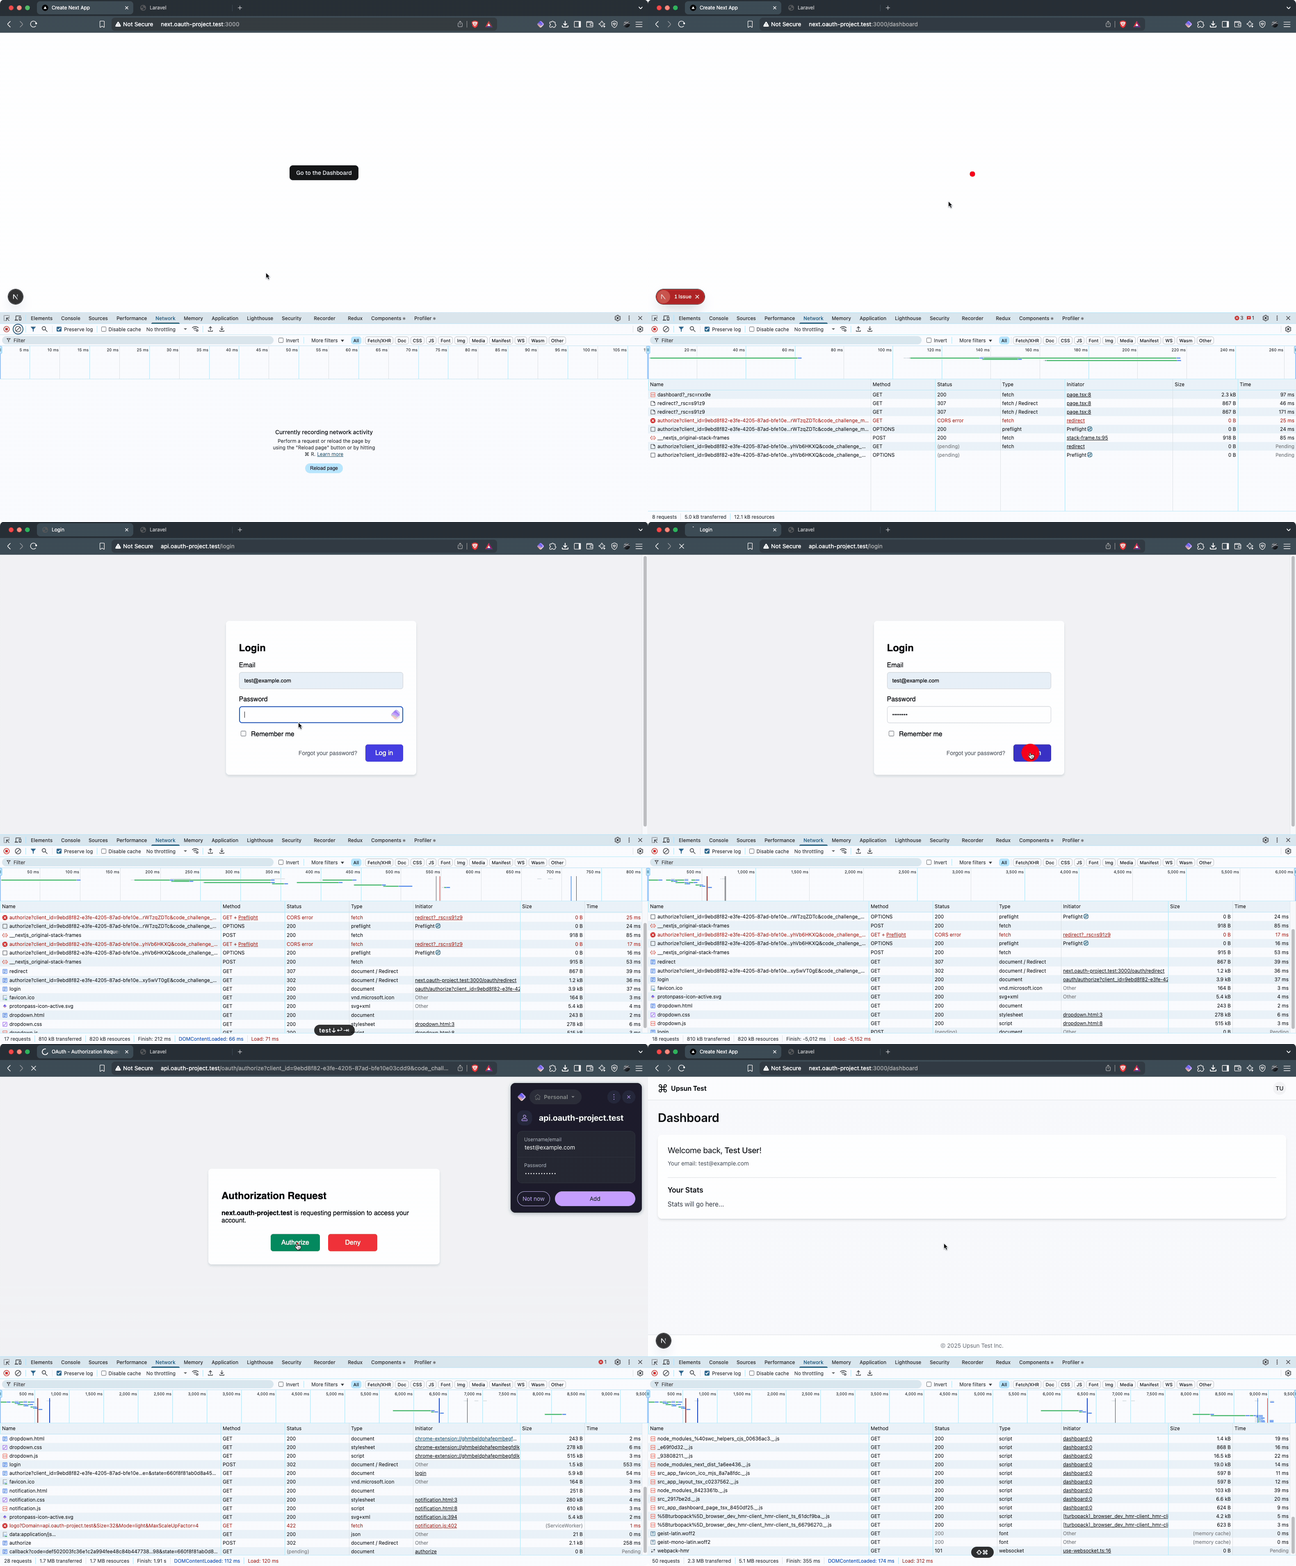
If you encounter issues and need to test again, clear cookies on both
next.oauth-project.test:3000 and api.oauth-project.test domains. Existing sessions might interfere with testing.Upsun environments & deployment
When deploying to Upsun, ensure your Next.js app can communicate with the Laravel OAuth server. Upsun provides environment variables with routes for all deployed apps. Get the API URL with this command:.environment file in the next directory to set environment variables during deployment:
OAUTH_CLIENT_ID variable:
faker dependency to the require section in composer.json instead of require-dev:
Final test and review
Get your application URL withupsun url and test the complete flow. You’ll see:
- The Next.js homepage:
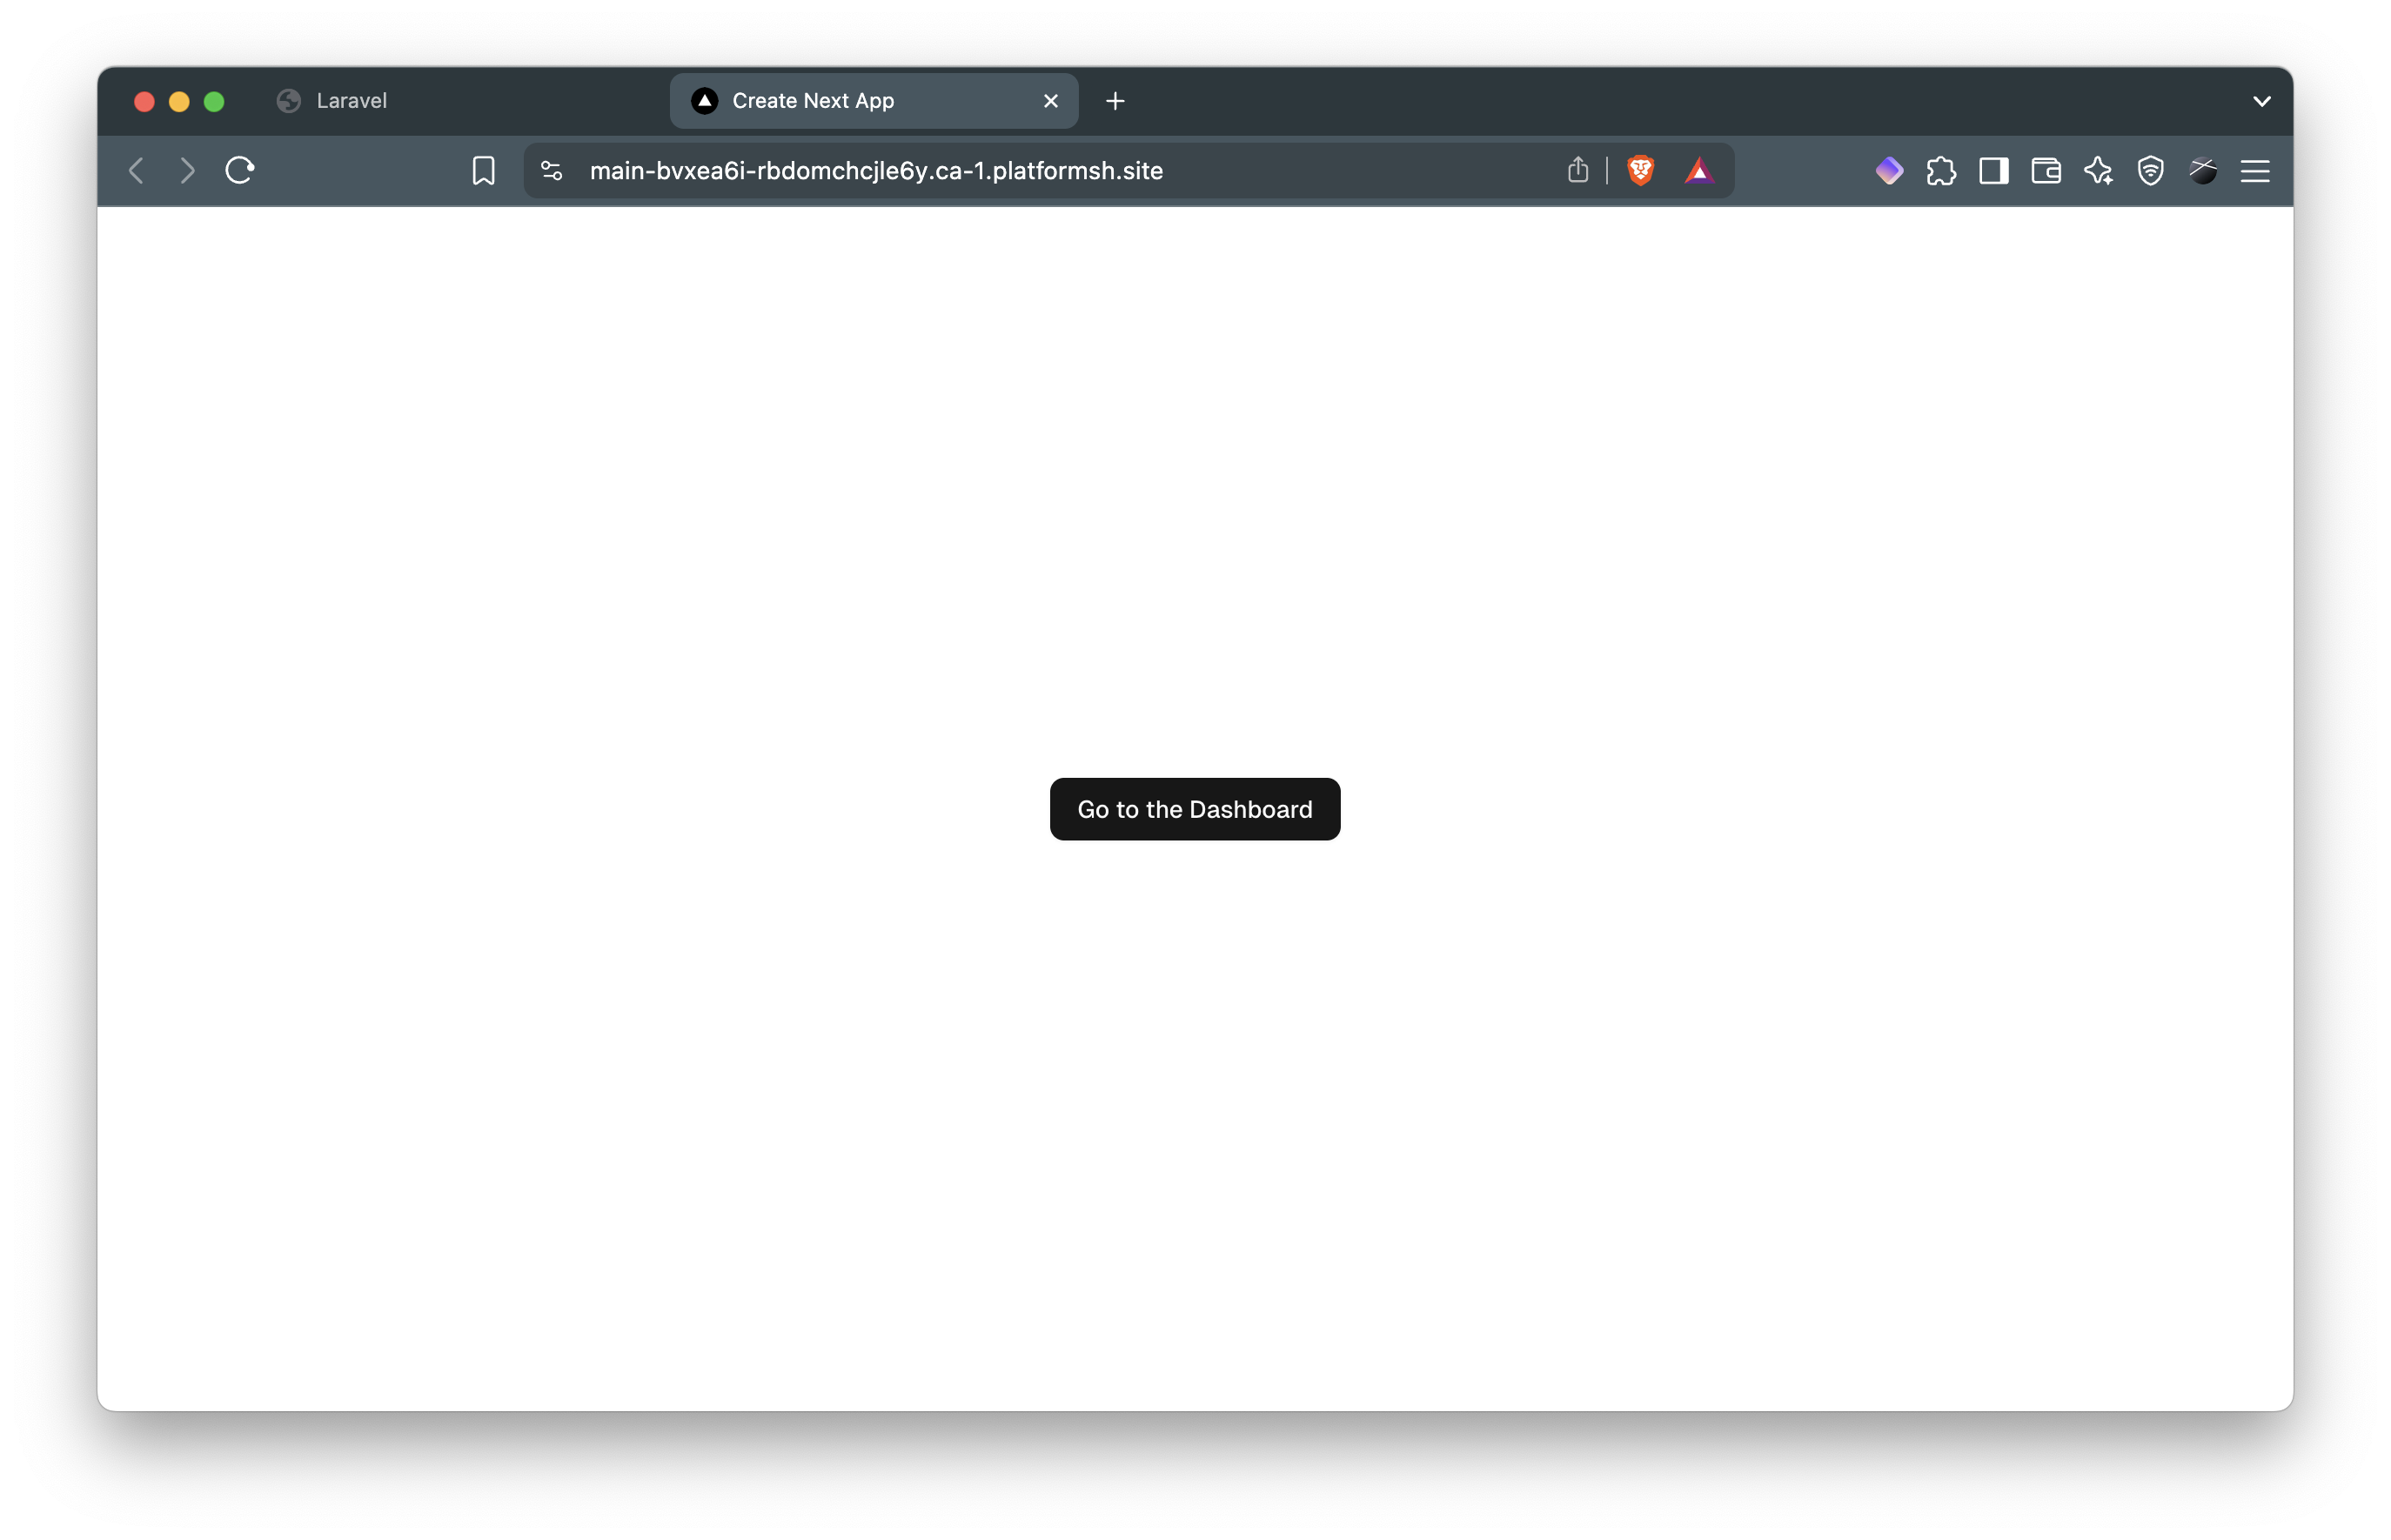
- Click “Go to dashboard” to trigger the OAuth flow and see the login form:
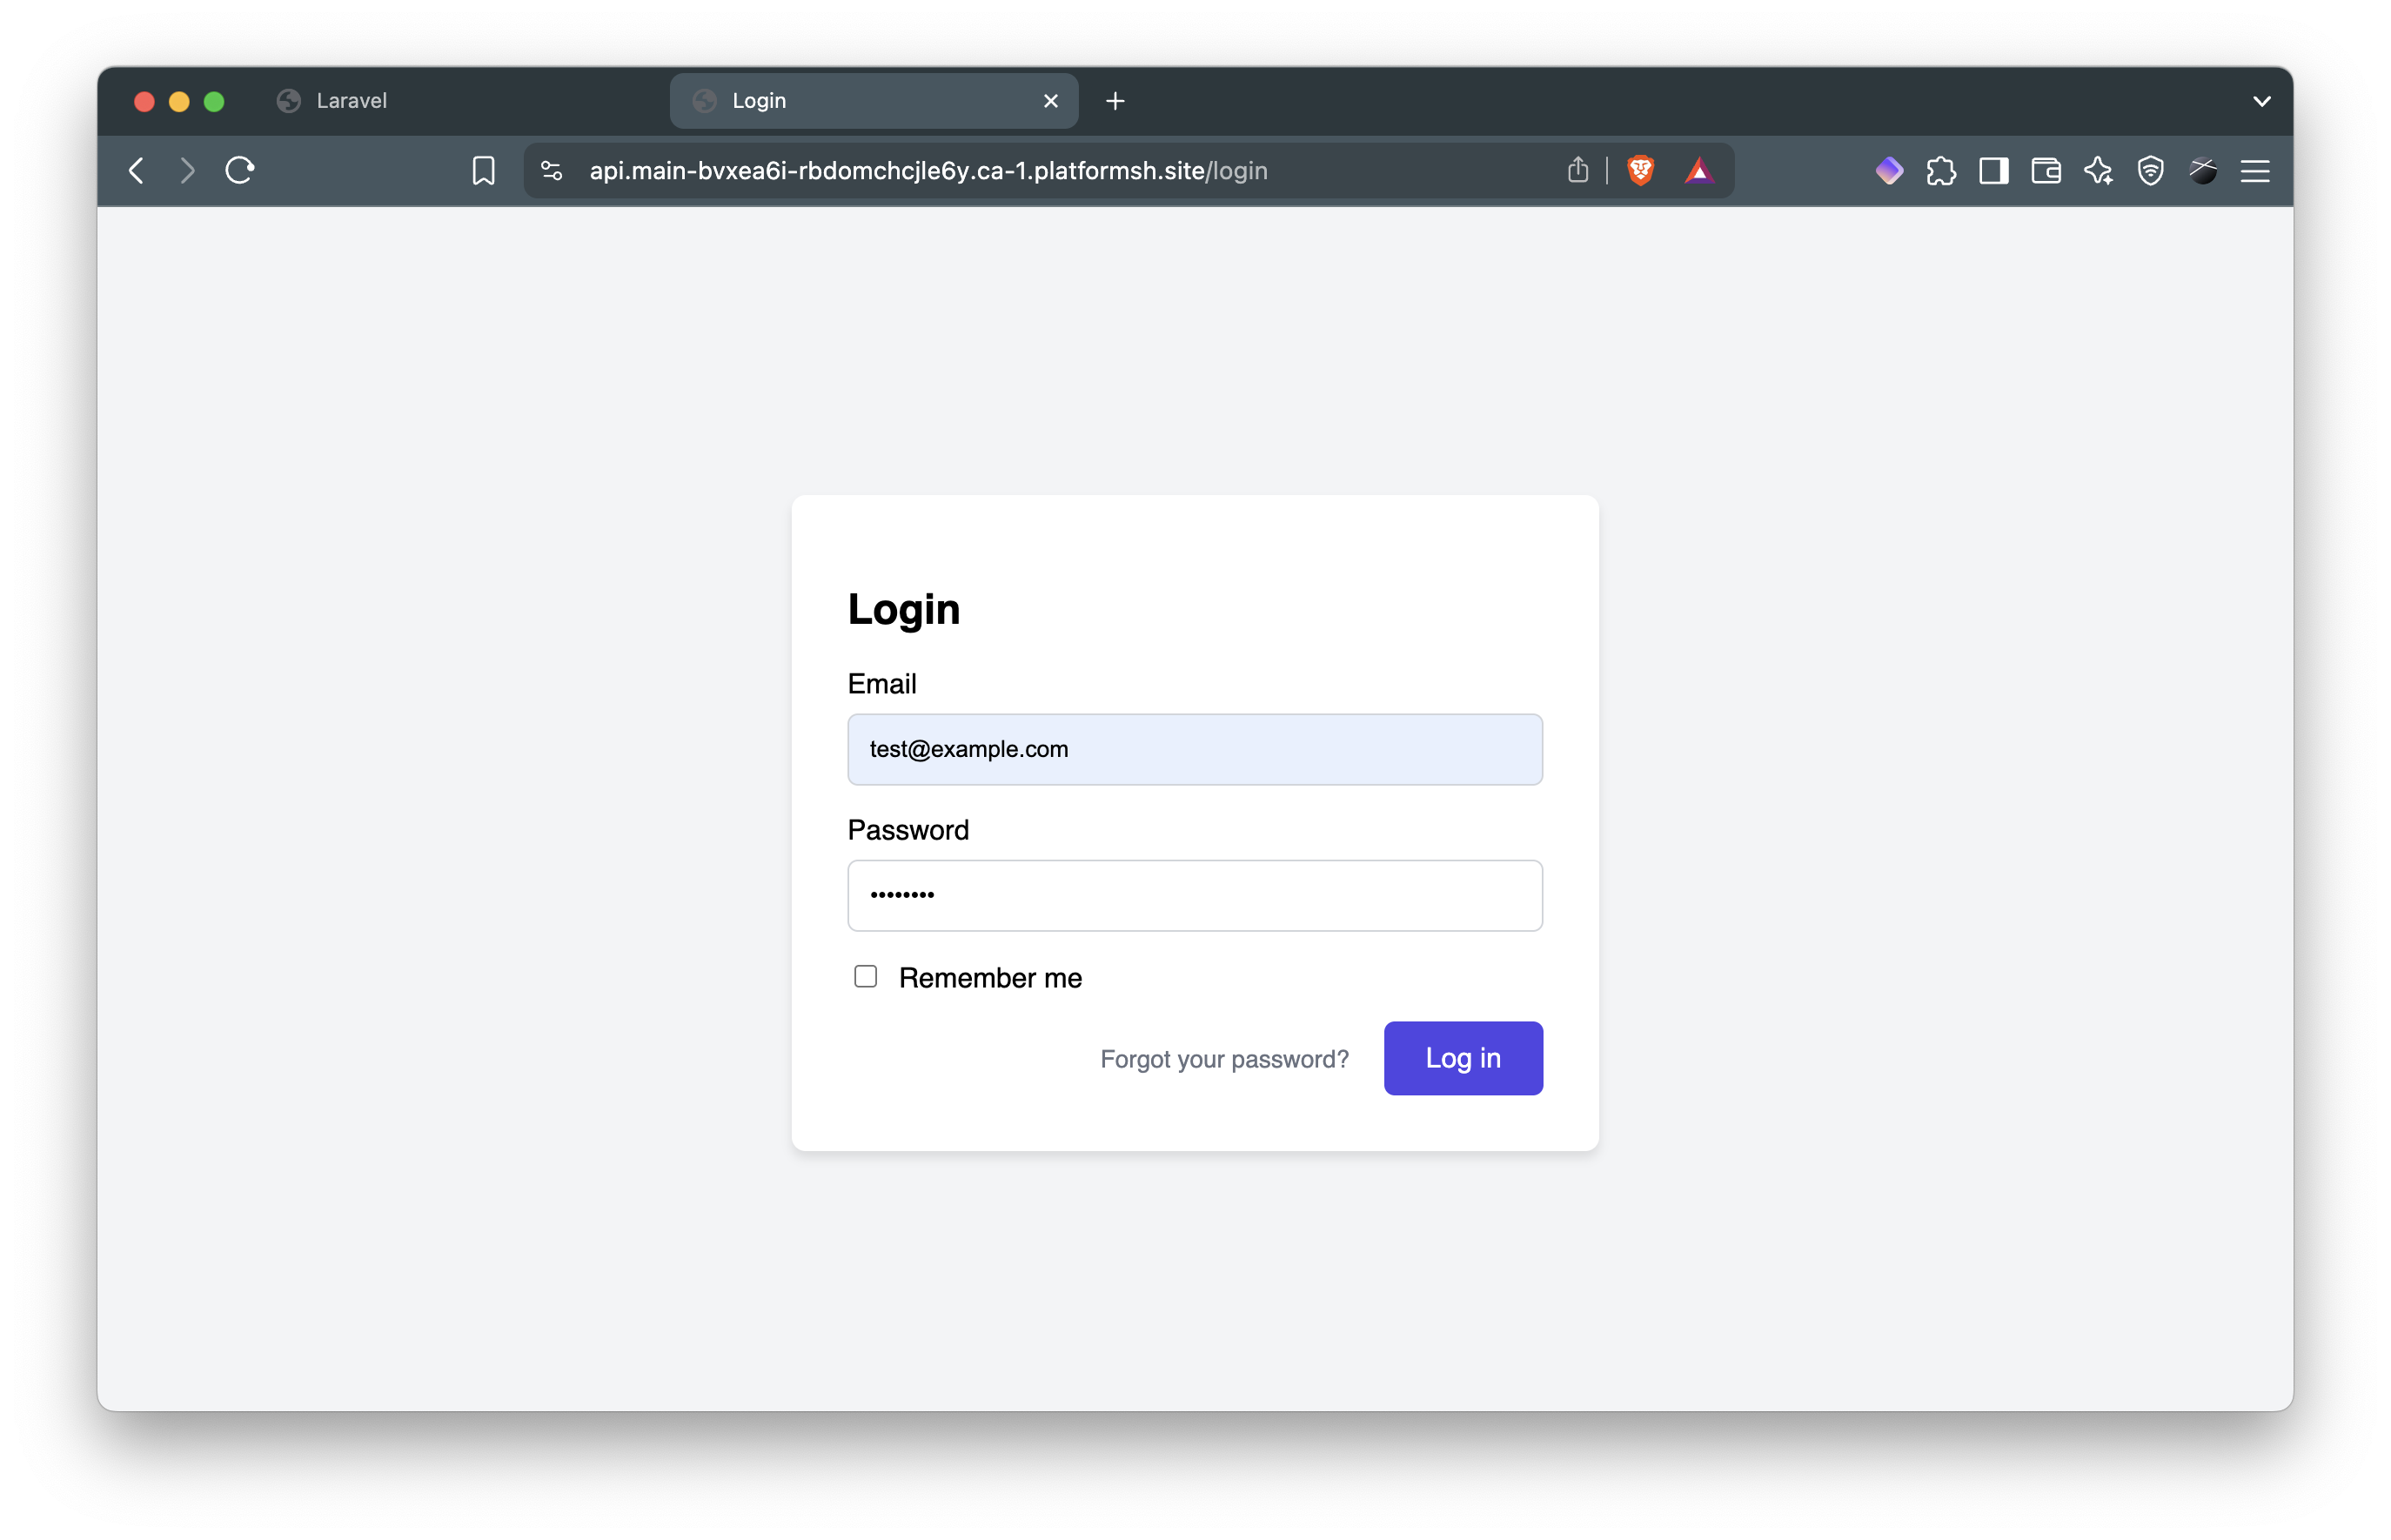
- Enter your credentials (default password:
password) to see the authorization form:
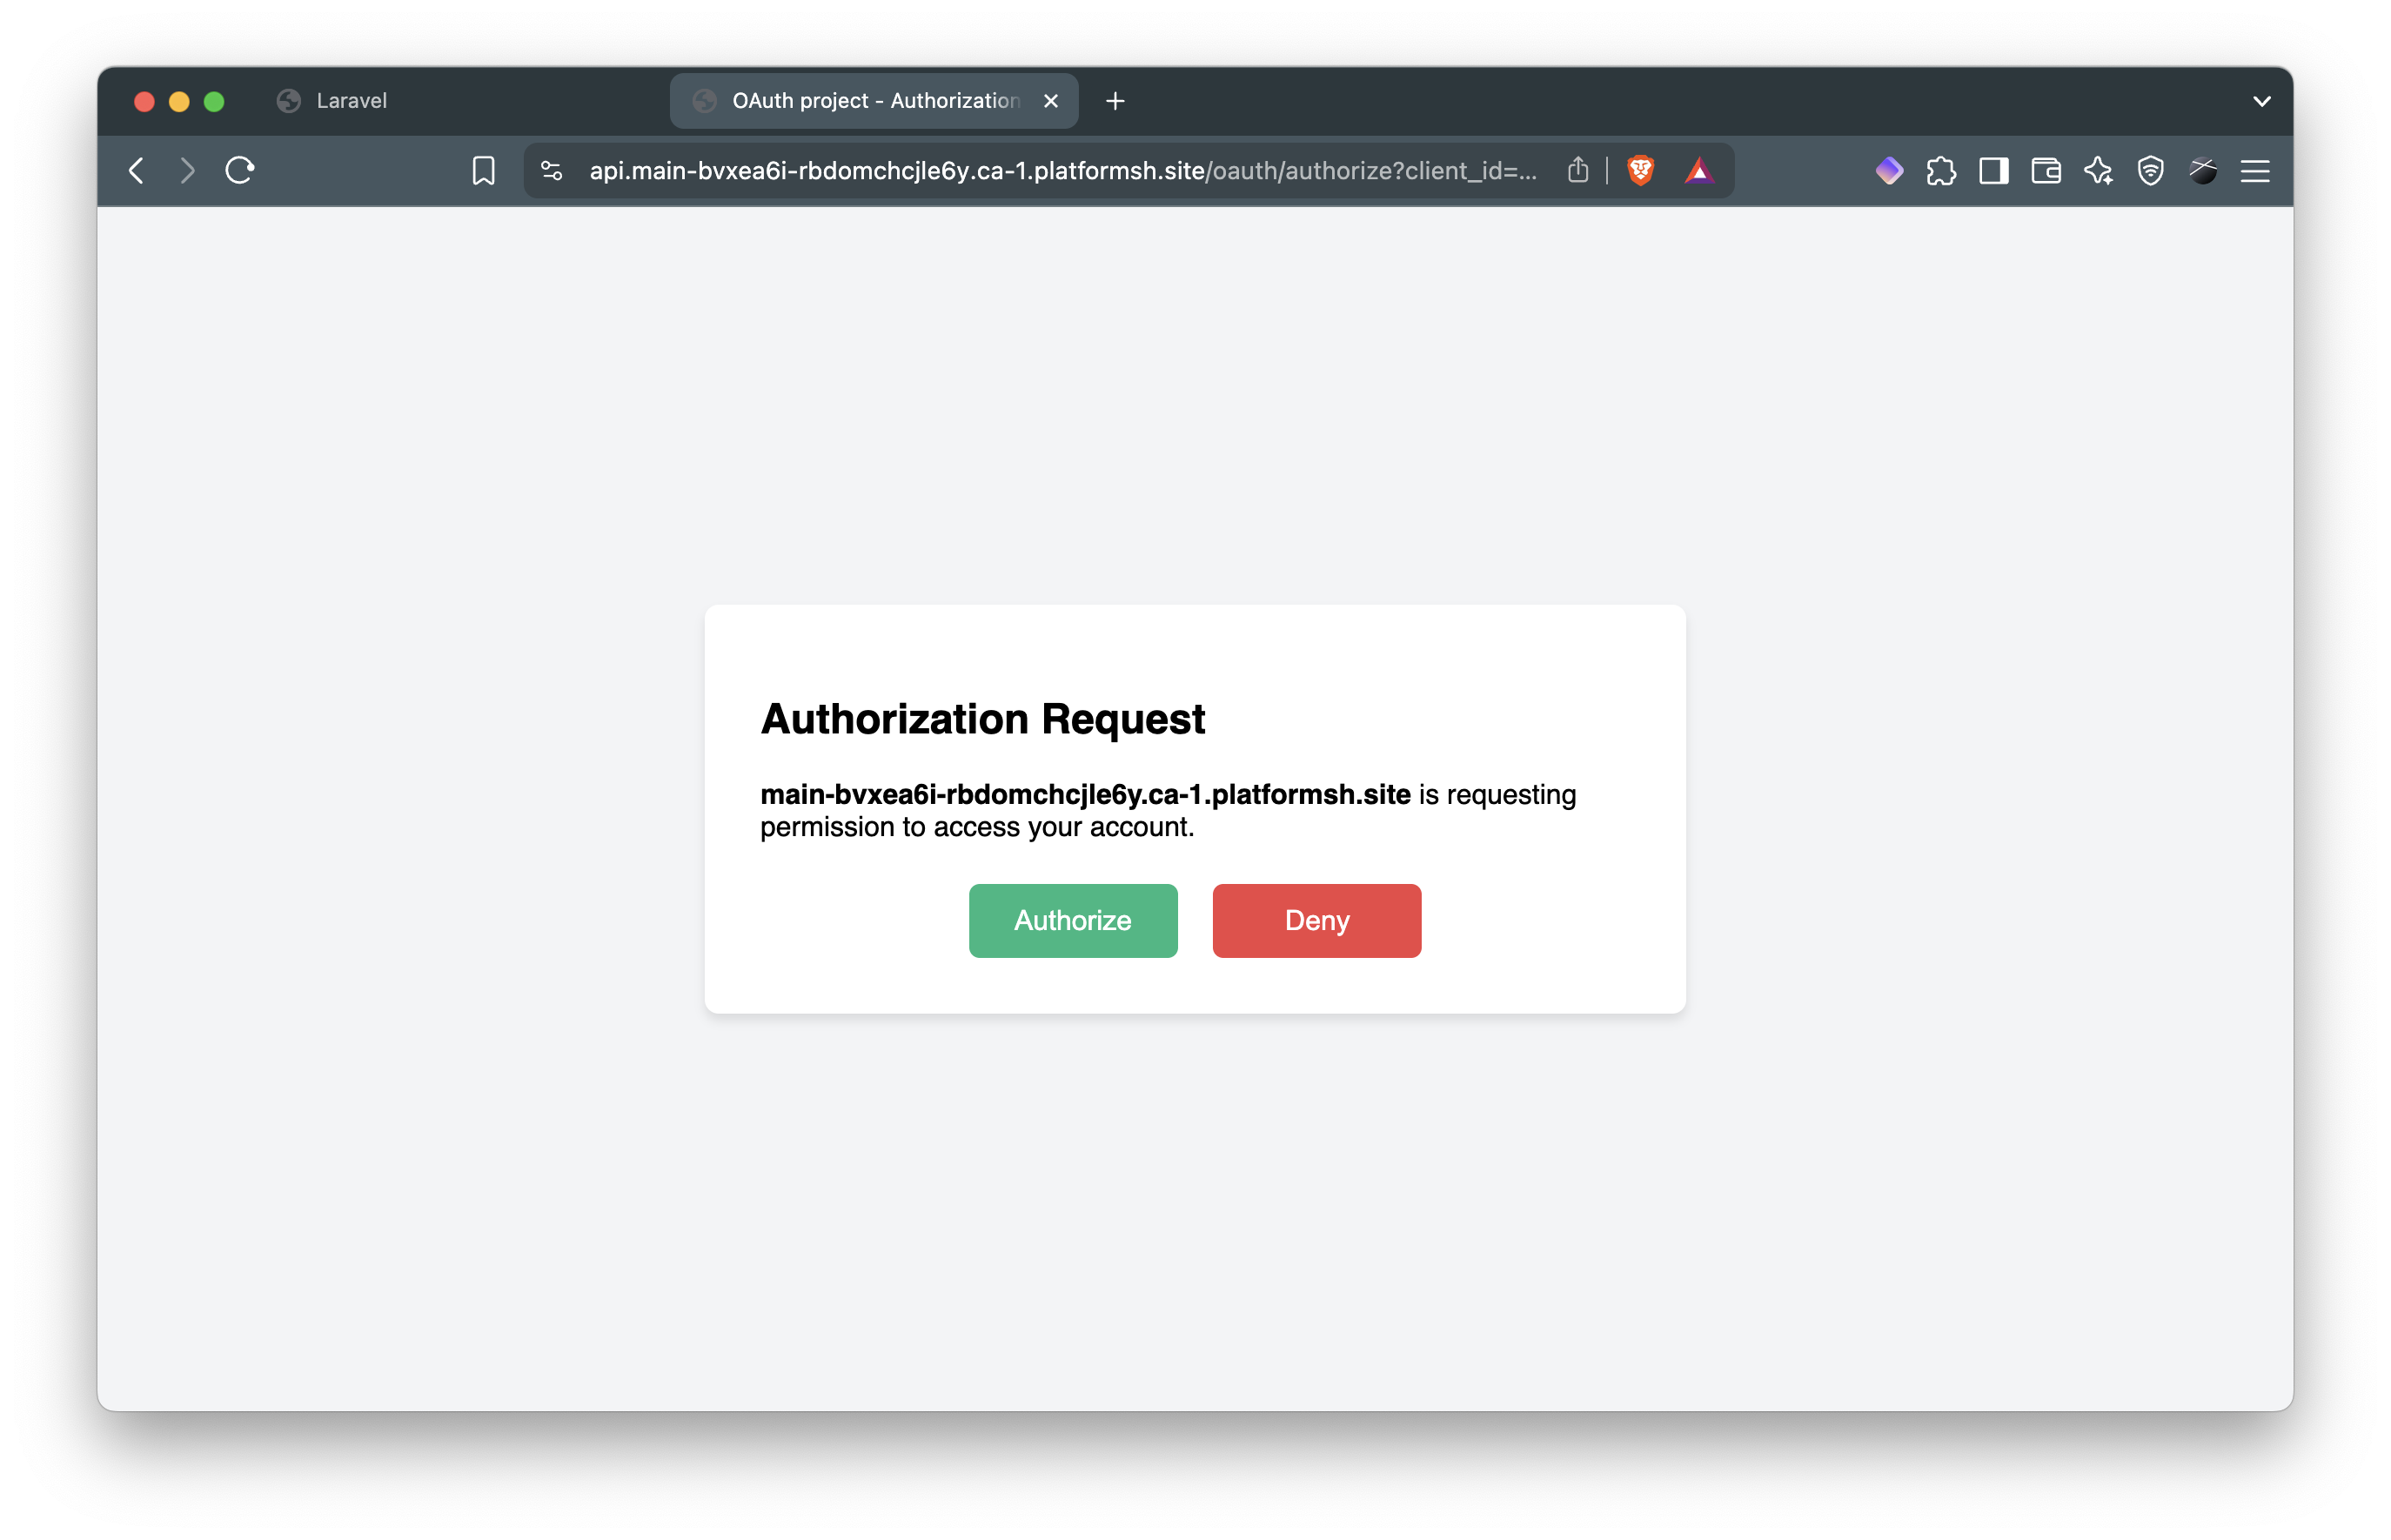
- Click “Authorize” to complete the flow and access your dashboard:
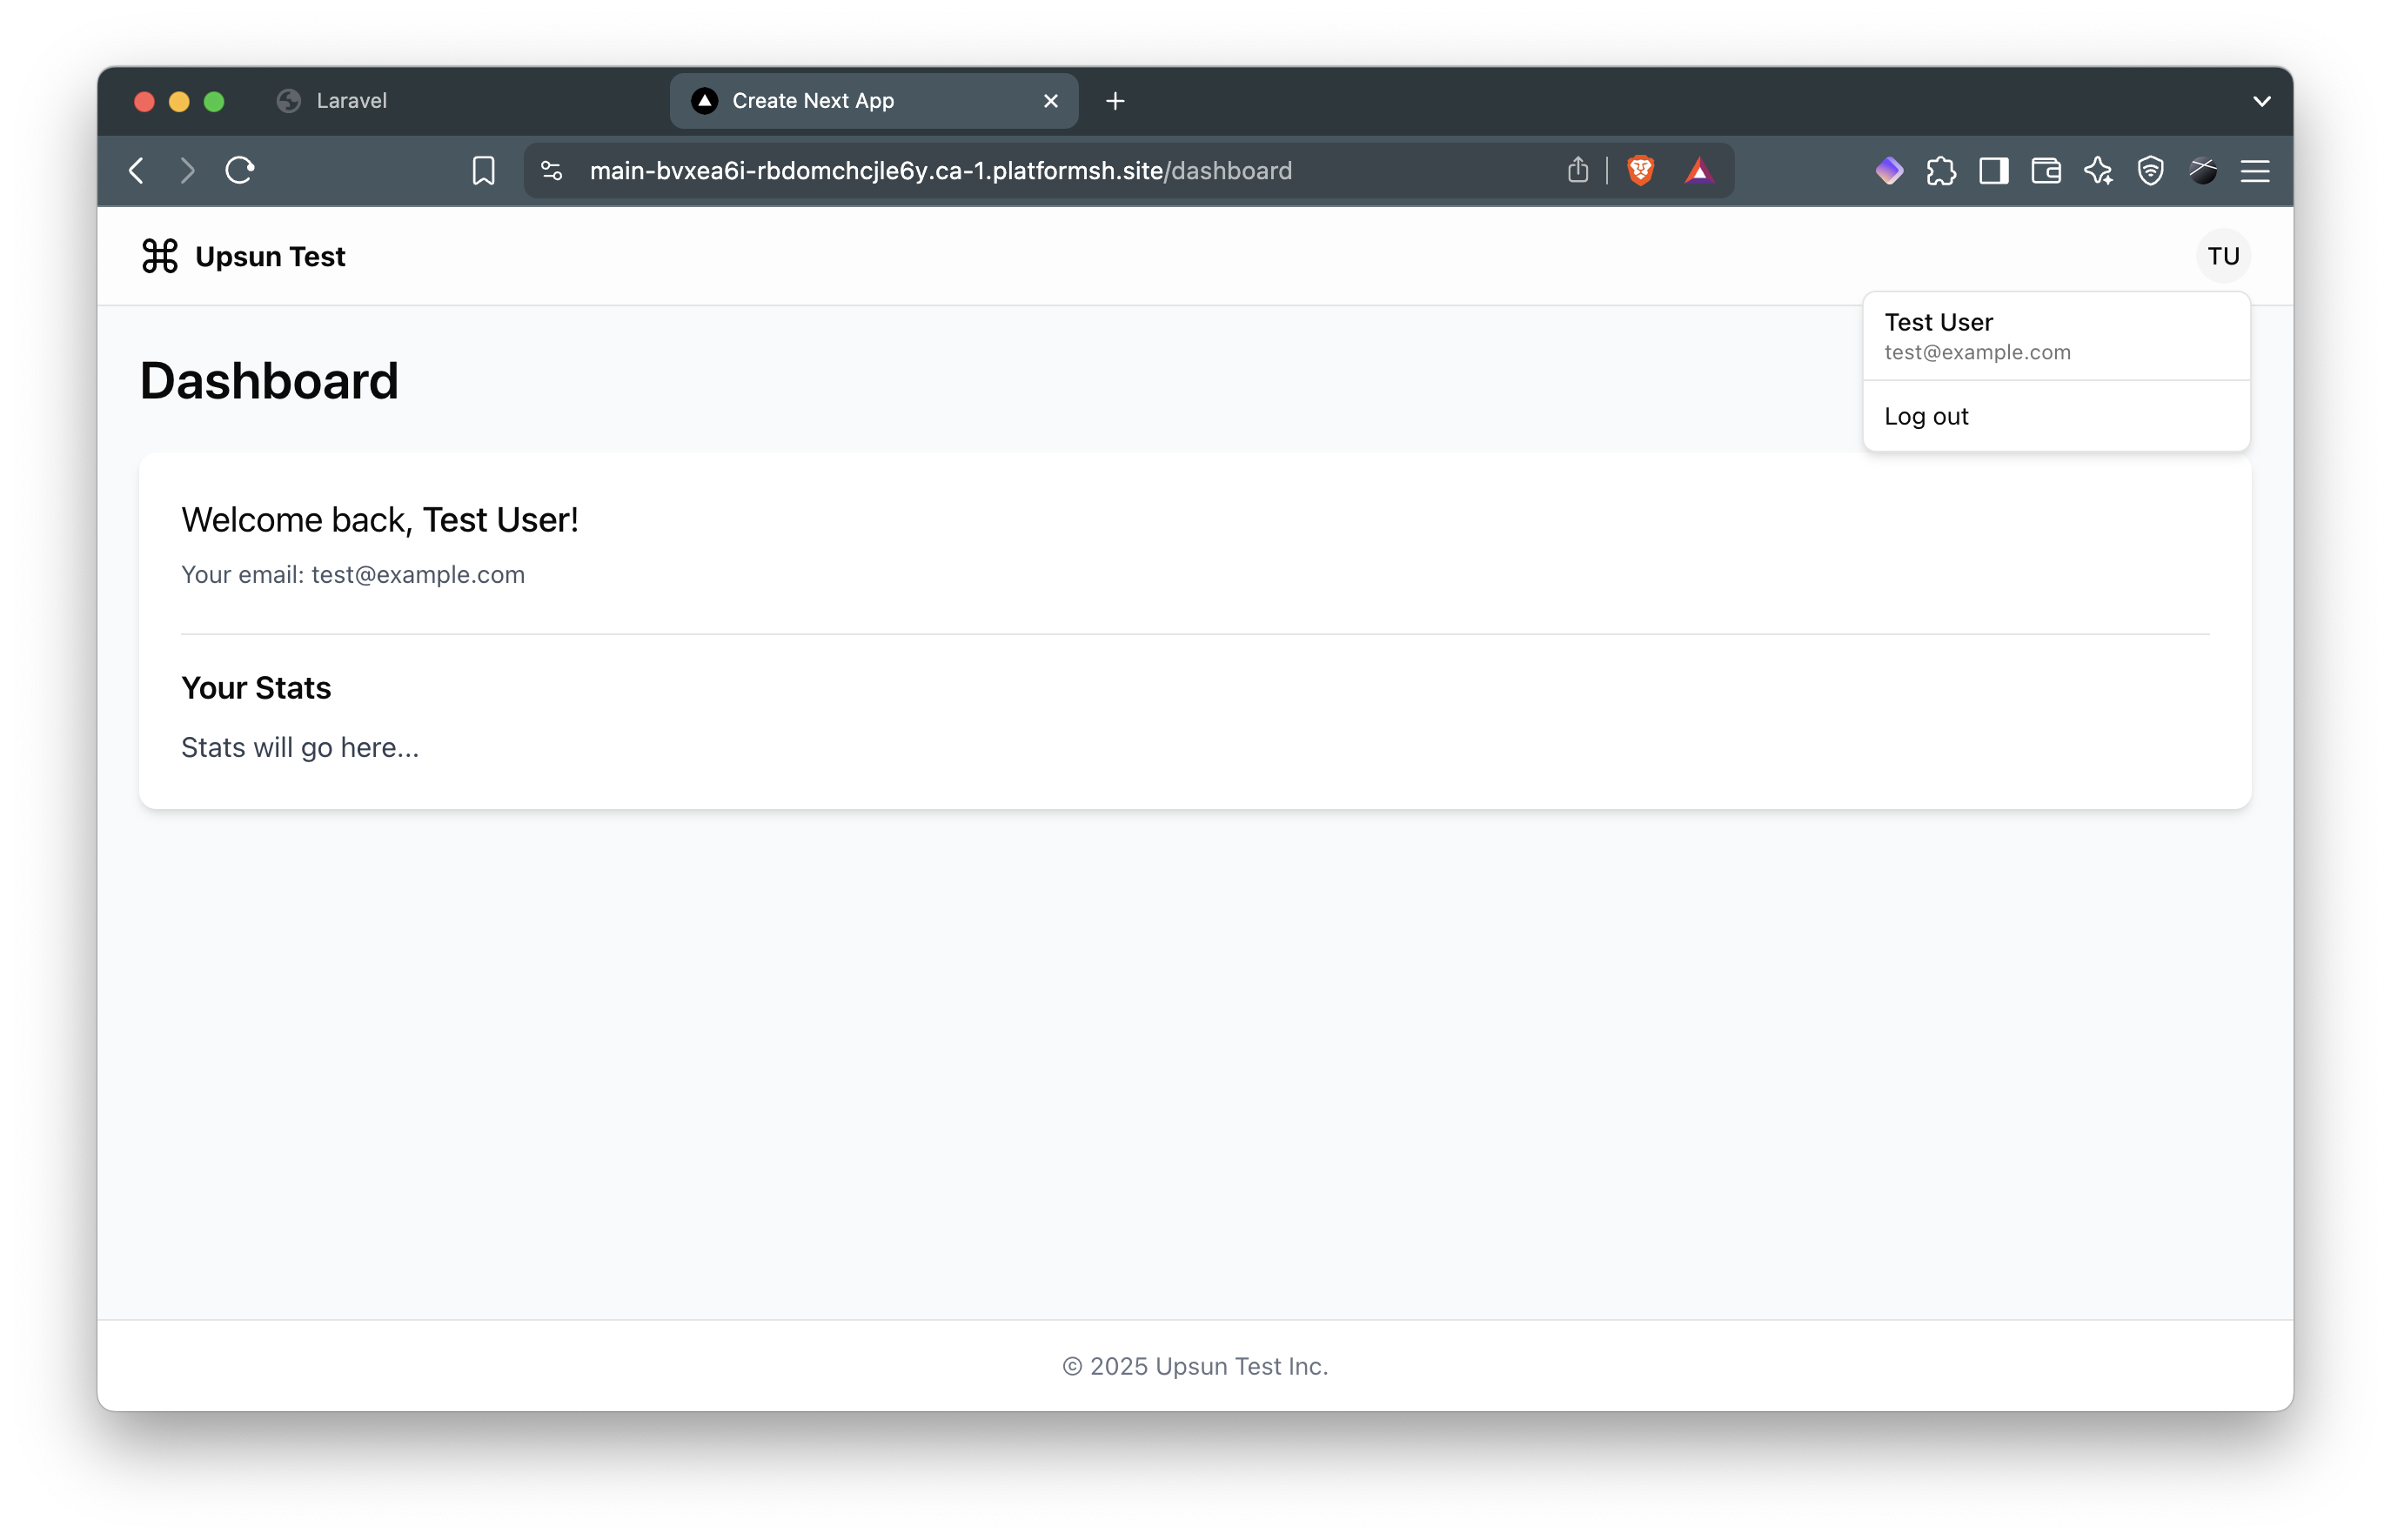
Implementing the logout feature
A complete authentication system needs a secure logout process. This requires:- Clearing tokens stored as HTTP-only cookies in Next.js
- Revoking the token on the Laravel side
- Clearing the session on the Laravel side
/logout endpoint in Next.js. View the full implementation.
user-dropdown component. View the full implementation.
Conclusion
You’ve built a secure OAuth authentication system between Next.js and Laravel using the Authorization Code Flow with PKCE. This approach provides strong security by:- Keeping tokens in HTTP-only cookies, protected from JavaScript access
- Using state parameters to prevent CSRF attacks
- Adding PKCE protection against authorization code interception
- Properly revoking tokens during logout
- Refresh token handling for longer sessions
- Scoped permissions for granular access control
- Role-based authorization
- Multi-factor authentication