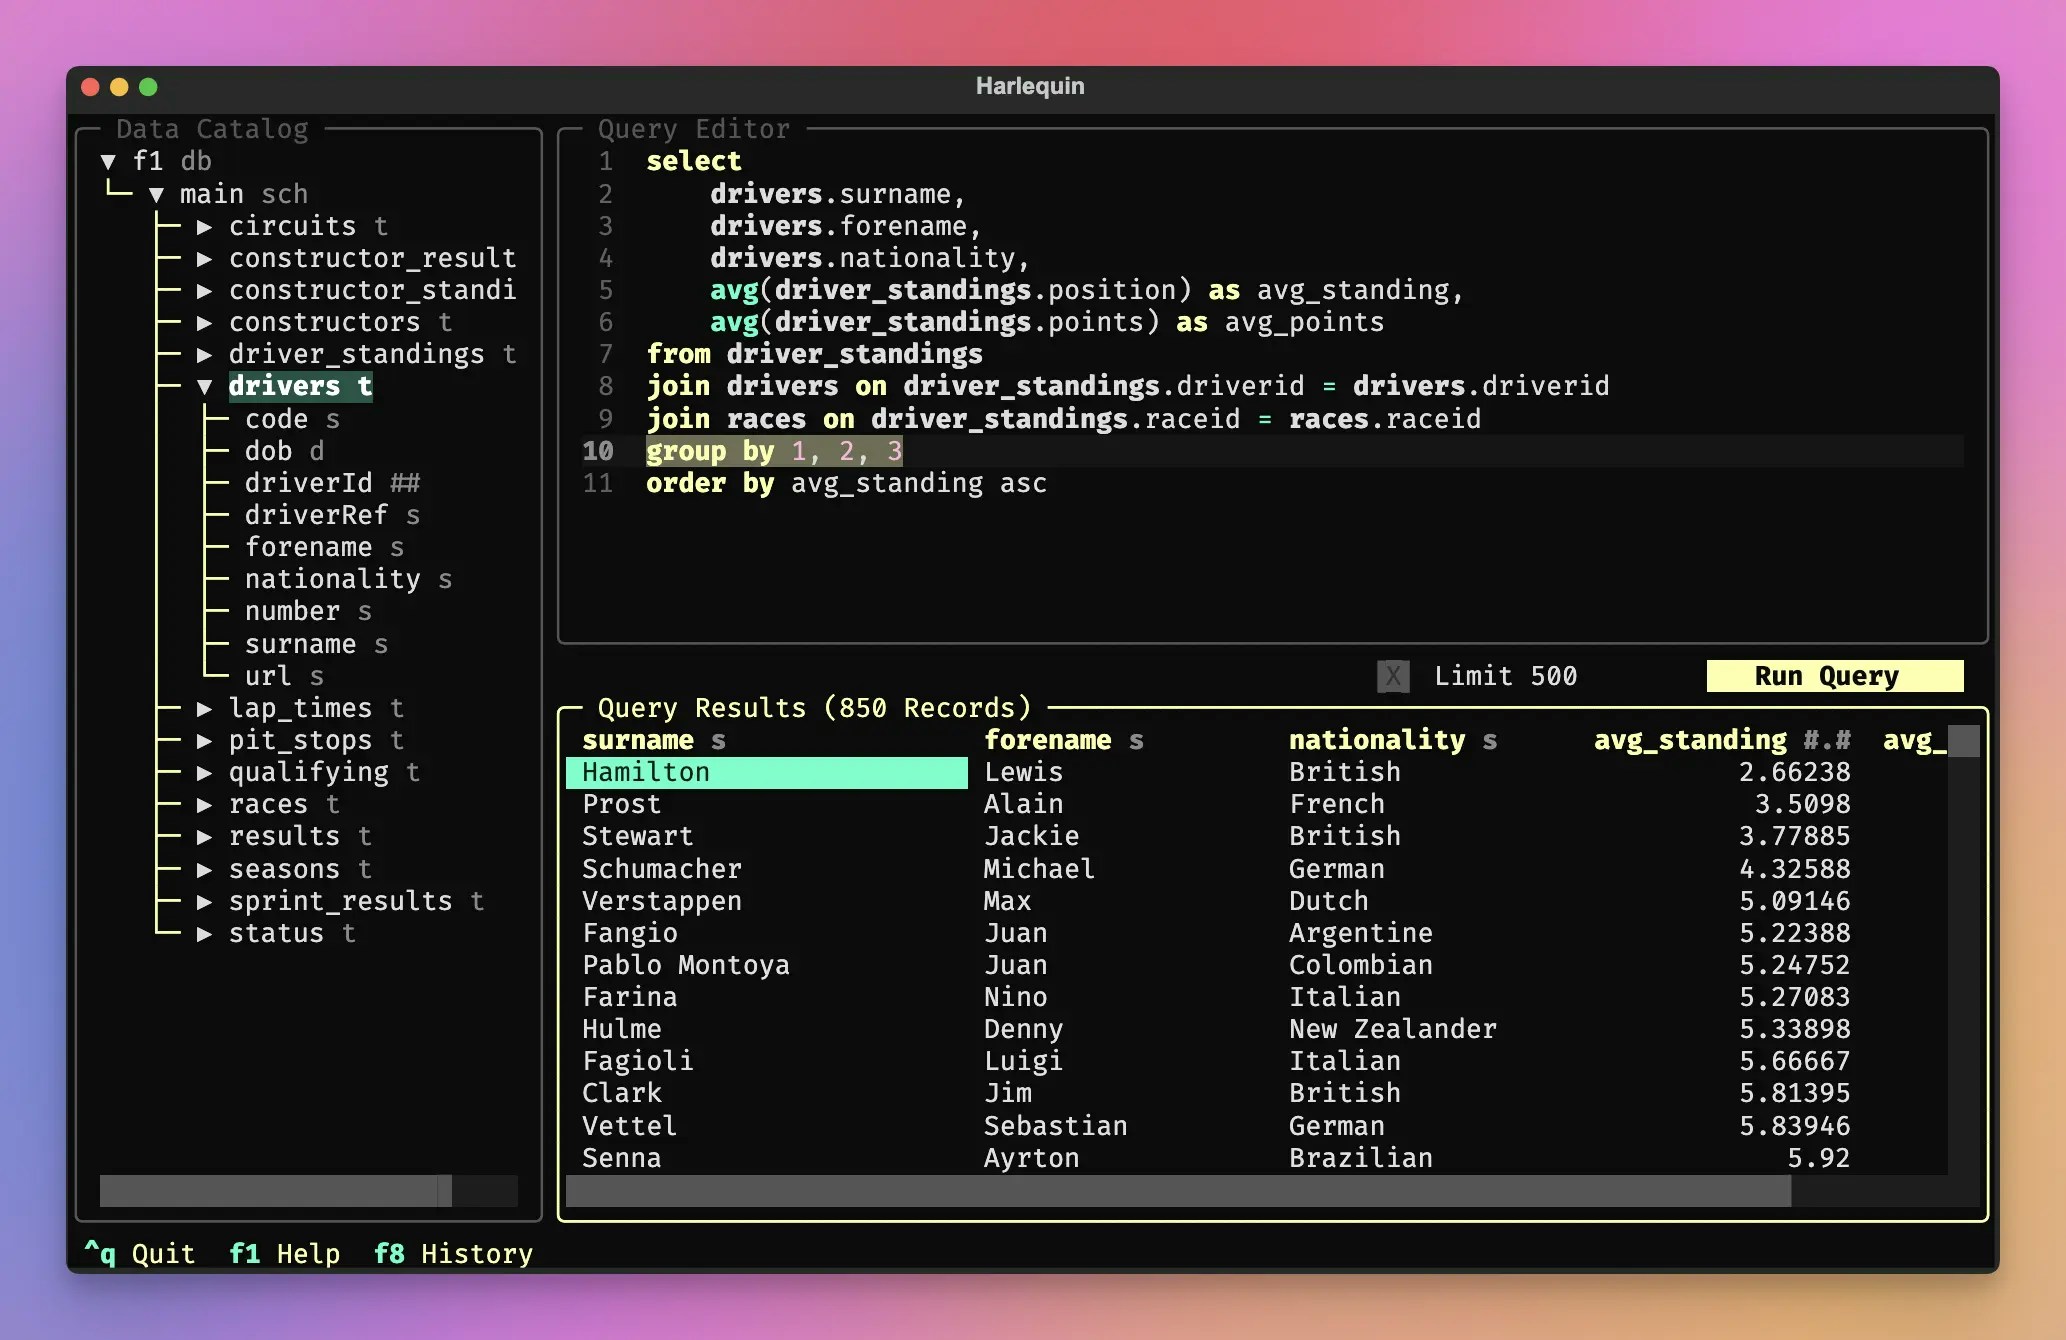
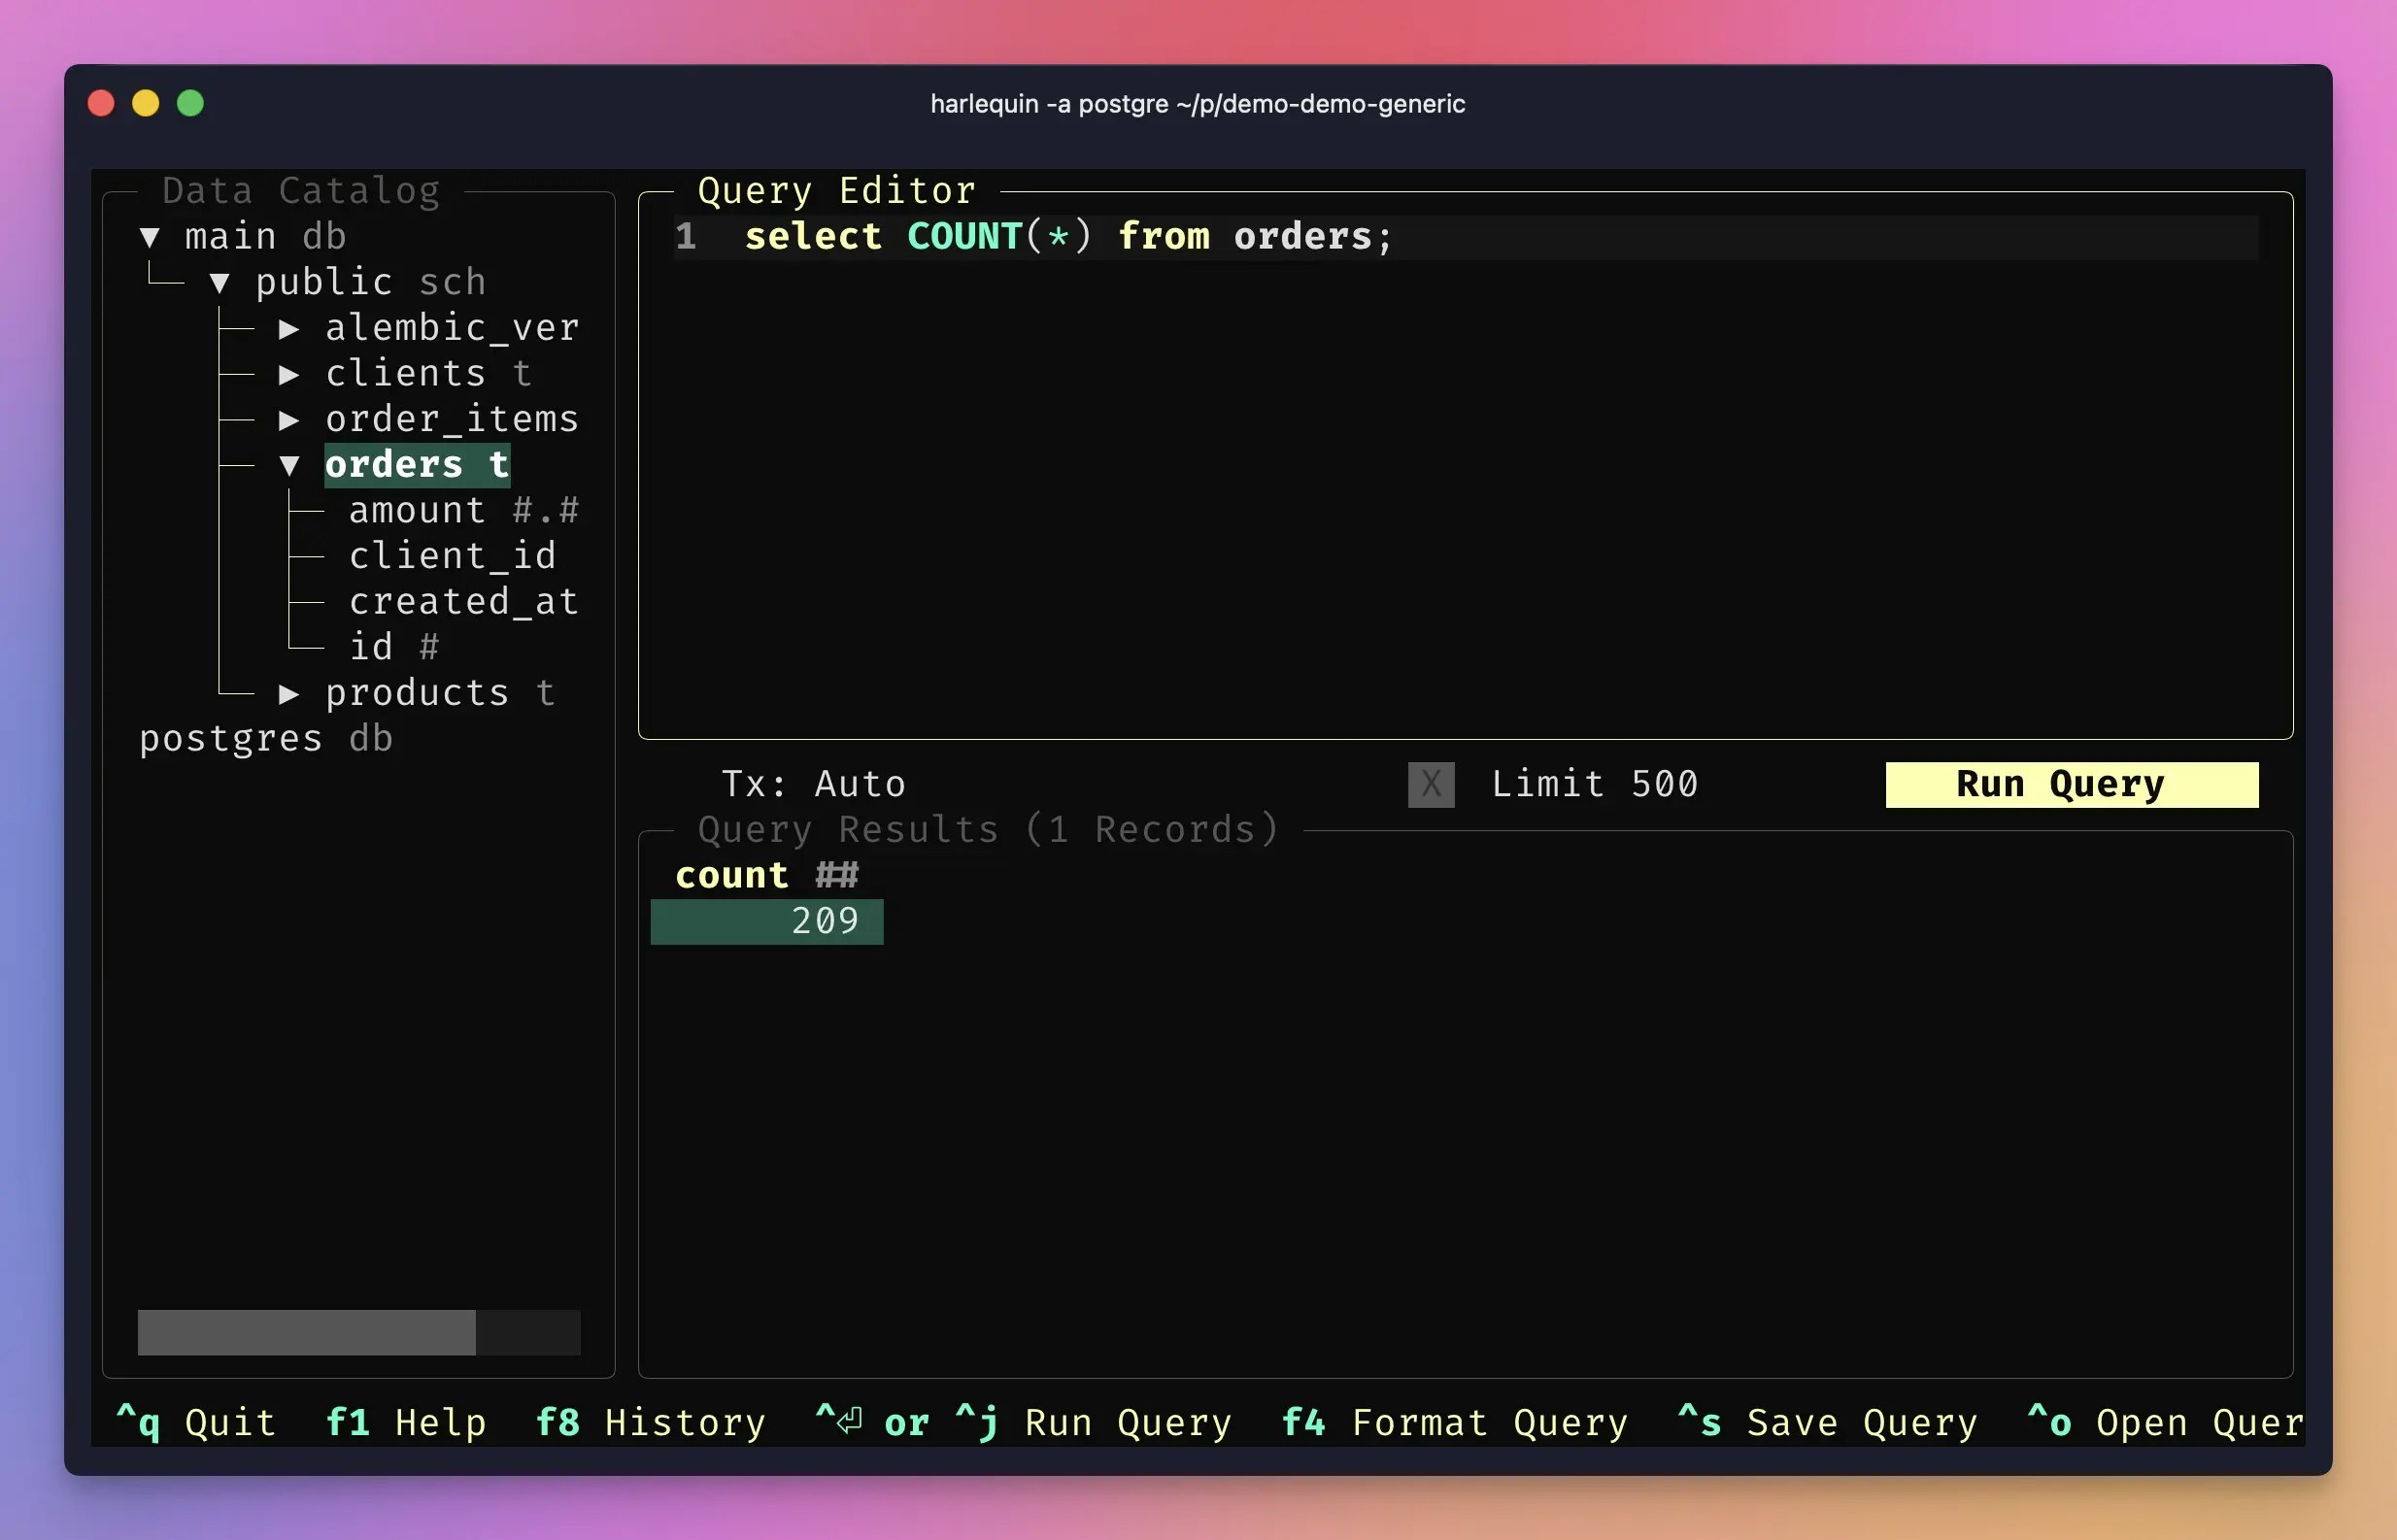
Learn two ways to connect Harlequin SQL IDE to your Upsun PostgreSQL database: using local SSH tunnels or deploying Harlequin directly on the platform.
The Upsun CLI includes upsun sql, a quick way to run queries against your database from the command line. But sometimes you want more than a basic prompt. You want autocomplete, syntax highlighting, a visual schema browser, and the ability to scroll through large result sets. That’s where Harlequin comes in.Harlequin is a terminal-based (TUI) SQL IDE that brings a rich, interactive experience to your shell. It includes a data catalog for browsing tables and columns, a query editor with autocompletion, and a results viewer that handles millions of rows. All without leaving your terminal.This tutorial covers two ways to use Harlequin with your Upsun PostgreSQL database:
Run Harlequin locally and connect through an SSH tunnel
Install Harlequin on your Upsun environment and access it via SSH
Both approaches give you the same powerful interface. Choose the one that fits your workflow.
Option 1: Run Harlequin locally with an SSH tunnel
This approach keeps Harlequin on your local machine and connects to Upsun through a secure SSH tunnel. It’s ideal for day-to-day development when you want quick access to your database without modifying your deployment.
The Upsun CLI can create SSH tunnels to all services in your environment. Run:
upsun tunnel:open
You’ll see output similar to:
upsun tunnel:openEnter a number to choose an app: [0] api [1] chainlit [2] next > 0SSH tunnel opened to postgresql at: postgresql://main:main@127.0.0.1:30000/mainSSH tunnel opened to cache at: valkey://127.0.0.1:30001Logs are written to: /Users/nls/.upsun-cli/tunnels.logList tunnels with: upsun tunnelsView tunnel details with: upsun tunnel:infoClose tunnels with: upsun tunnel:closeSave encoded tunnel details to the PLATFORM_RELATIONSHIPS variable using: export PLATFORM_RELATIONSHIPS="$(upsun tunnel:info --encode)"
Note the connection details. In this example:
Host: 127.0.0.1
Port: 30000
Username: main
Password: main
Database: main
Your values may differ depending on your configuration.
If you prefer to keep your tools on the platform, or want consistent access for your team, you can install Harlequin directly in your Upsun environment. Since Harlequin is a terminal UI, you’ll access it by SSH-ing into your container.
Modify your .upsun/config.yaml to install Harlequin during the build phase. Add the pip install command to your existing build hook:
applications:
  myapp:
    type: python:3.13
    dependencies:
      python3:
        uv: "*"
    hooks:
      build: |
        set -eux
        uv tool install --python 3.13 'harlequin[postgres]'
        # Add your other build commands here

    relationships:
      database: "postgresql:postgresql"

    # ... rest of your config
If your application isn’t Python-based, you can still install Harlequin. Python is available in most Upsun containers. Add a build hook that installs it:
applications:
  myapp:
    type: nodejs:22  # or php:8.3, etc.
    dependencies:
      python3:
        uv: "*"
    hooks:
      build: |
        set -eux
        uv tool install --python 3.13 'harlequin[postgres]'
        # Your other build commands

    relationships:
      database: "postgresql:postgresql"

    # ... rest of your config
The name can vary as it is using the relationships name in the myapp section of the .upsun/config.yaml file (e.g. database: in the example above)You can now launch Harlequin:
/app/.local/bin/harlequin -a postgres $DATABASE_URL
If you want to avoid specifying the whole path, update your PATH variable in the deploy hook of your application:
hooks:
  deploy: |
    set -x -e
    export PATH="$PATH:/app/.local/bin/"
When exploring production data, consider creating a read-only PostgreSQL user to prevent accidental modifications. You can configure additional database endpoints in your services configuration.
You now have two ways to use Harlequin with your Upsun PostgreSQL database:
Local installation with SSH tunnel: Best for individual developers who want quick, on-demand access
Installed on Upsun: Best for team environments or when you want tools available directly on the platform
Both approaches give you a powerful, visual way to explore and query your data without leaving the terminal.For more Harlequin features and configuration options, check out the official documentation.Ready to try it out? Create a free Upsun account and deploy your first PostgreSQL-powered application.
Last modified on April 27, 2026
Was this page helpful?
Assistant
Responses are generated using AI and may contain mistakes.


 Dispatch
 Cloud
Cloud