Dispatch
 Cloud
CloudWhat is Chainlit?
Chainlit is an open-source async Python framework which allows developers to build scalable Conversational AI or agentic applications. While providing the base framework, Chainlit gives you full flexibility to implement any external API, logic or local models you want to run.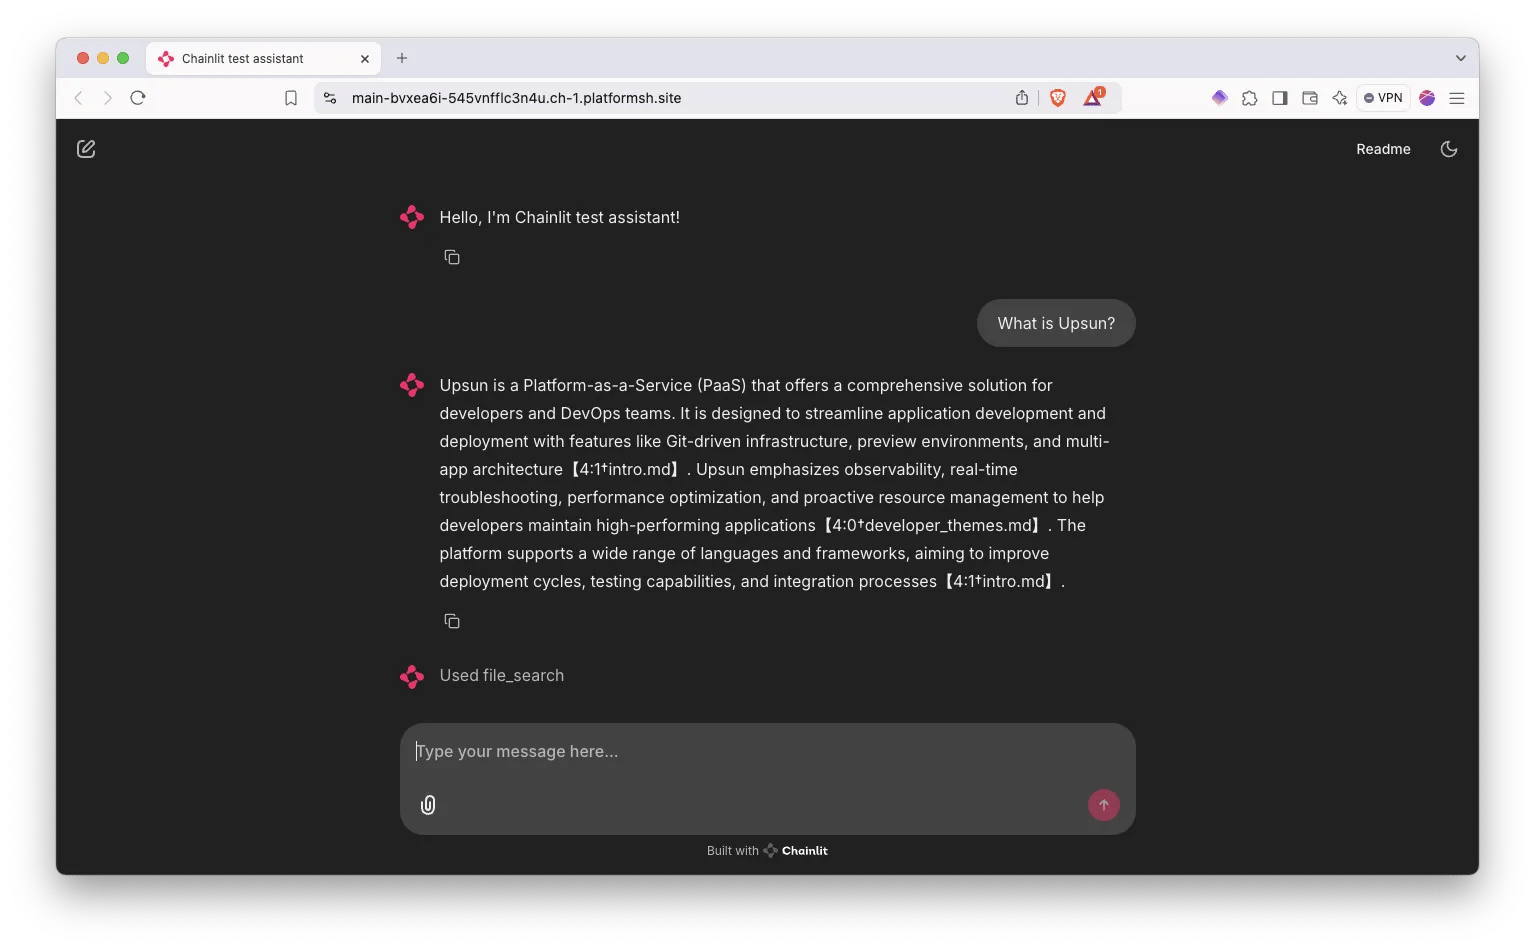
- The first will leverage OpenAI assistants with uploaded documents
- The second will be using
llama_indexwith a local folder of documents
Setting up Chainlit locally
Virtualenv
Let’s start by creating ourvirtualenv:
Install dependencies
We are now adding our dependencies and freeze them:Test Chainlit
Let’s start chainlit: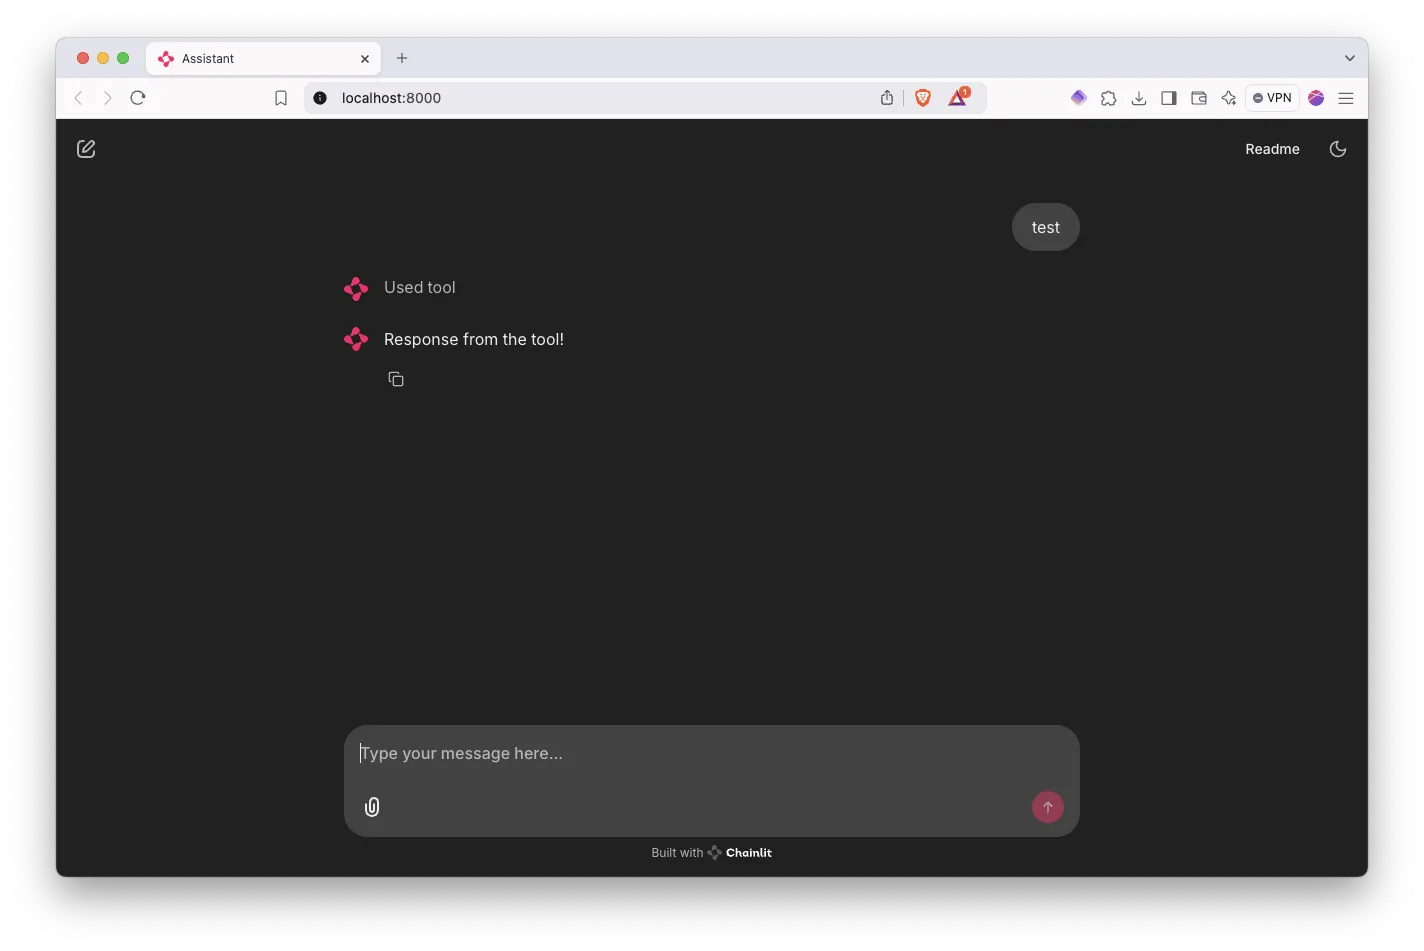
Let’s deploy it on Upsun
Init the git repository
.gitignore file. Some folders will be used later on.
Create an Upsun project
upsun remote on your local git repository.
Let’s add the configuration
Here is an example configuration to run Chainlit:build hook and then start the app with chainlit directly and we specify the port it should run on.
💡 You will need to add your
OPENAI_API_KEY to either the configuration or your environment variables on the Upsun console or through the CLI. You can get the key by generating it on the OpenAI Platform site.Let’s deploy!
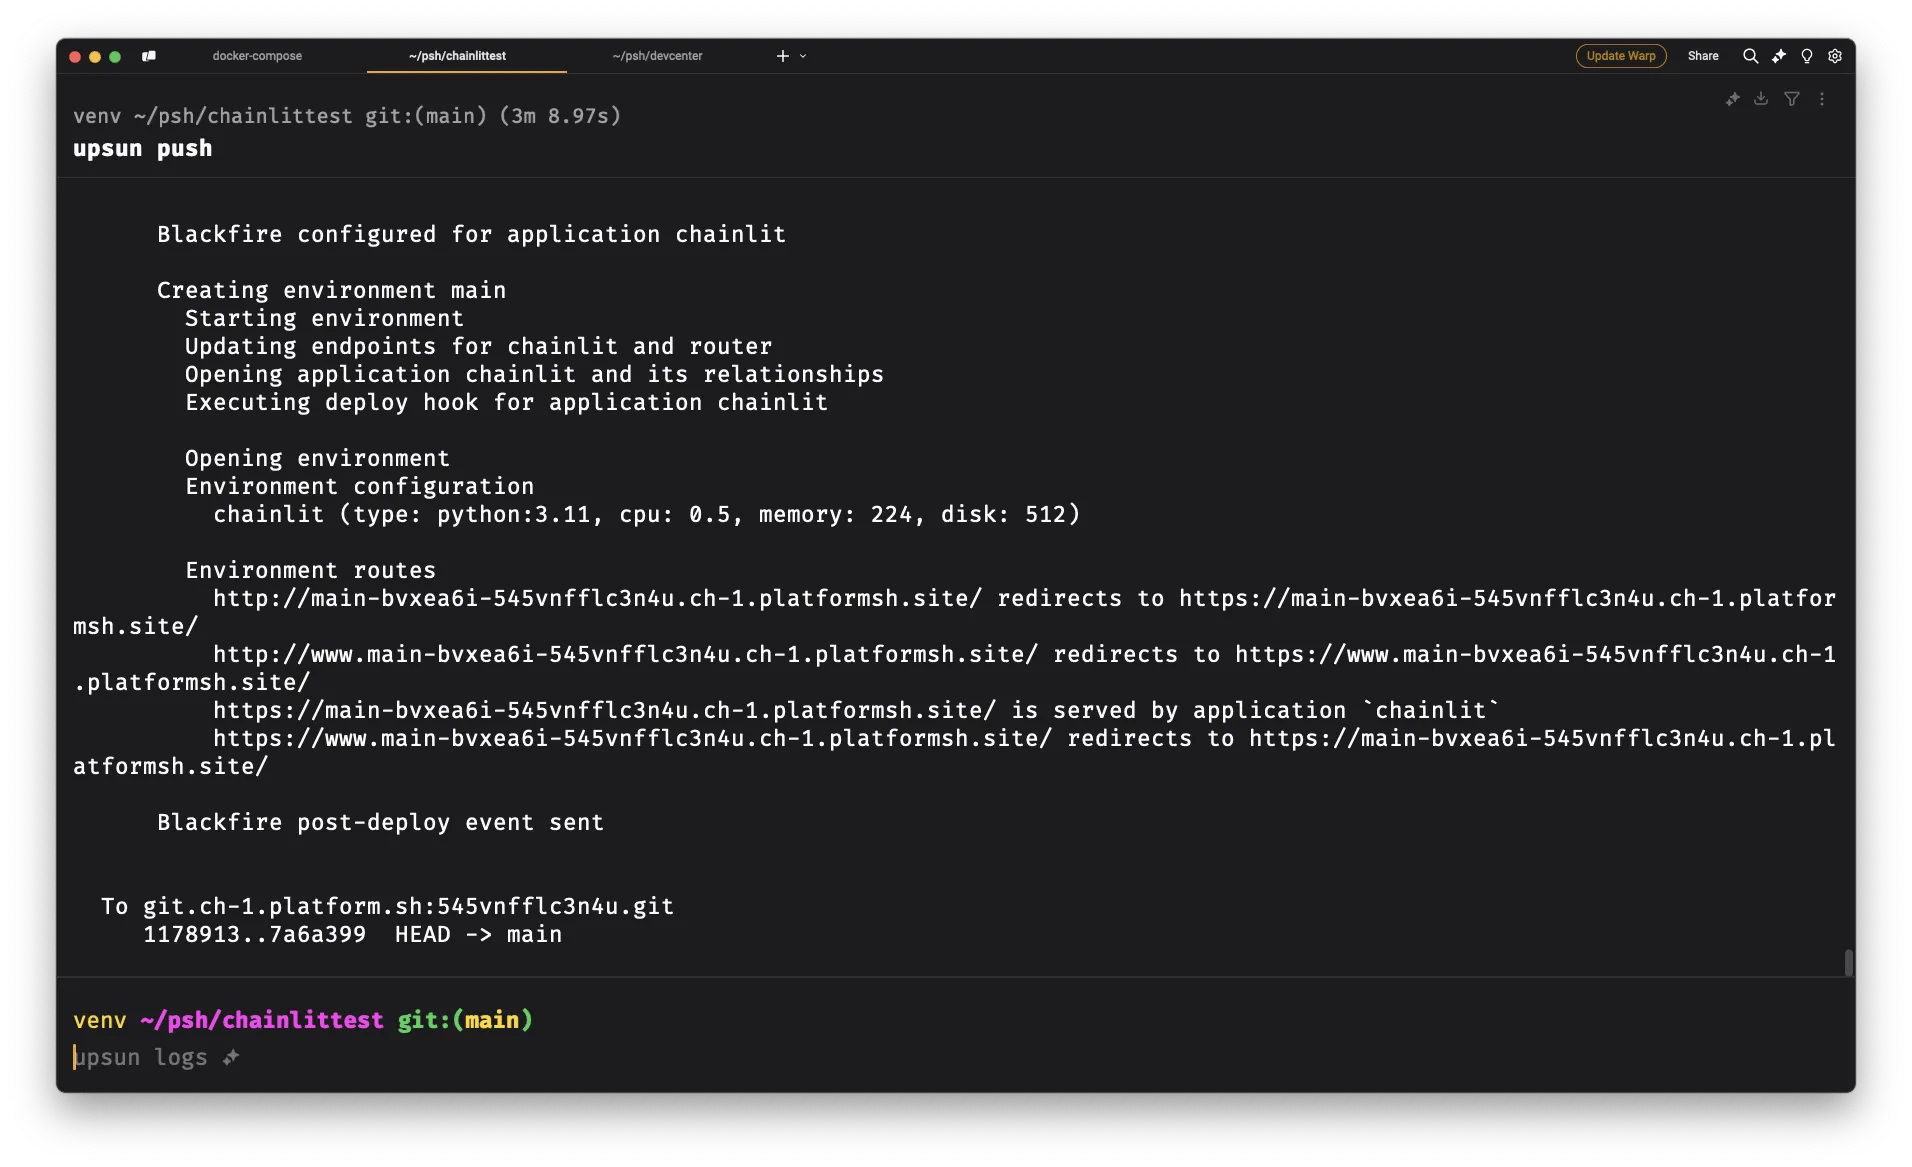
Commit the files and configuration to deploy!Review the deployment
If everything goes well, you should have Chainlit deployed and working correctly on yourmain environment:
First implementation: OpenAI Assistant & uploaded files
The goal here is to make Chainlit work with an OpenAI assistant. Our content will be loaded directly in the assistant on OpenAI.Create the assistant
Go to the Platform Assistants page and create a new one.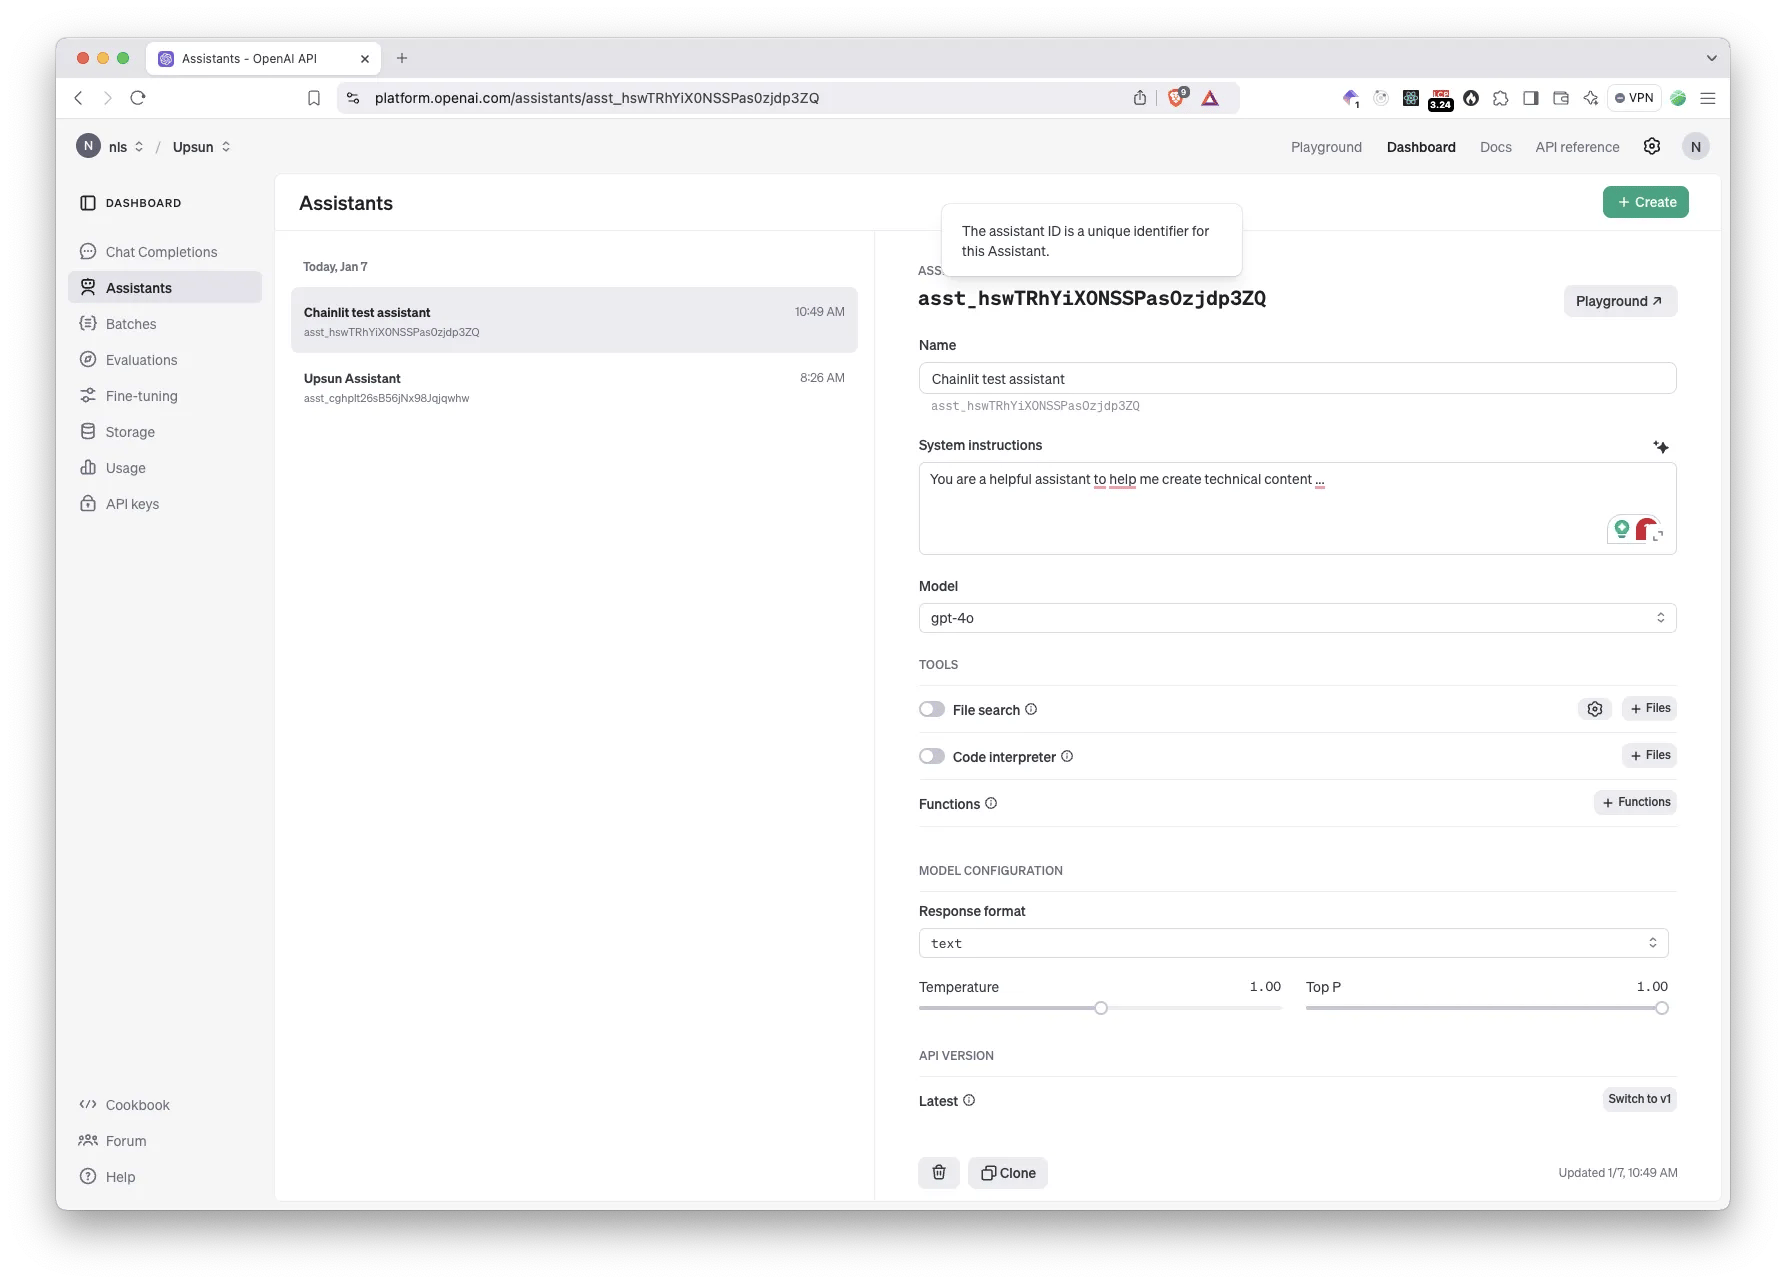
Response Format is set to text. I like to keep the temperature low, around 0.10 to avoid hallucinations.
Copy your assistant ID asst_[xxx] and add it to your environment variables:
Upload your content
Enable theFile search toggle and click + Files. Upload your content. While OpenAI is capable of ingesting a lot of different file formats, I like to upload only Markdown as it is faster and easier to parse, removing potential issues with PDF for example.
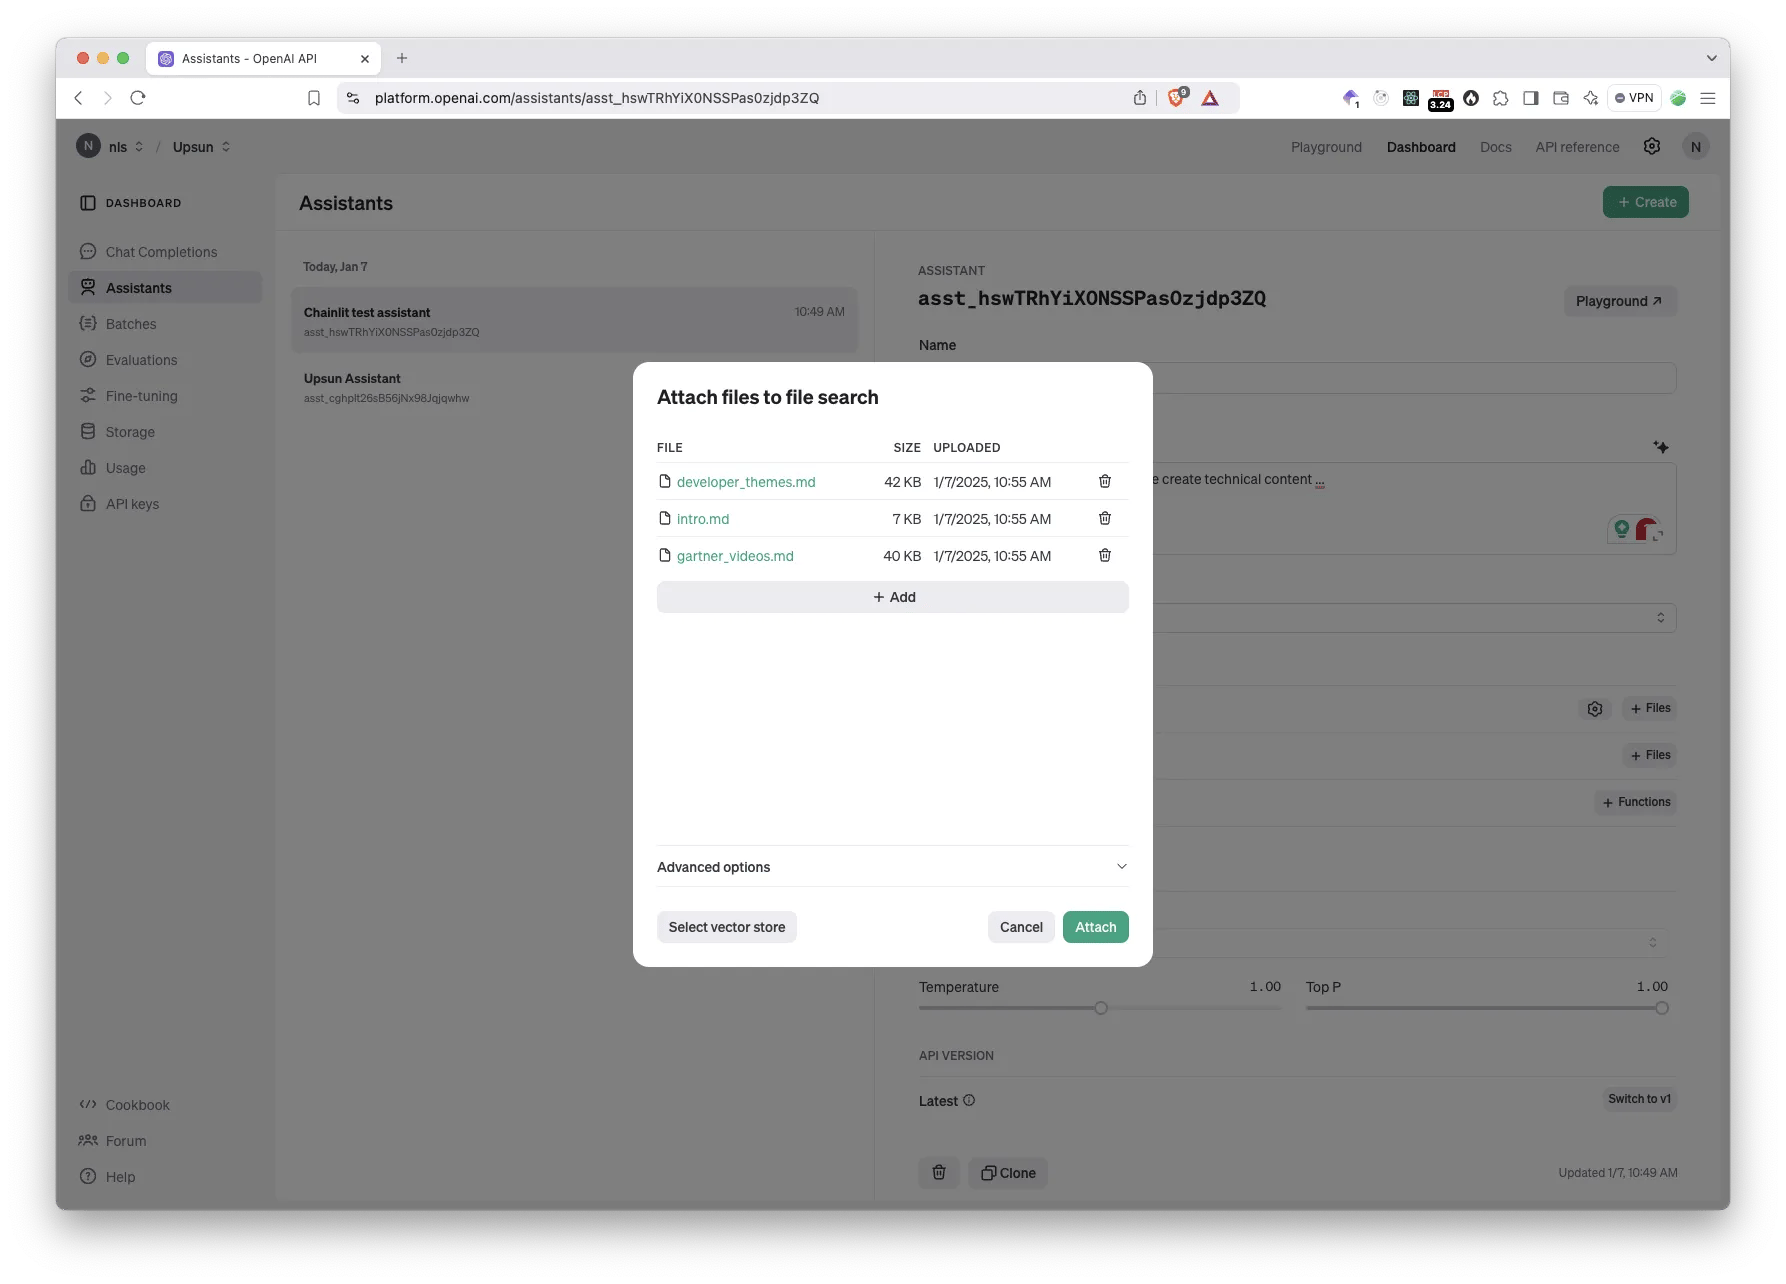
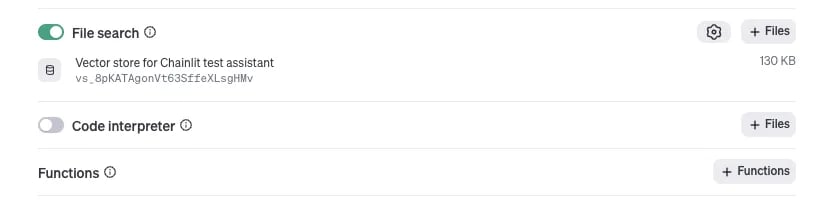
💡 You can reuse an existing vector store on a different assistant if you want!
Adding the assistant logic.
Openapp.py and replace the content with the code below:
on_chat_start is called when a new chat is created. It creates a new thread on OpenAI to handle the conversation and start it with a new welcome message.
on_message is triggered whenever the user is submitting a new message. It sends the content to the OpenAI API on the thread and then launches a stream. You can find more information on how they work on the official documentation.
To summarize, instead of getting the answer as part of the HTTP response of the Message request, we have to poll the Threads API to find new messages that would have been created. It’s a bit more cumbersone but allows OpenAI to perform multiple operations asynchronously and add the results into the thread.
Commit the changes and deploy
Let’s state and commit the changes:Test the Assistant
Go to the deployed Chainlit instance and ask any question related to the content you uploaded:Second implementation: OpenAI + llama_index
So the goal for this version will be to build the knowledge locally and then rely on OpenAI to output the final form.Create a new branch
Let’s kickstart this by working on a new environment/branch:Add two new folders and mounts to store our data
Create the folders first on your machine:data will be used for our source documents and storage will handle the cached VectorStore.
Let’s update our app
We will not be using the OpenAI assistant there so the code will be a lot simpler:text-embedding-3-small (line 39) to embed our documents into our VectorStore.
query_engine (lines 43-44). It will be passed alongside every message and will contain the result from the k-search of our vector store. You can note that we are using a similarity_top_k param to define how many documents should be matched when searching.
⚠️ I carefully set the
Settings.num_output (line 41) so llama does not give me a bigger context window than what OpenAI can take. You can get a lot of context in the query and longer answers by increasing these values but this will obviously consume more tokens and generate higher bills so be mindful!Deploy the new environment
As usual, commit and push!Yes and the new app will be deployed in a new isolated environment.
Push some data
In order to have some documents to work with on the Upsun environment, you can automatically upload yourdata folder:
Test llama_index
Once deployed, head over to your environment (llama-index-sukwicq-[project id].[region].platformsh.site) and test a prompt:
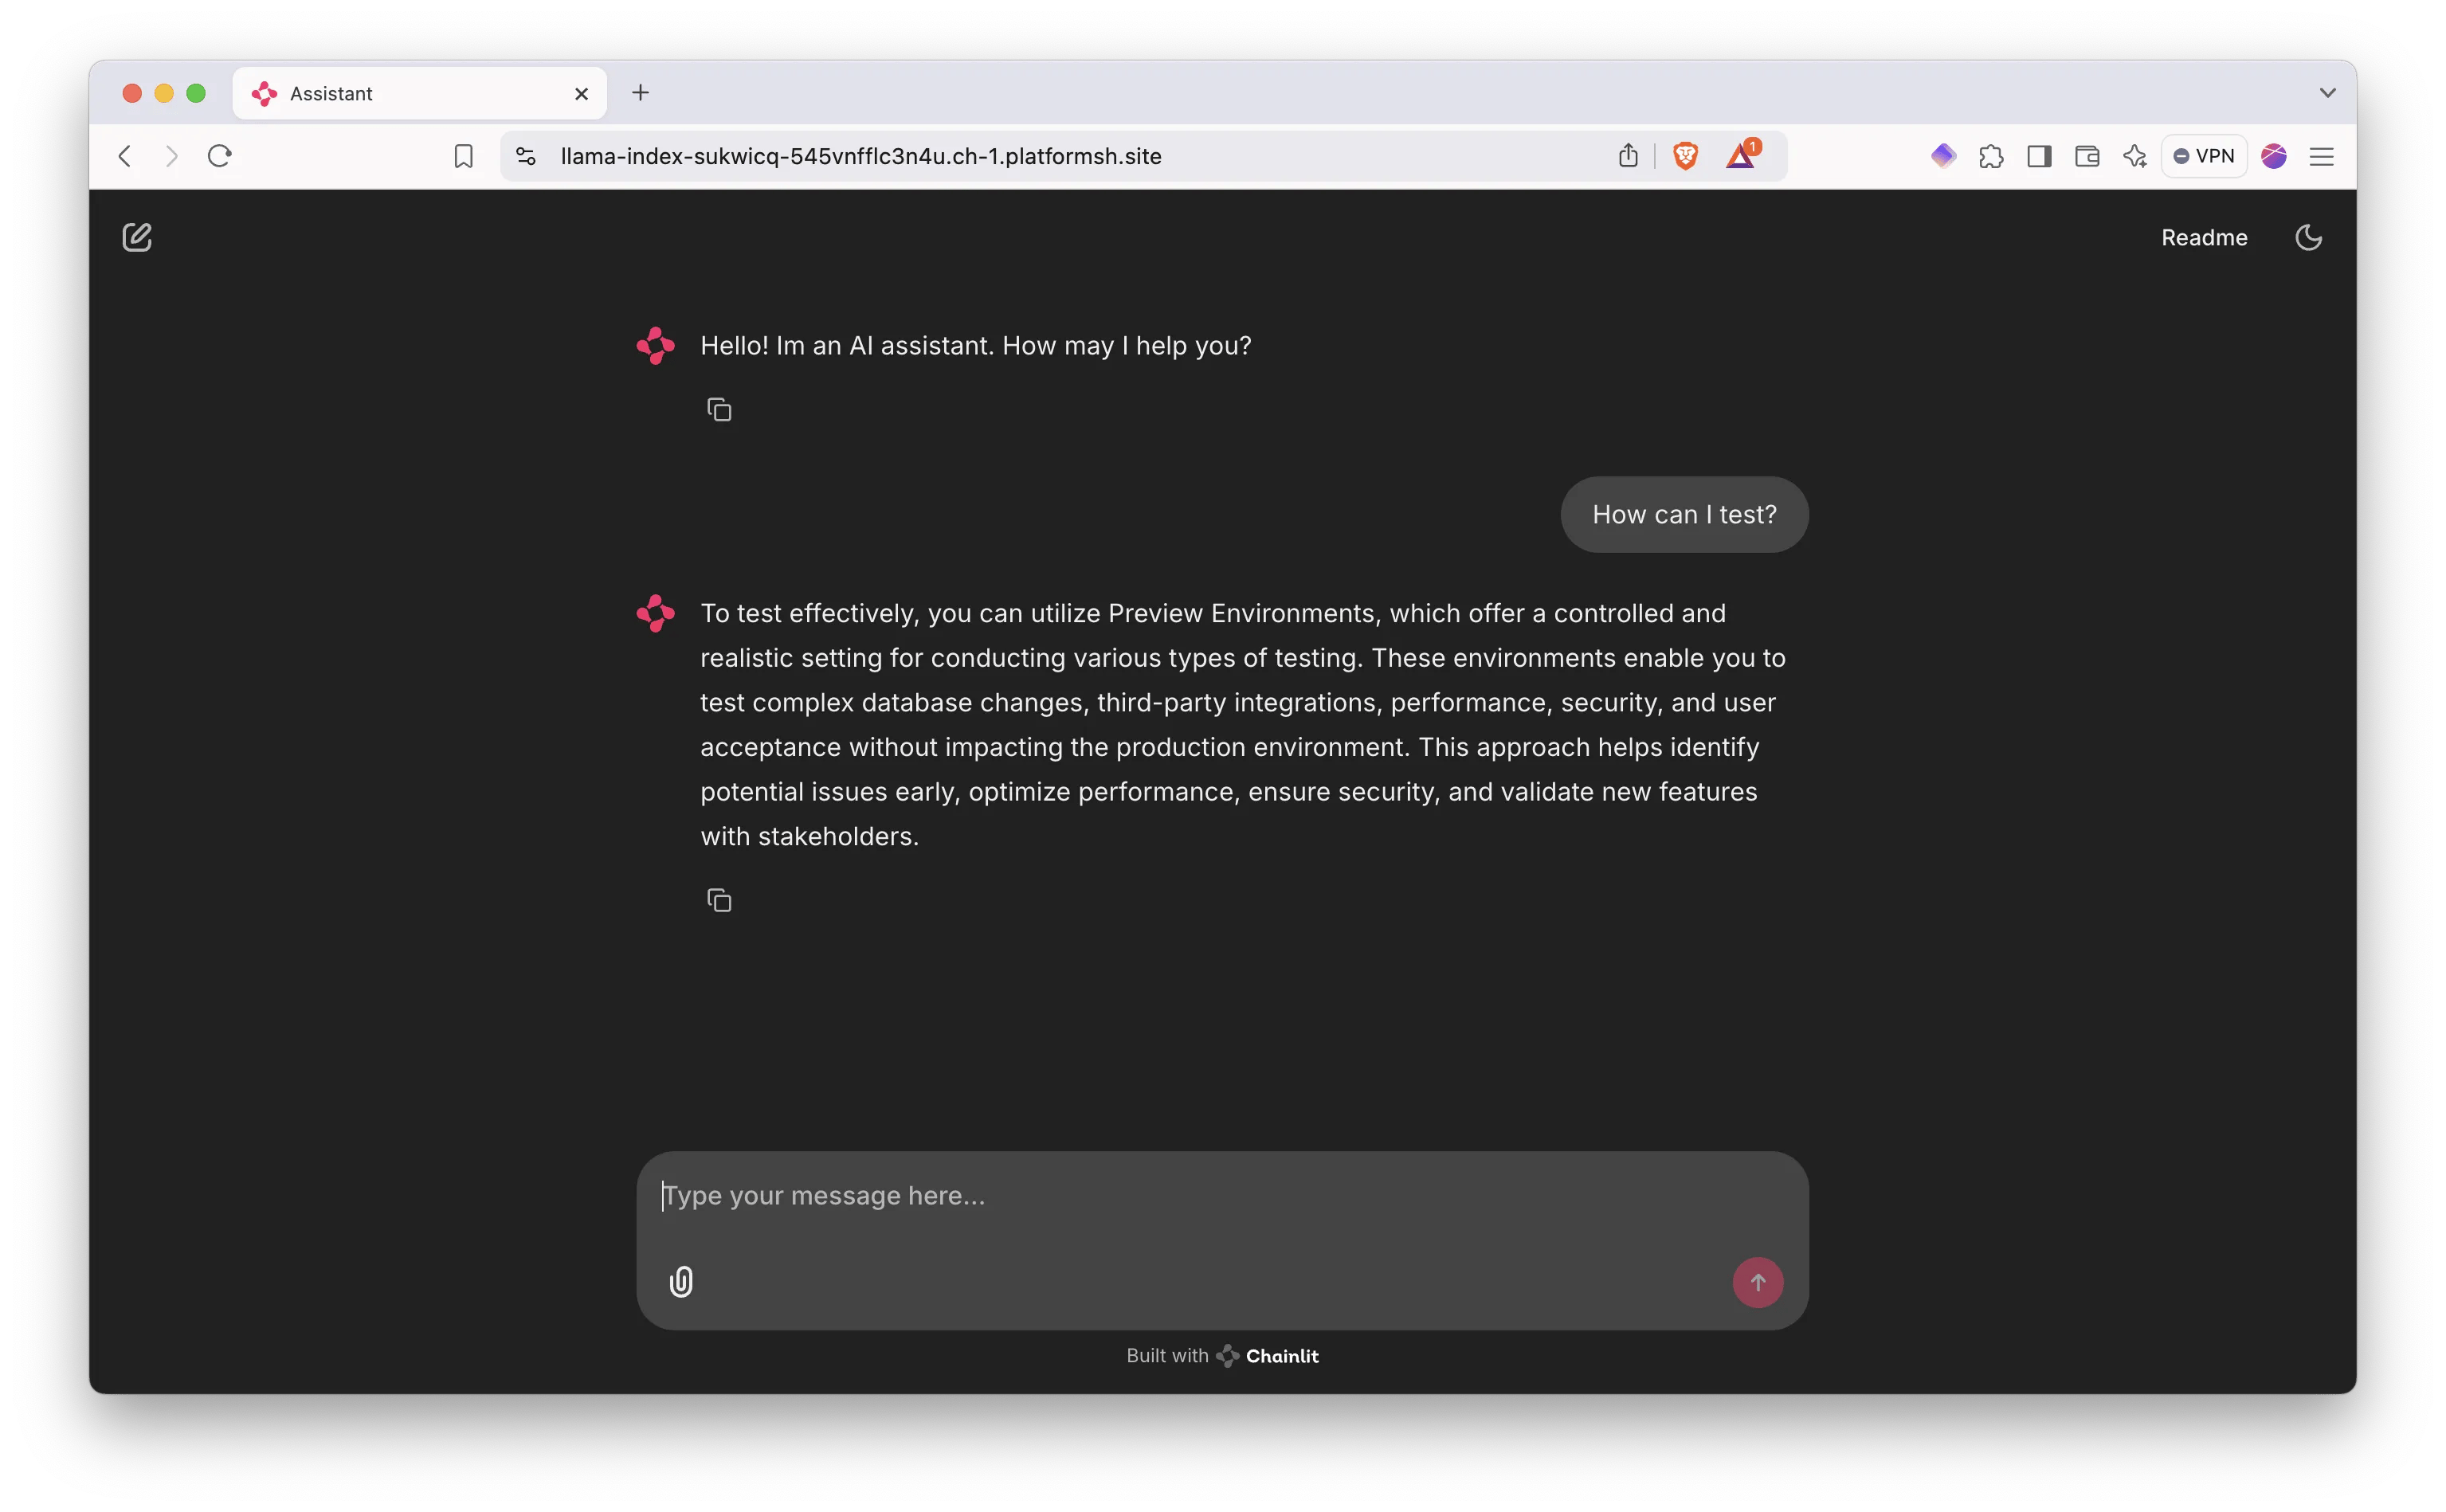
file_search, the response does not give you the source of the data as it was passed directly from llama_index to OpenAI.
💡 While most of our system relies on local data, we are still generating the final answer through OpenAI. If you wanted to run everything locally, you could rely on Chainlit being capable of querying model like SmolLM running locally.
Bonus: Adding authentication to Chainlit
Now that our Chainlit application is deployed and available, it would be great to add some form of authentication to make sure only you and your folks can access it. While Chainlit has many capabilities for this, we will go for the simpler route of using asqlite database for this.
Create the database folder
Add the auth logic to our application
First let’s add a new environment variable:app.py:
@cl.password_auth_callback will automagically add a login form to our app. The logic in auth_callback is pretty simple right there. Feel free to change it the way you want.
We are hashing the form password and looking up for a user that matches both username and password. If so we return the user with the admin privileges.
Create a simple script to generate hashed passwords
Adding users
Now it’s just a matter of creating new records in theusers table of our auth.db. Don’t forget you need to put the hashed version of the password in the database! You can either run queries through the CLI or use GUI:
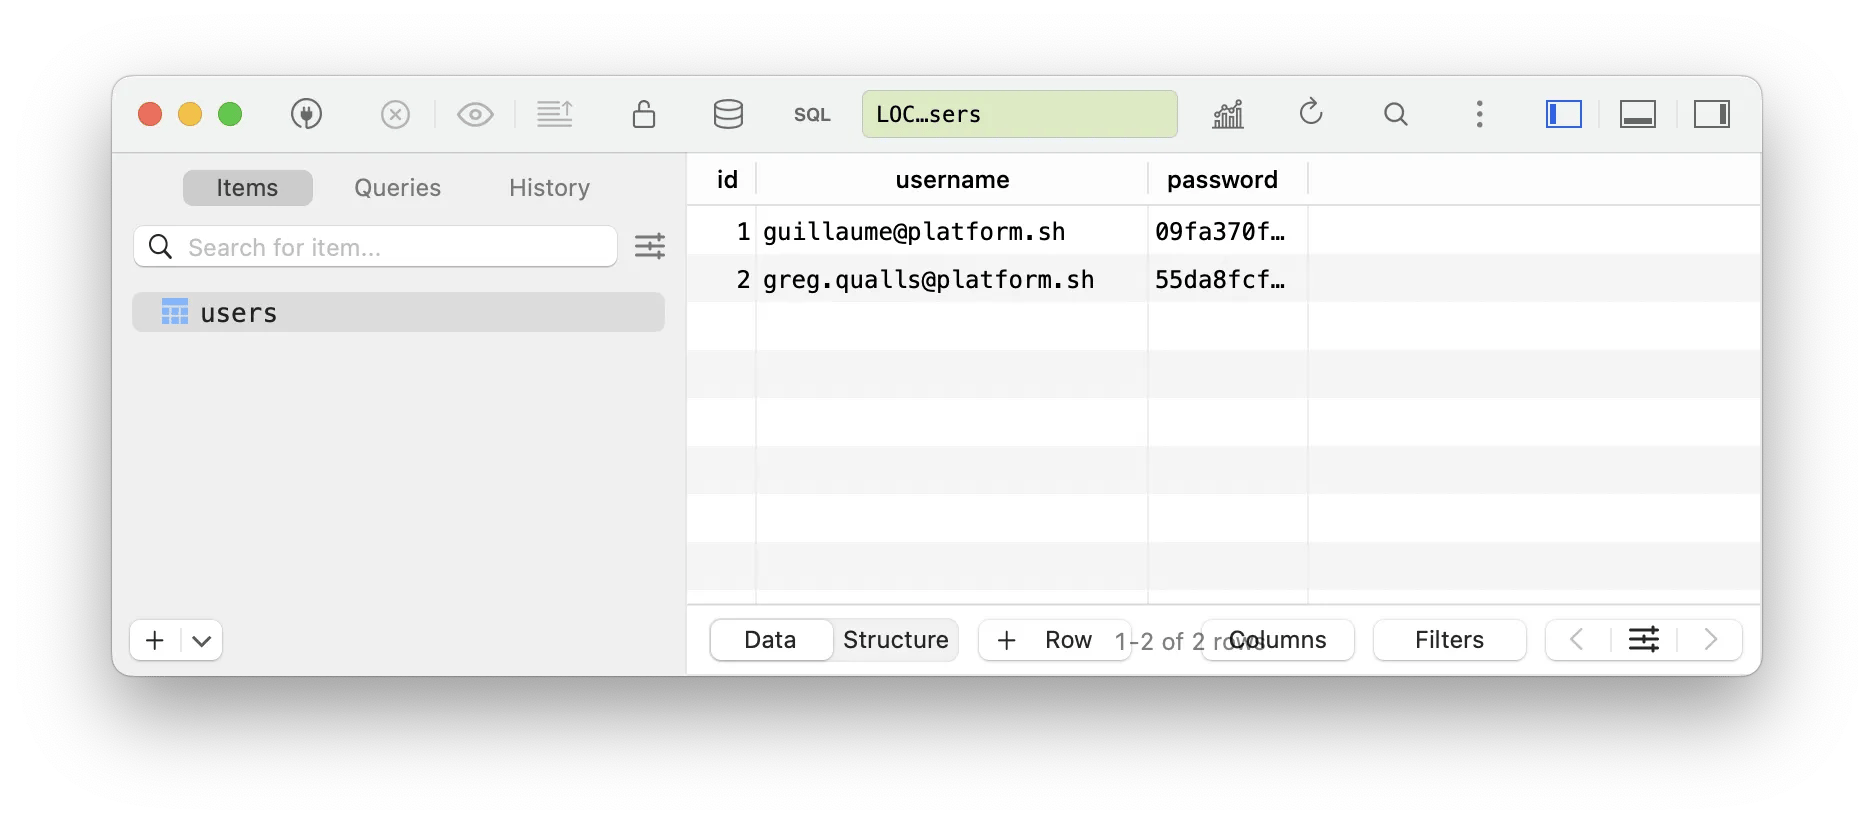
Deploy the authentication
As usual, commit and push:sqlite database:
Login now!
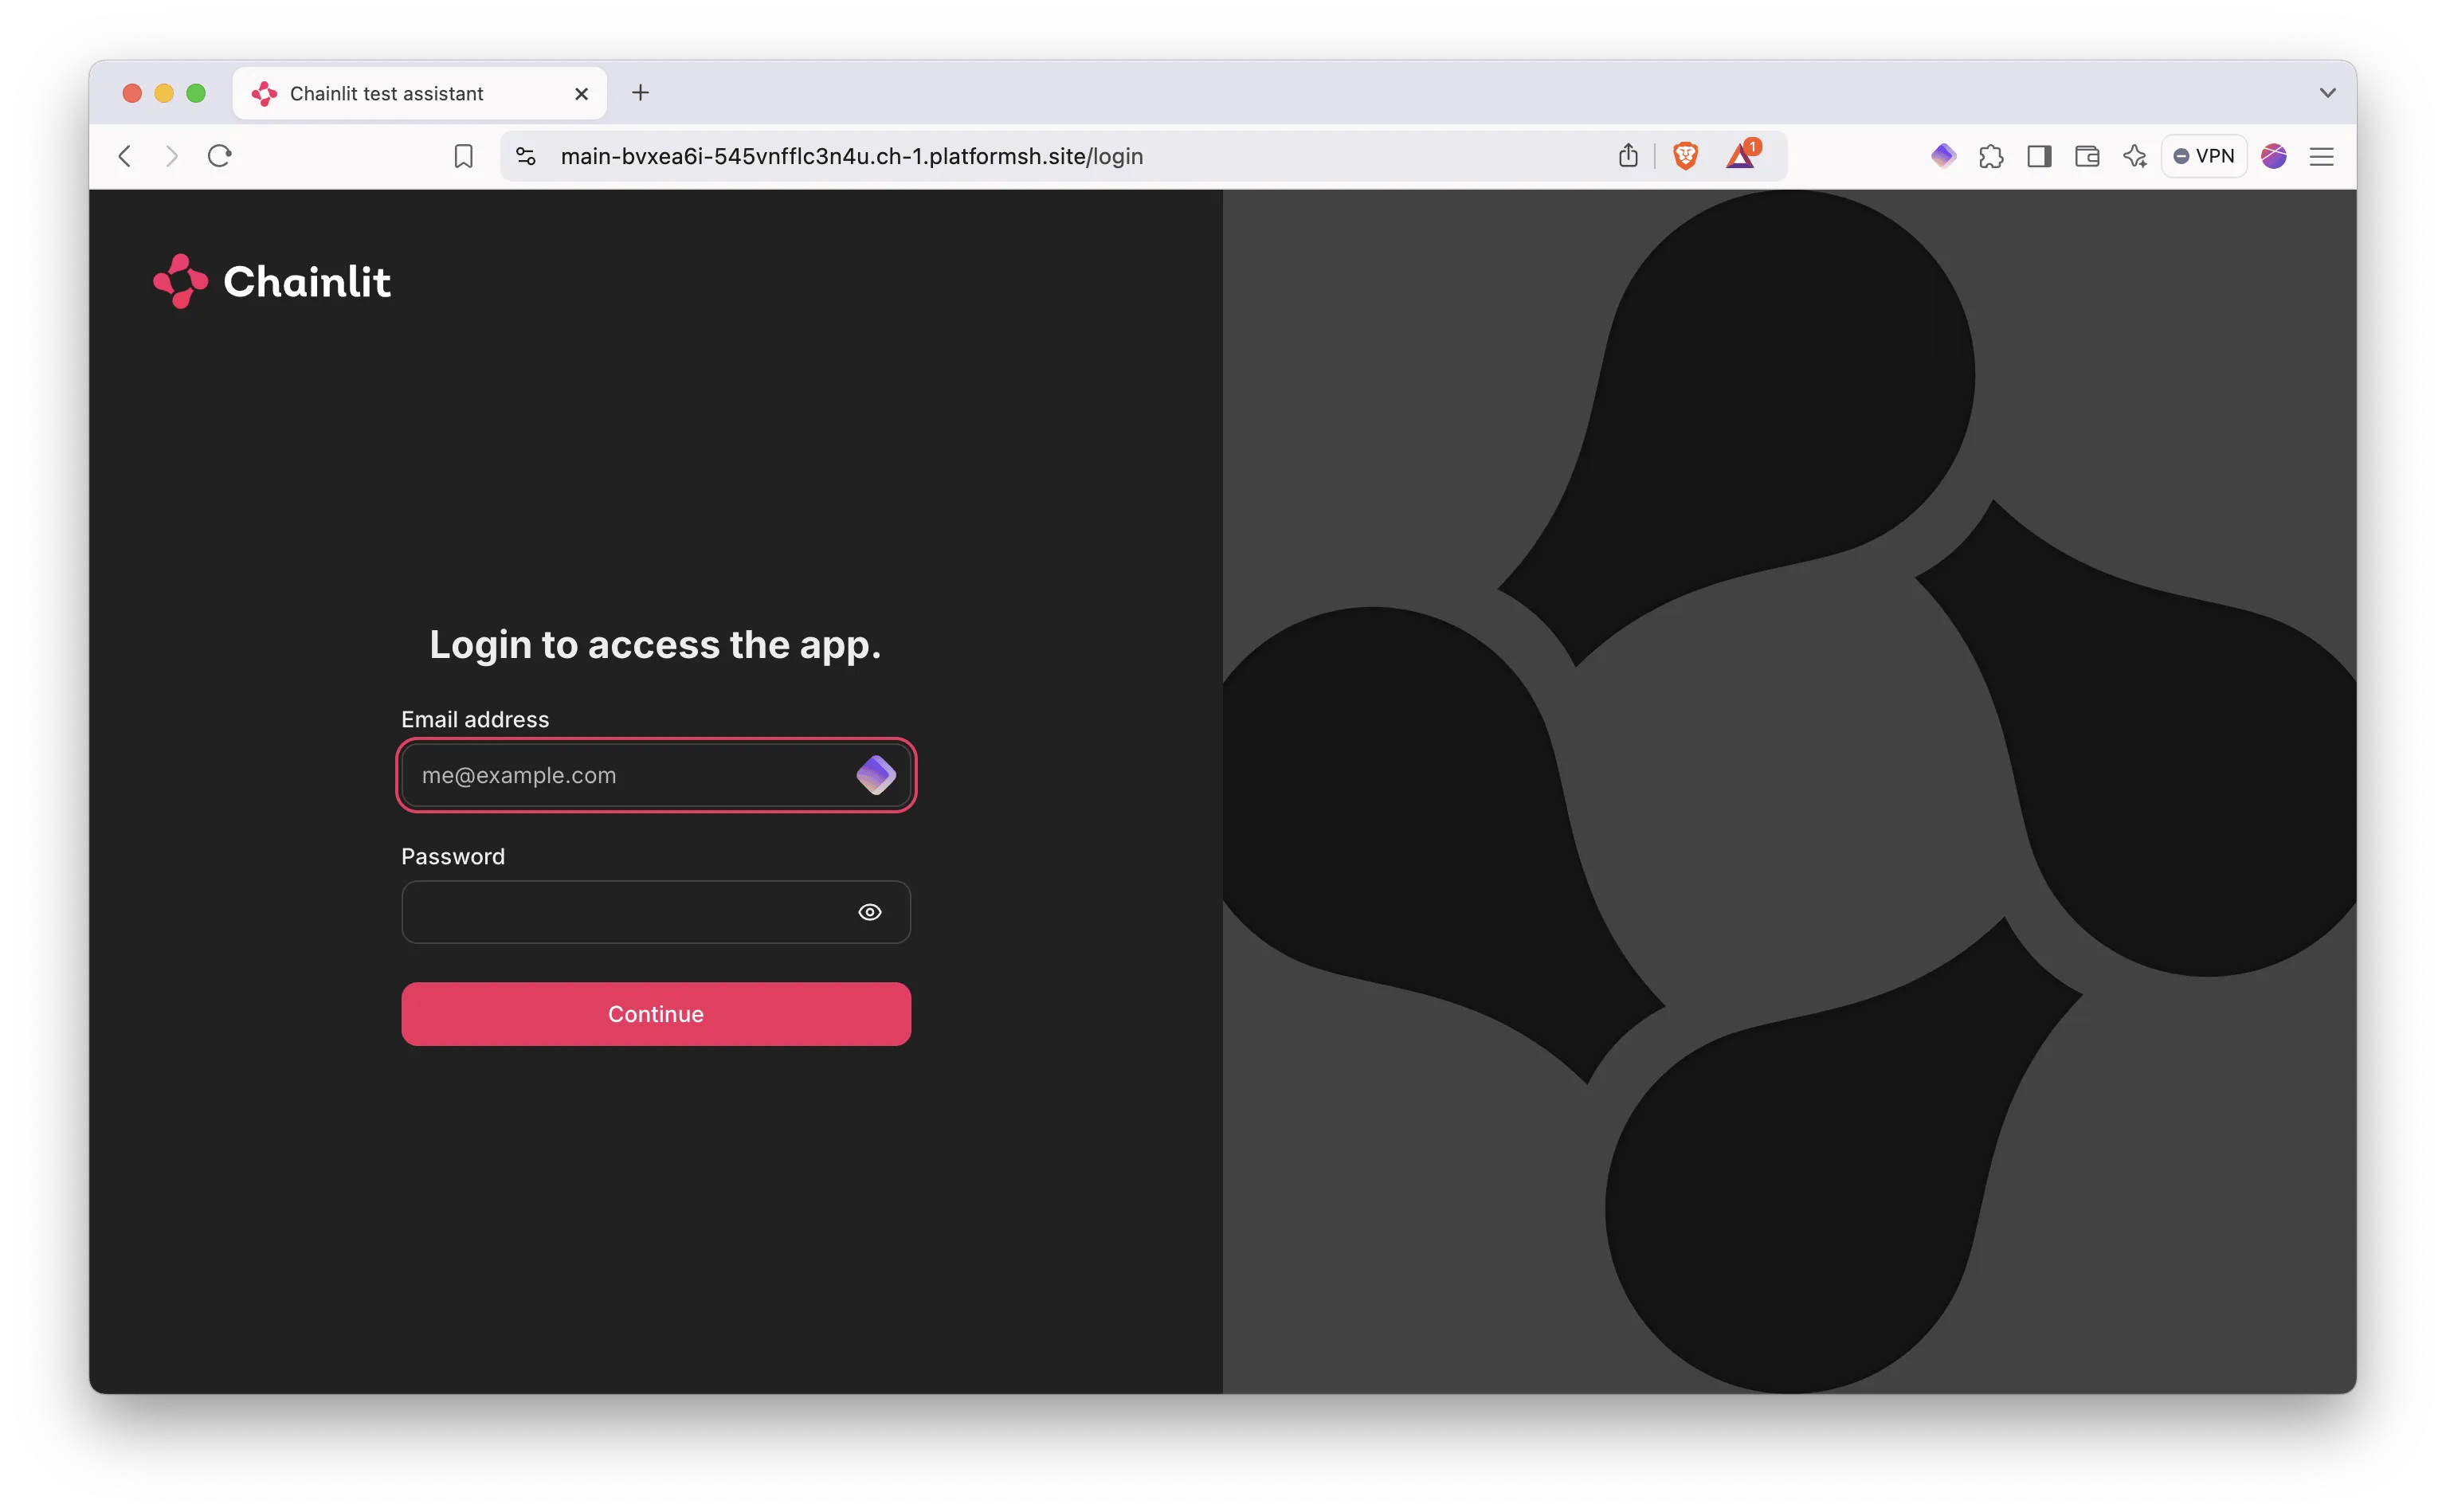
You now need to input your credentials to login to your Chainlit interface: