

 Dispatch
 Cloud
CloudOverview
Drupal CMS, born of DrupalCon 2024 initiative “Starshot”, has been released today. This now default download of Drupal, built on Drupal core, packages common recipes and features into a simpler experience and installation process to launch Drupal sites fast.Alternative approachThis tutorial will take you through each step of setting up Drupal on Upsun - from building the project skeleton to defining infrastructure in YAML, with the goal of demonstrating how all the pieces fit together.This may not be for everyone, though.
Thankfully, the Upsun Activation team has released a complementary article in our Support Forum describing an internal scaffold plugin which will automatically create the required files described here.
Steps
Quickstart
Set up the new project according to the download instructions:- Drupal CMS
- Drupal 11
cd upsun_drupal), add the following to a new .gitignore file:
Setup locally with DDEV
- Drupal CMS
- Drupal 11
Next, use the provided If you’ve used all the defaults up to this point, you’ll now be able to view the Drupal CMS project locally with DDEV at http://upsun-drupal.ddev.site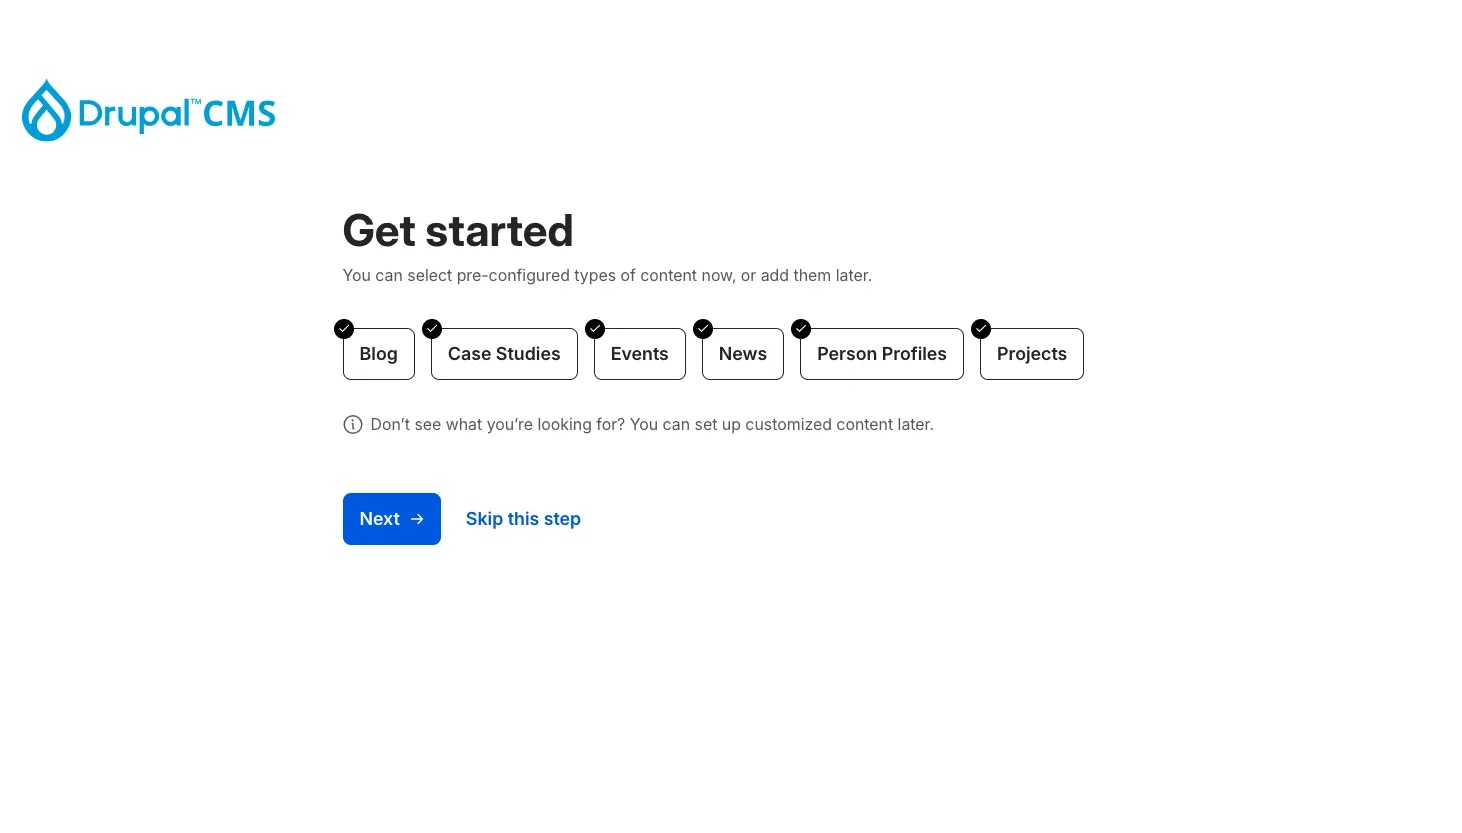
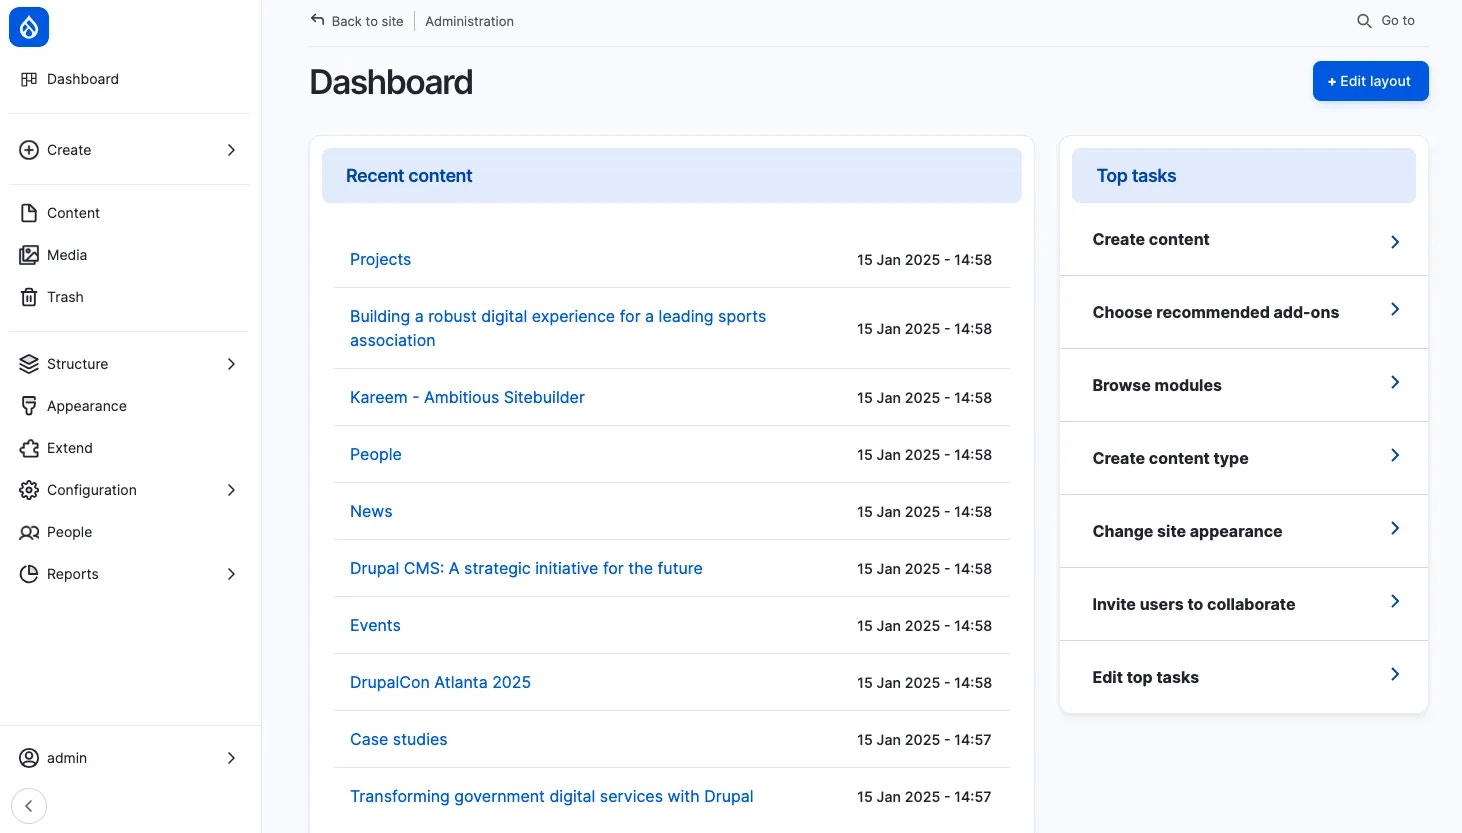
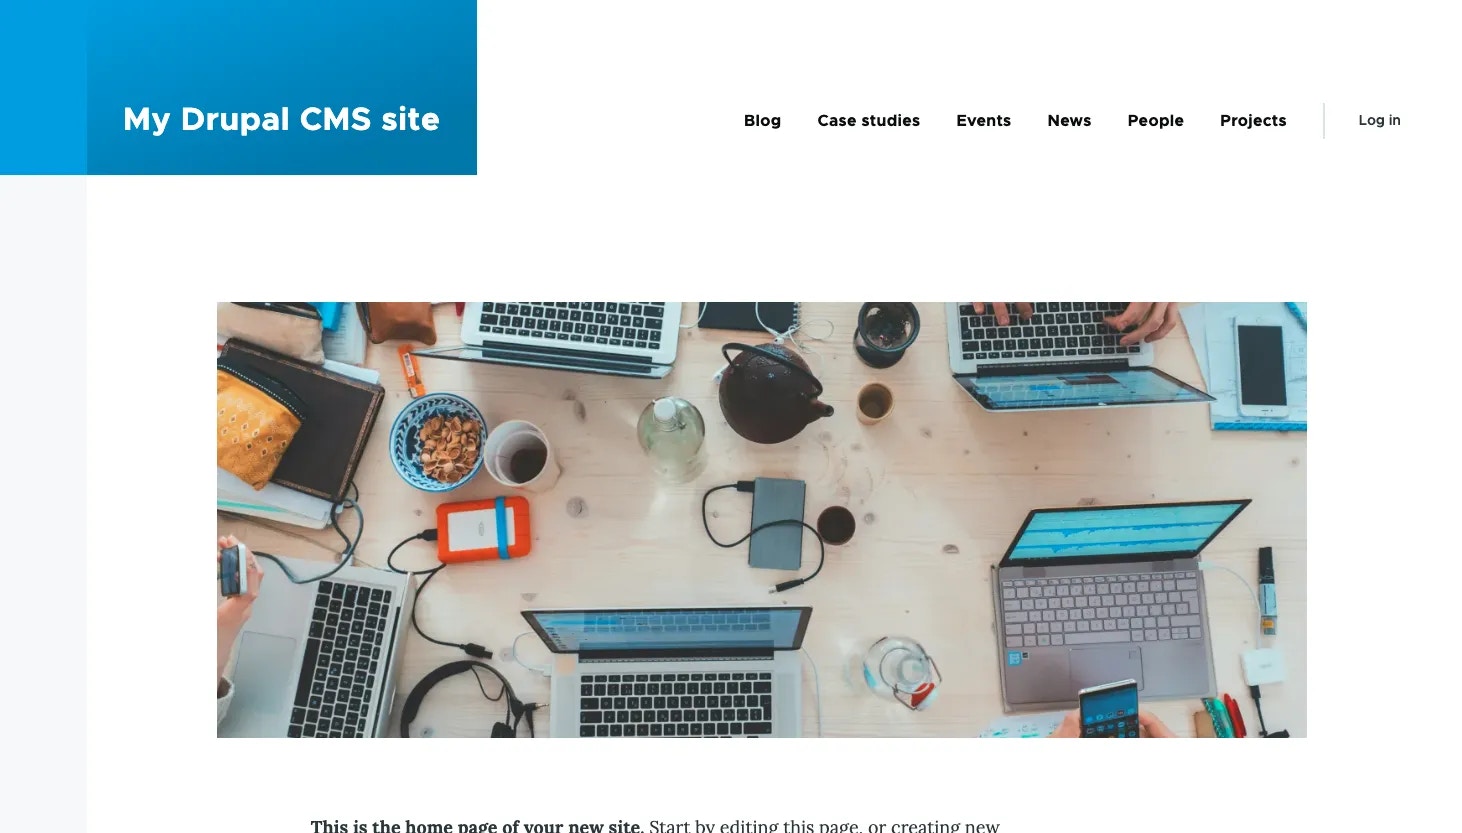
launch-drupal-cms.sh file to set up some additional scaffolding with the help of DDEV (version 1.24.0 or later):My Drupal CMS site.
After creating my admin user, I’ll be able to view my content dashboard and the final site,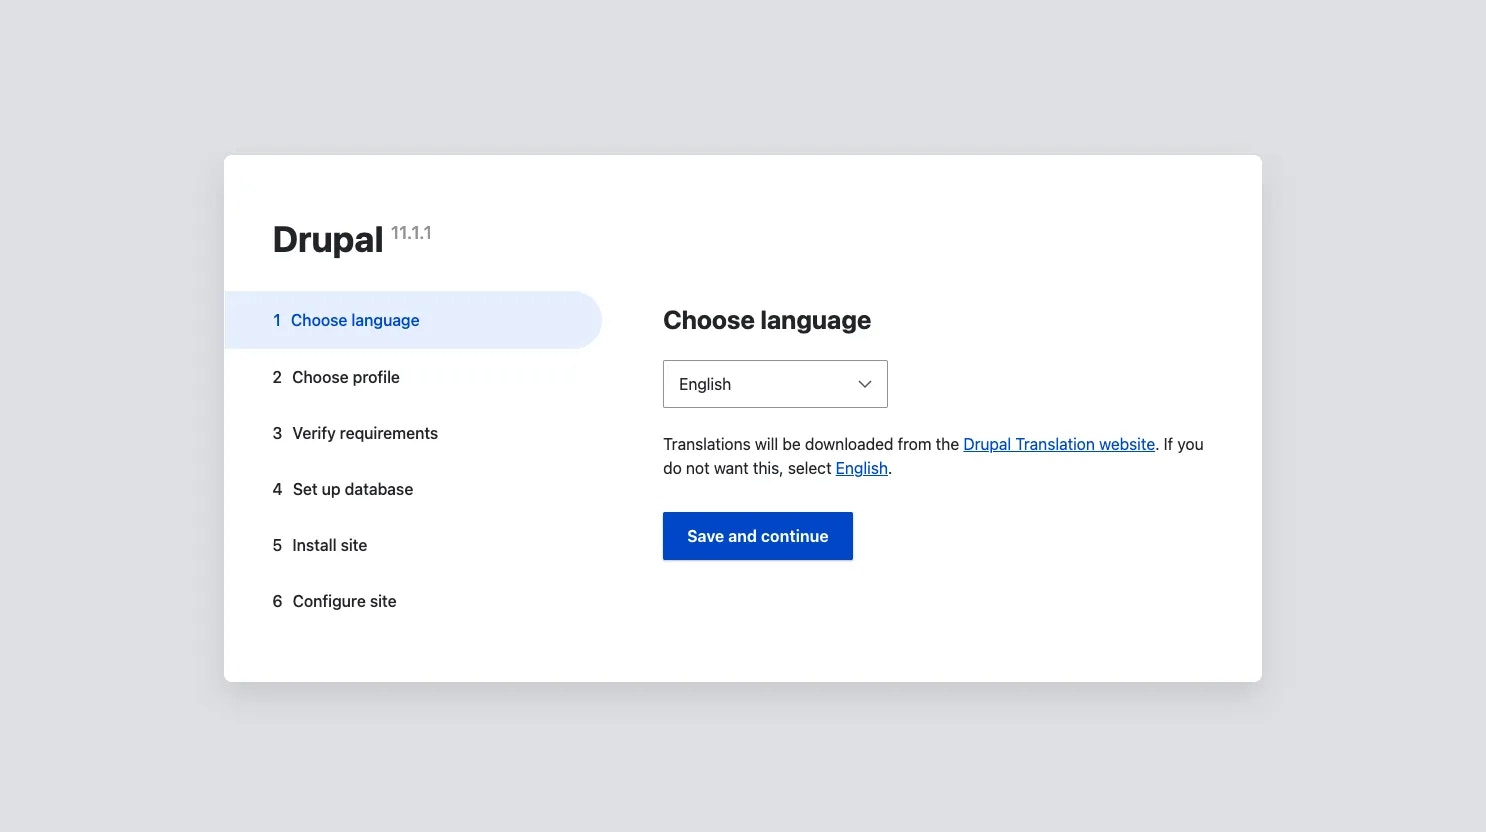

Upsun first steps
Now, use the Upsun CLI to create a new project.project:init to setup some base configuration for a PHP application using MariaDB and Redis through the prompts.
Configure
Open the.upsun/config.yaml file that’s been generated and replace with the following:
Variables
Next, theproject:init command created a .environment file for us, containing environment variables for our two services (MariaDB and Redis). Append the highlighted Drush configuration to the bottom of that file:
settings.php
Open web/sites/default/settings.php and append the following highlighted portion to the bottom of that file, just below the DDEV configuration.
Upsun-specific settings
Then create a new Upsun-specific settings fileweb/sites/default/settings.upsun.php that leverages the variables defined in .environment that contains the following:
config/sync
Create the config/sync empty directory referenced in this settings file:
Configuration reader
Install the helpful Config Reader library, which is required, and will help us to pull routing details for each environment into our settings (highlighted in the snippet in the next step).Deploy
Commit these new files, and push to the Upsun production environment:- Drupal CMS
- Drupal 11
Syncing data
Click the dropdown showing your name in the upper right hand corner of the Upsun management console, and select the API Tokens option. Create and copy a new token. Then, using the DDEV CLI, update your global DDEV configuration (if you haven’t done so already) to connect with Upsun.Success!
Through these steps you will have successfully migrated either Drupal CMS or a skeleton Drupal 11 project, from scratch, to Upsun. Hopefully these steps provide you with enough context such that you can perform a custom migration with your own Drupal applications.
Be seeing you!