upsun sql, a quick way to run queries against your database from the command line. But sometimes you want more than a basic prompt. You want autocomplete, syntax highlighting, a visual schema browser, and the ability to scroll through large result sets. That’s where Harlequin comes in.
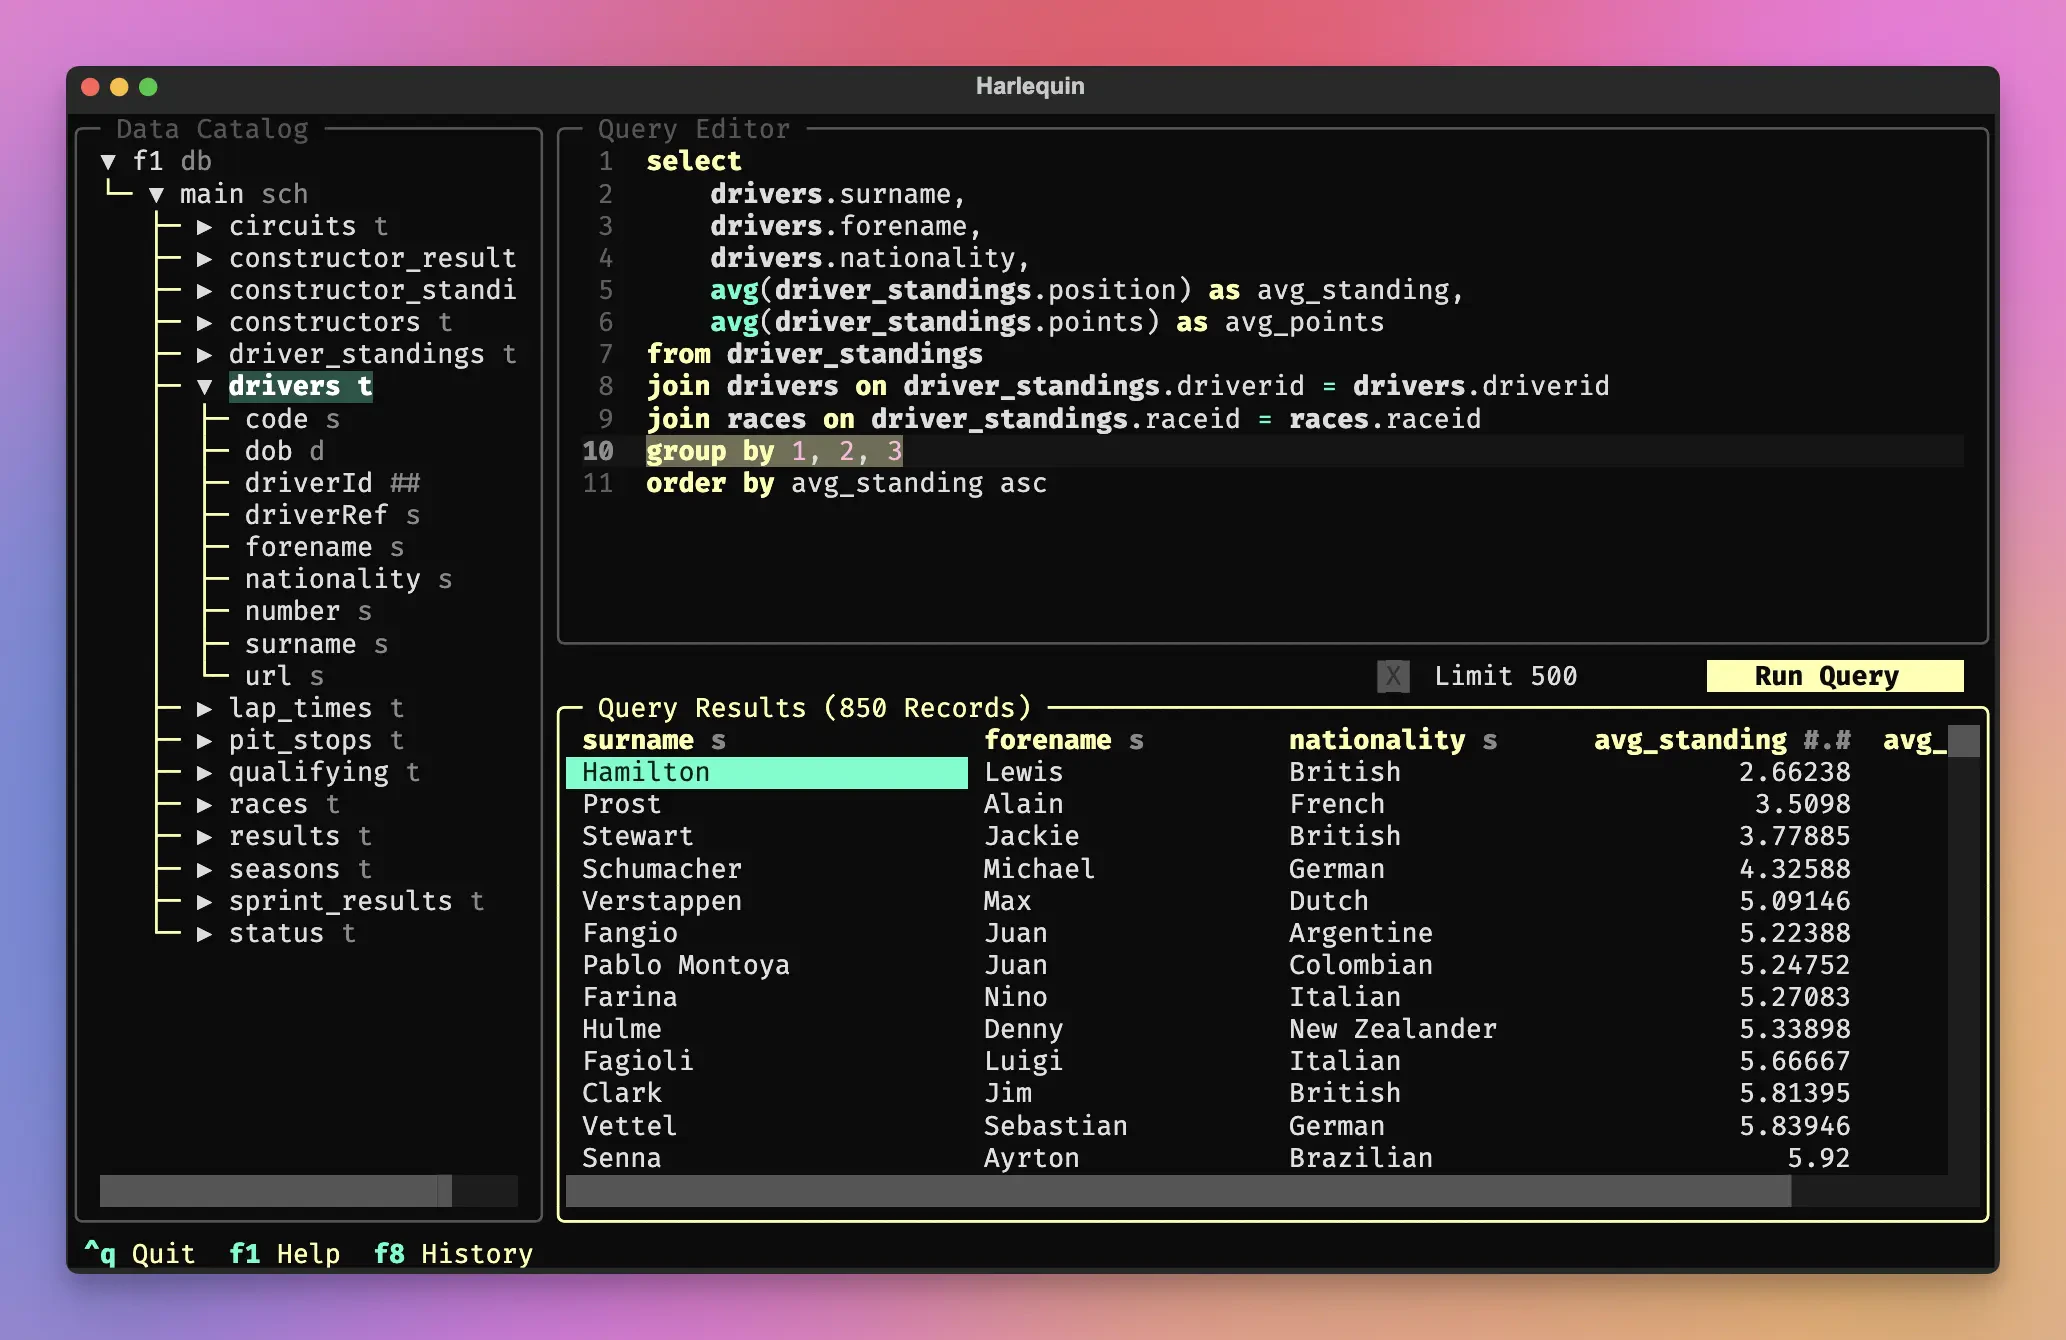
Harlequin is a terminal-based (TUI) SQL IDE that brings a rich, interactive experience to your shell. It includes a data catalog for browsing tables and columns, a query editor with autocompletion, and a results viewer that handles millions of rows. All without leaving your terminal.
This tutorial covers two ways to use Harlequin with your Upsun PostgreSQL database:
- Run Harlequin locally and connect through an SSH tunnel
- Install Harlequin on your Upsun environment and access it via SSH
Prerequisites
Before you start, make sure you have:- An Upsun account with a project deployed
- A PostgreSQL service configured in your
.upsun/config.yaml - The Upsun CLI installed and authenticated
- For Option 1: Python 3.10+ and uv (or pip) installed locally
.upsun/config.yaml:
Option 1: Run Harlequin locally with an SSH tunnel
This approach keeps Harlequin on your local machine and connects to Upsun through a secure SSH tunnel. It’s ideal for day-to-day development when you want quick access to your database without modifying your deployment.Install Harlequin with the PostgreSQL adapter
Harlequin uses adapters to connect to different database types. Install both Harlequin and its PostgreSQL adapter:Open an SSH tunnel to your Upsun services
The Upsun CLI can create SSH tunnels to all services in your environment. Run:- Host:
127.0.0.1 - Port:
30000 - Username:
main - Password:
main - Database:
main
Connect Harlequin to the tunnel
With the tunnel open, launch Harlequin using the connection details:Explore your database
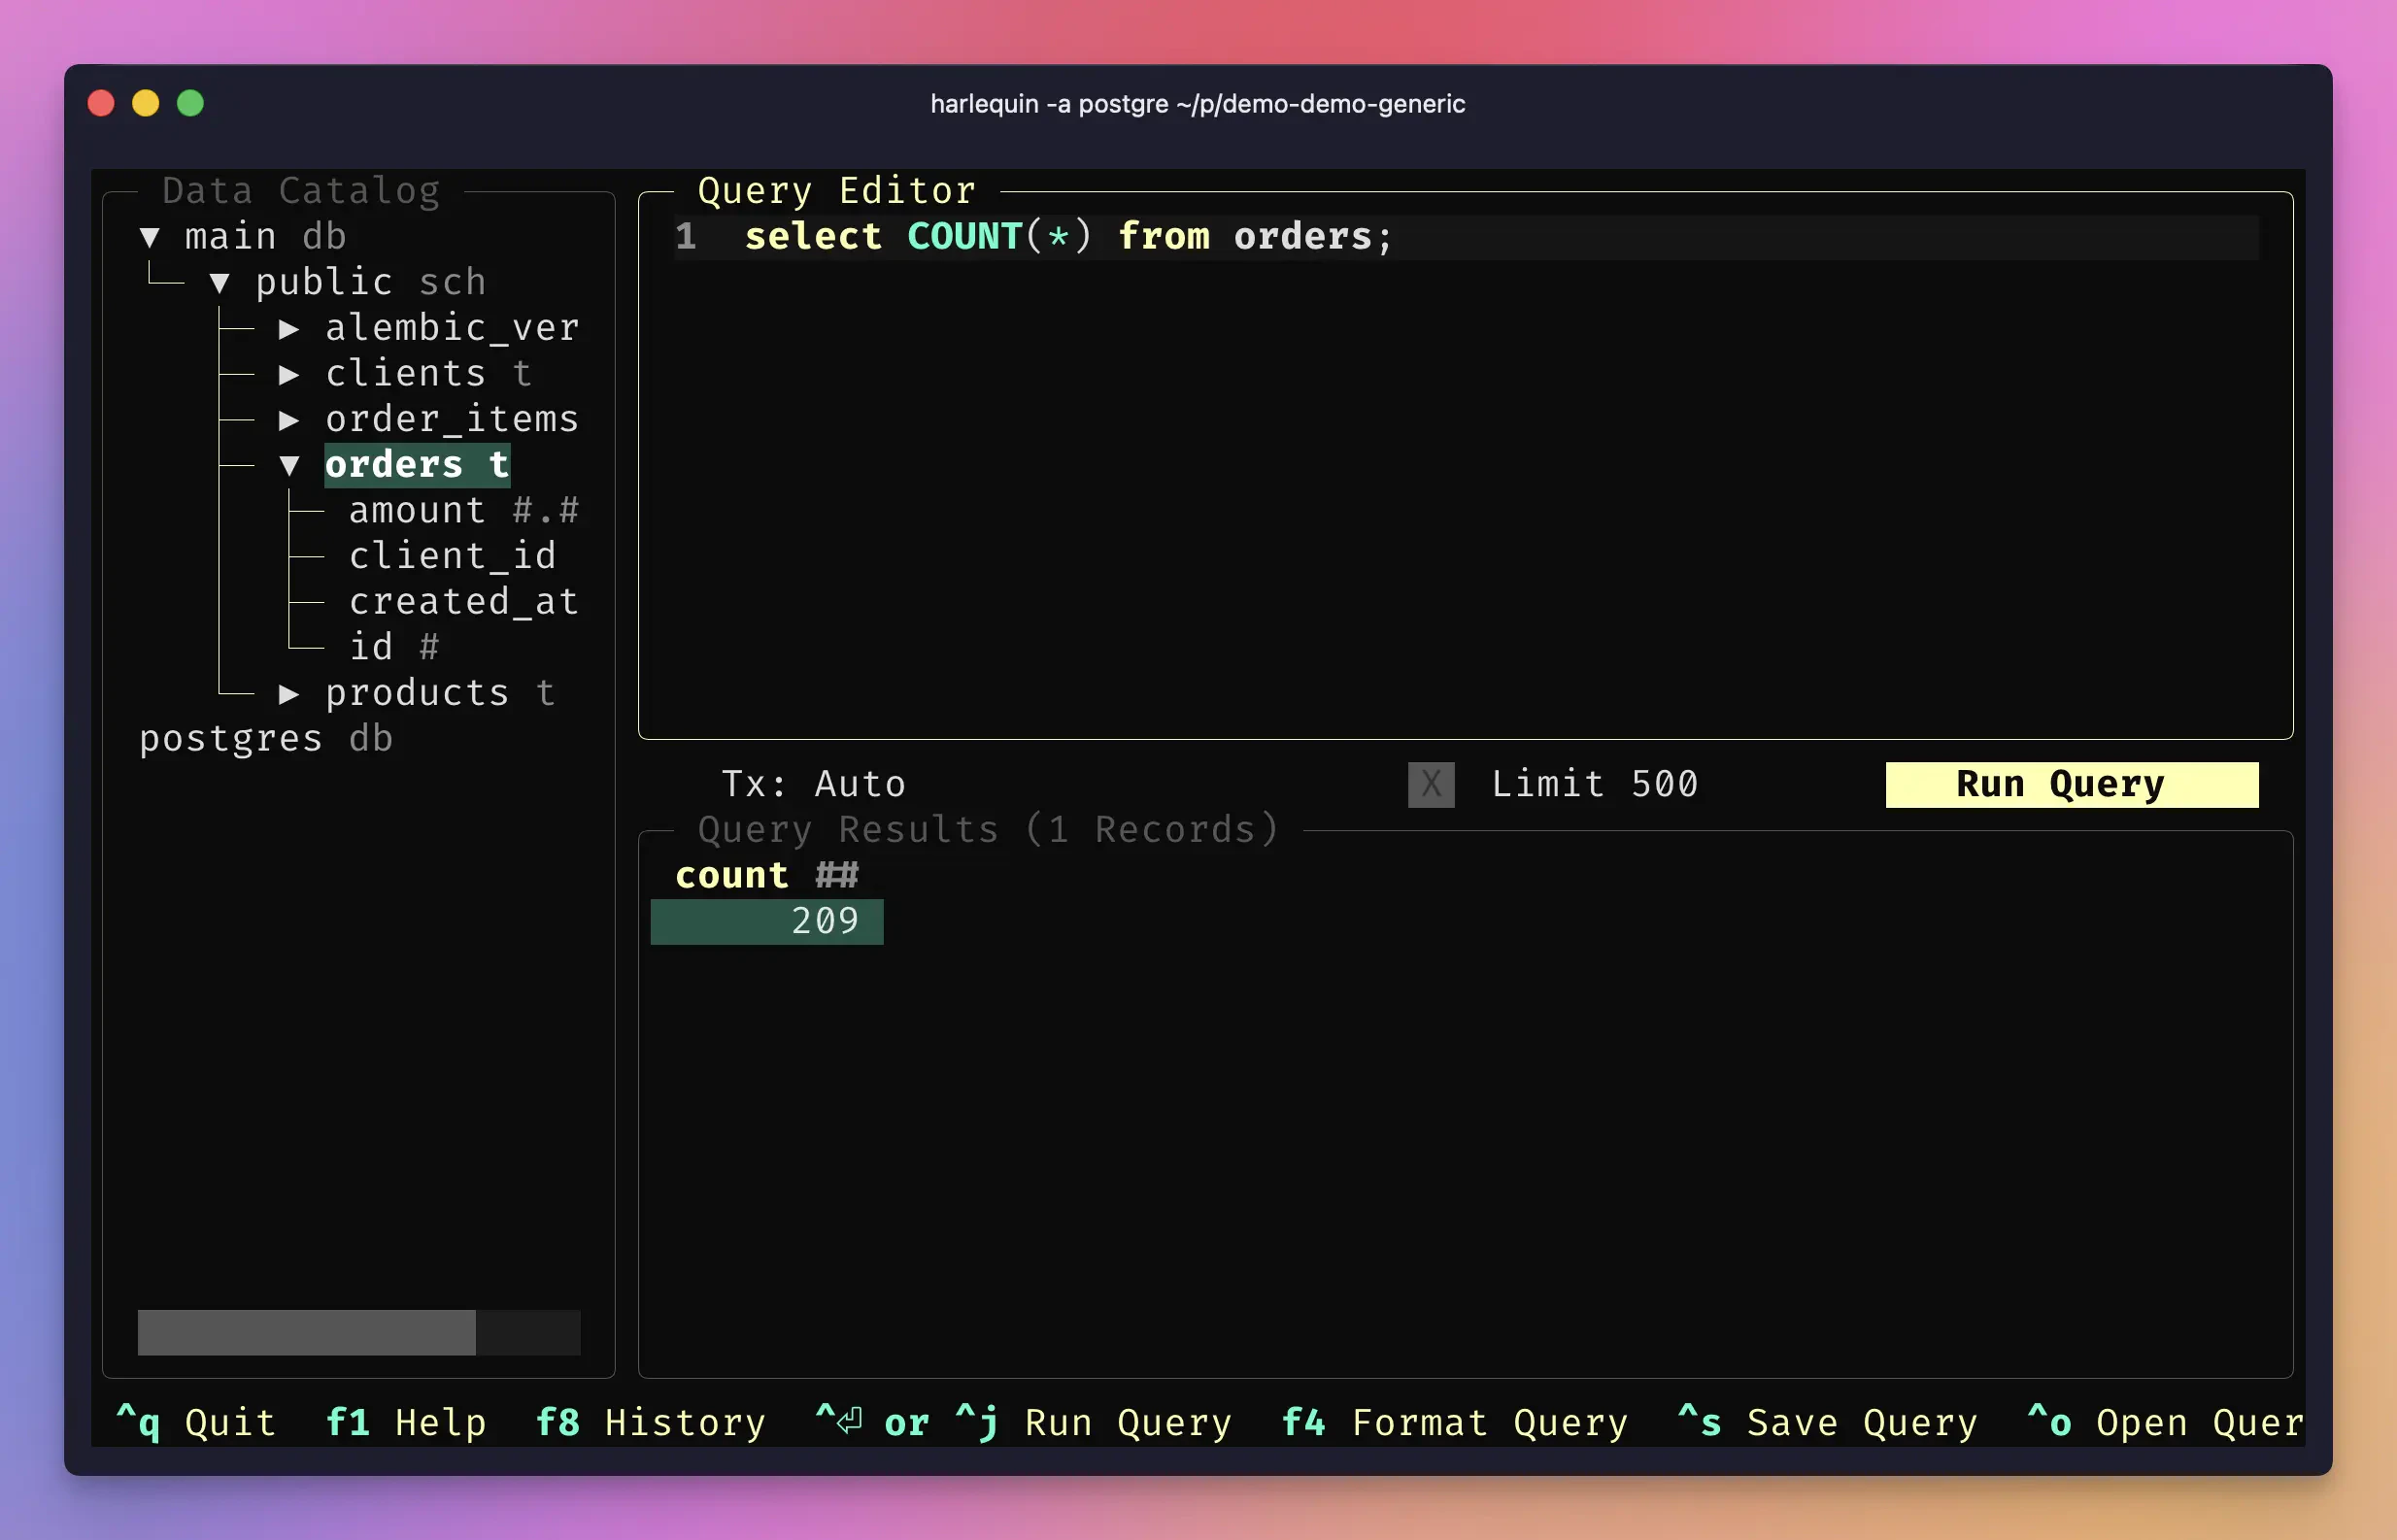
- Browse the data catalog: The left sidebar shows all schemas, tables, and columns in your database
- Write queries: The center pane is a full-featured editor with syntax highlighting and autocomplete (press
Ctrl+Spaceto trigger suggestions) - View results: Execute queries with
Ctrl+Enterand scroll through results in the bottom pane - Export data: Select results and export to CSV, JSON, or Parquet formats
F1 to see all keyboard shortcuts.
When you’re done, close the tunnel:
Option 2: Install Harlequin on Upsun
If you prefer to keep your tools on the platform, or want consistent access for your team, you can install Harlequin directly in your Upsun environment. Since Harlequin is a terminal UI, you’ll access it by SSH-ing into your container.Add Harlequin to your build hook
Modify your.upsun/config.yaml to install Harlequin during the build phase. Add the pip install command to your existing build hook:
Deploy your changes
Commit and push your configuration changes:SSH into your environment
Connect to your running container:Launch Harlequin
Upsun generate one environment variable for the database DSN automatically (see Service Environment variables):relationships name in the myapp section of the .upsun/config.yaml file (e.g. database: in the example above)
You can now launch Harlequin:
PATH variable in the deploy hook of your application:
Tips and best practices
Create a shell alias for quick access
If you use Option 1 frequently, add an alias to your shell configuration:Use read-only credentials for safety
When exploring production data, consider creating a read-only PostgreSQL user to prevent accidental modifications. You can configure additional database endpoints in your services configuration.Keyboard shortcuts
Here are the most useful Harlequin shortcuts:| Action | Shortcut |
|---|---|
| Execute query | Ctrl+Enter |
| Autocomplete | Ctrl+Space |
| New query tab | Ctrl+N |
| Close tab | Ctrl+W |
| Focus data catalog | Ctrl+B |
| Help / all shortcuts | F1 |
| Quit | Ctrl+Q |
Query history
Harlequin automatically saves your query history. PressF8 to browse previous queries and re-run them.
Conclusion
You now have two ways to use Harlequin with your Upsun PostgreSQL database:- Local installation with SSH tunnel: Best for individual developers who want quick, on-demand access
- Installed on Upsun: Best for team environments or when you want tools available directly on the platform