How MCPs automate scenario generation
Model Context Protocol (MCP) servers connect AI assistants like Claude Code to external data sources and tools. By combining two MCPs, you can automate load test creation:- Chrome MCP - Analyzes your live application by browsing pages, extracting navigation patterns, and understanding user flows
- Context7 MCP - Retrieves current Locust documentation to generate syntactically correct test code
Setting up your environment
Before generating tests, configure both MCP servers in your Claude Code environment.Install Chrome MCP
The Chrome MCP lets Claude Code control a Chrome browser to explore your application:The
--scope user parameter make the MCP global for all projects.Configure Context7 MCP
Context7 provides access to technical documentation:Install the Locust tool
Set up Locust in a virtual environment to keep dependencies isolated:deactivate.
Generating load tests for an e-commerce site
Let’s generate Locust tests for an e-commerce platform. This example demonstrates how Claude Code uses both MCPs to create realistic user scenarios. We are going to use the Magento Association website as an example:
Upsun resources for preview environments
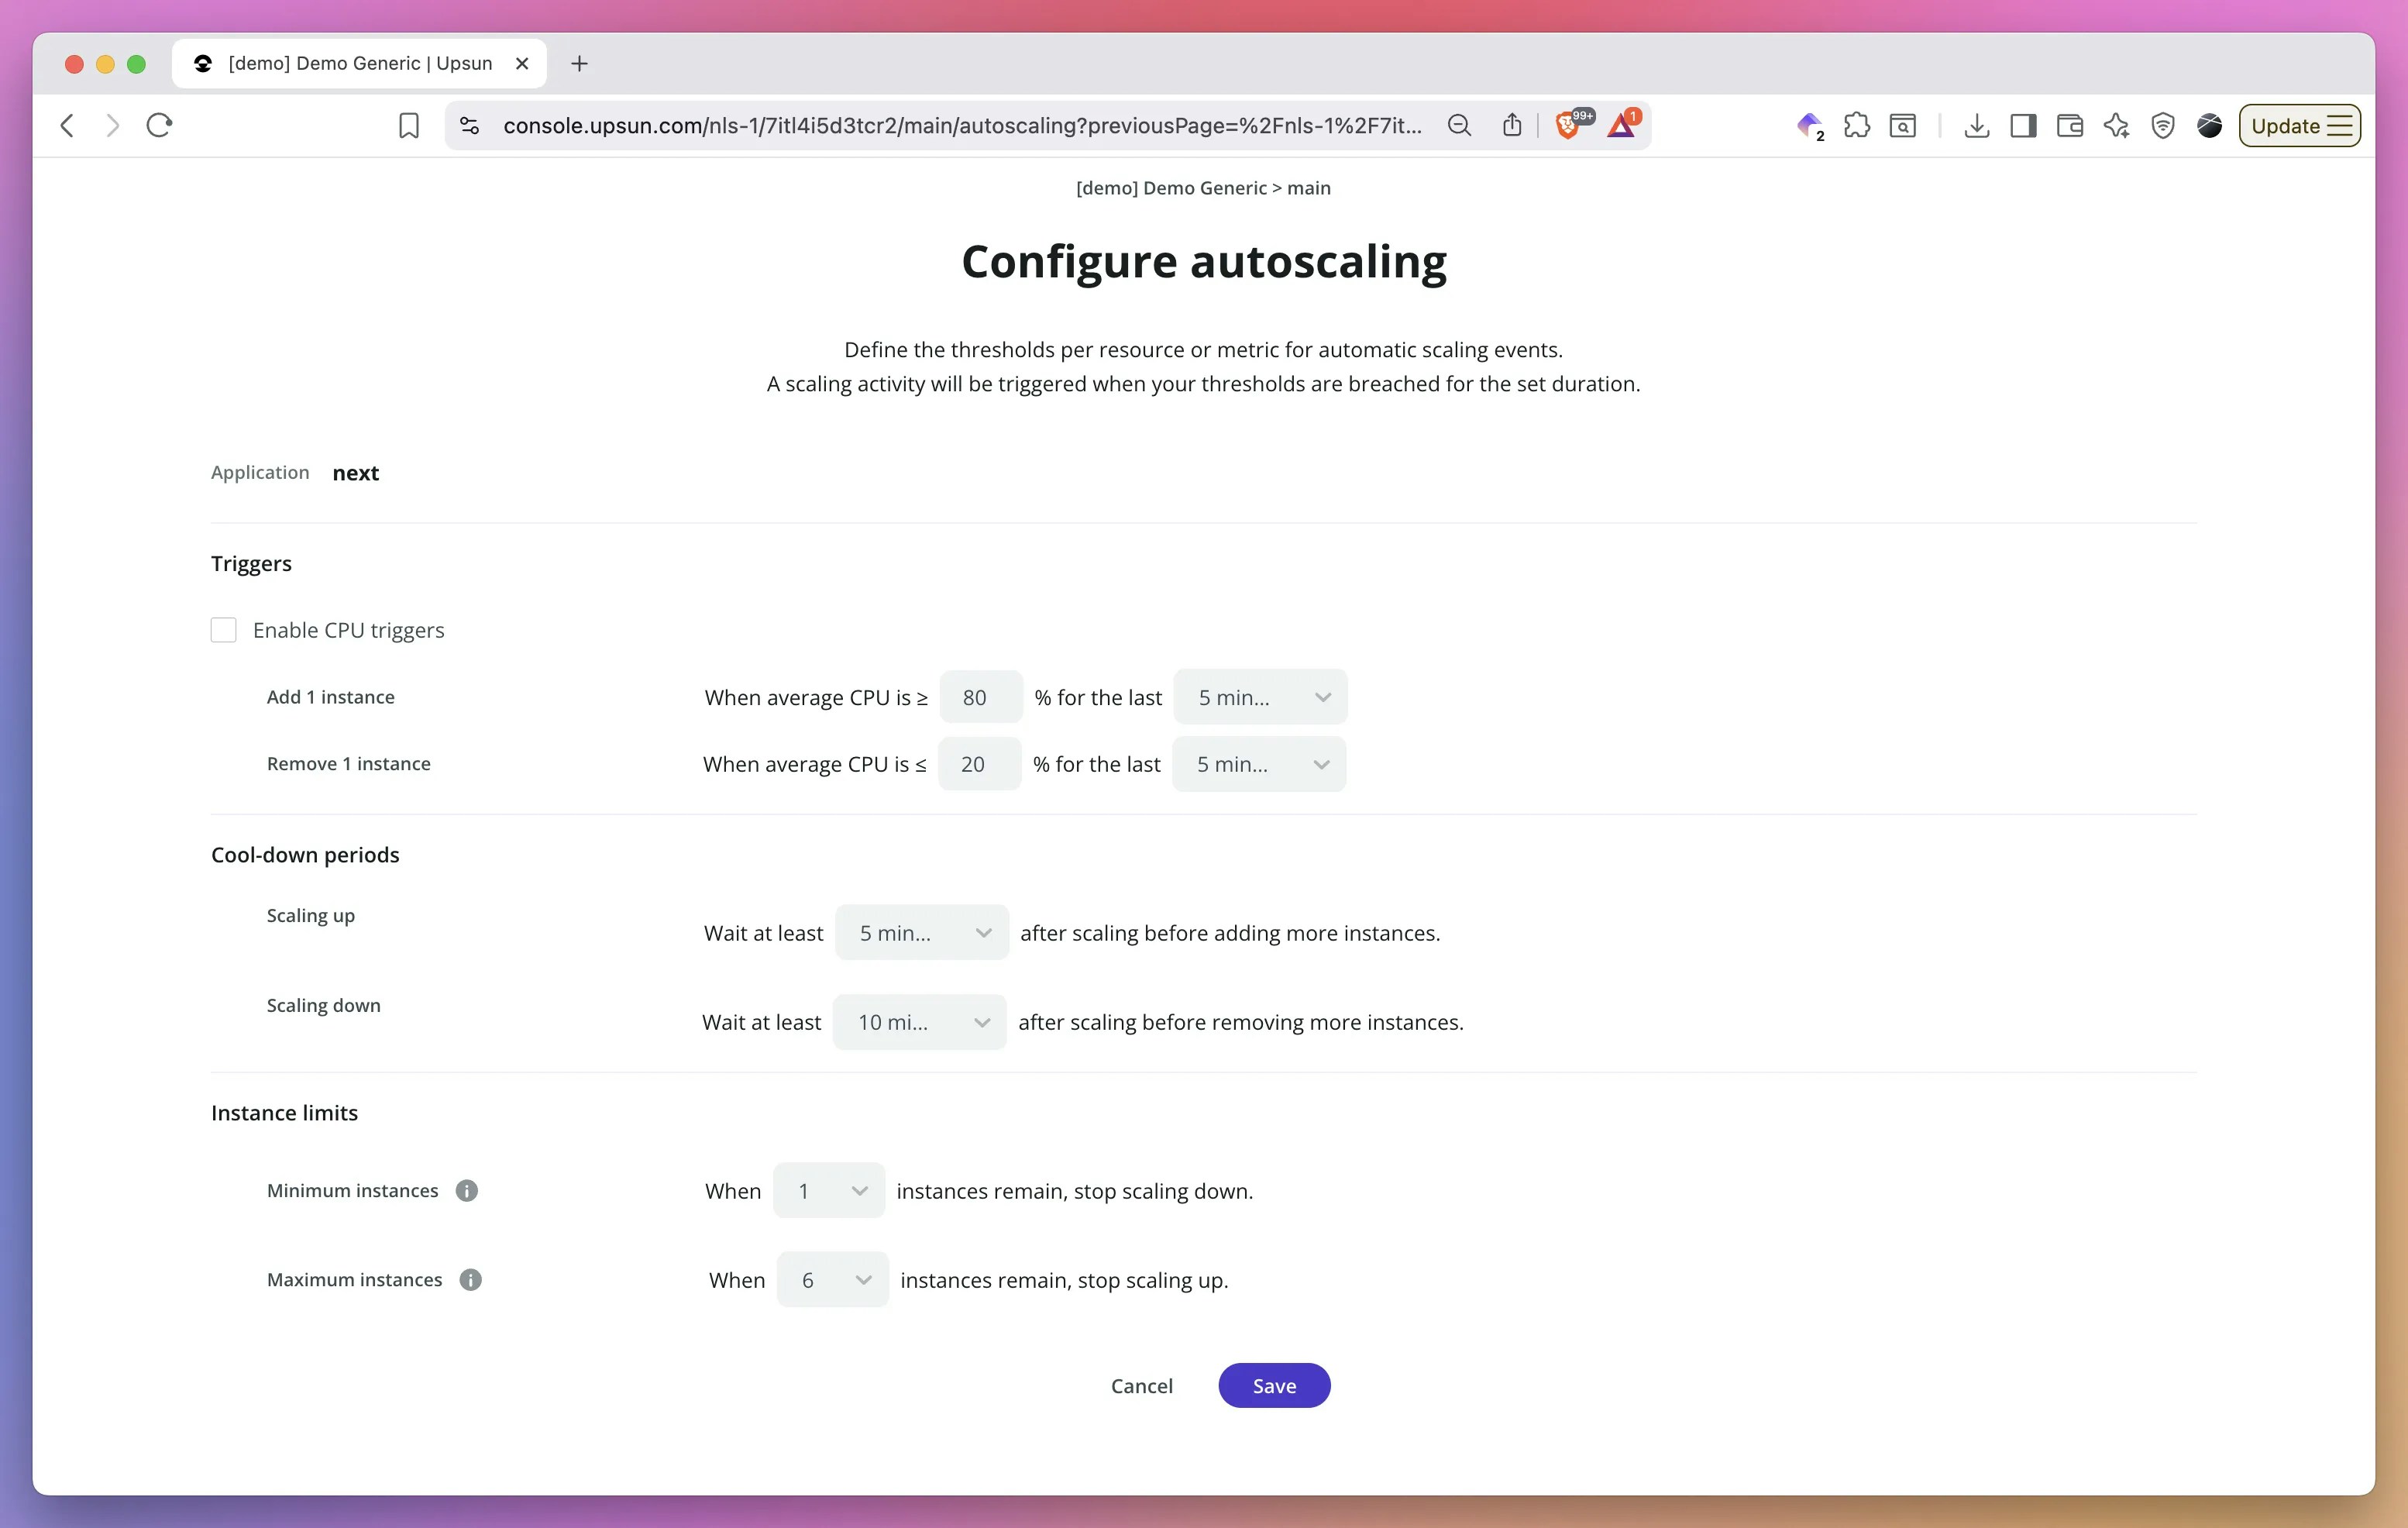
Before running load tests, configure your test environment properly. Upsun now allows you to customize resources for preview environments, making it perfect for realistic load testing without impacting production. You can temporarily provision the same resource levels as your production environment on a preview environment just for the duration of your tests. This means no more running tests against production at night or hoping staging accurately reflects production performance. Spin up a preview environment with production-equivalent CPU, memory, and storage, run your comprehensive load tests, analyze the results, and then scale it back down—all without risking your live site.
Prompt Claude Code
Start by describing what you need:What Claude Code does
Claude Code executes this workflow:-
Analyzes the site structure using Chrome MCP:
- Navigates through product categories
- Identifies search functionality
- Maps the checkout process
- Notes authentication requirements
-
Retrieves Locust documentation via Context7:
- Gets syntax for HttpUser classes
- Checks task decorator usage
- Reviews wait_time configurations
- Verifies weight attribute usage
- Generates the test file combining both sources of information
Example generated output
The generated test creates three distinct user types with different behaviors and weights:You can review the generated
locustfile.py on GithubRunning your generated tests
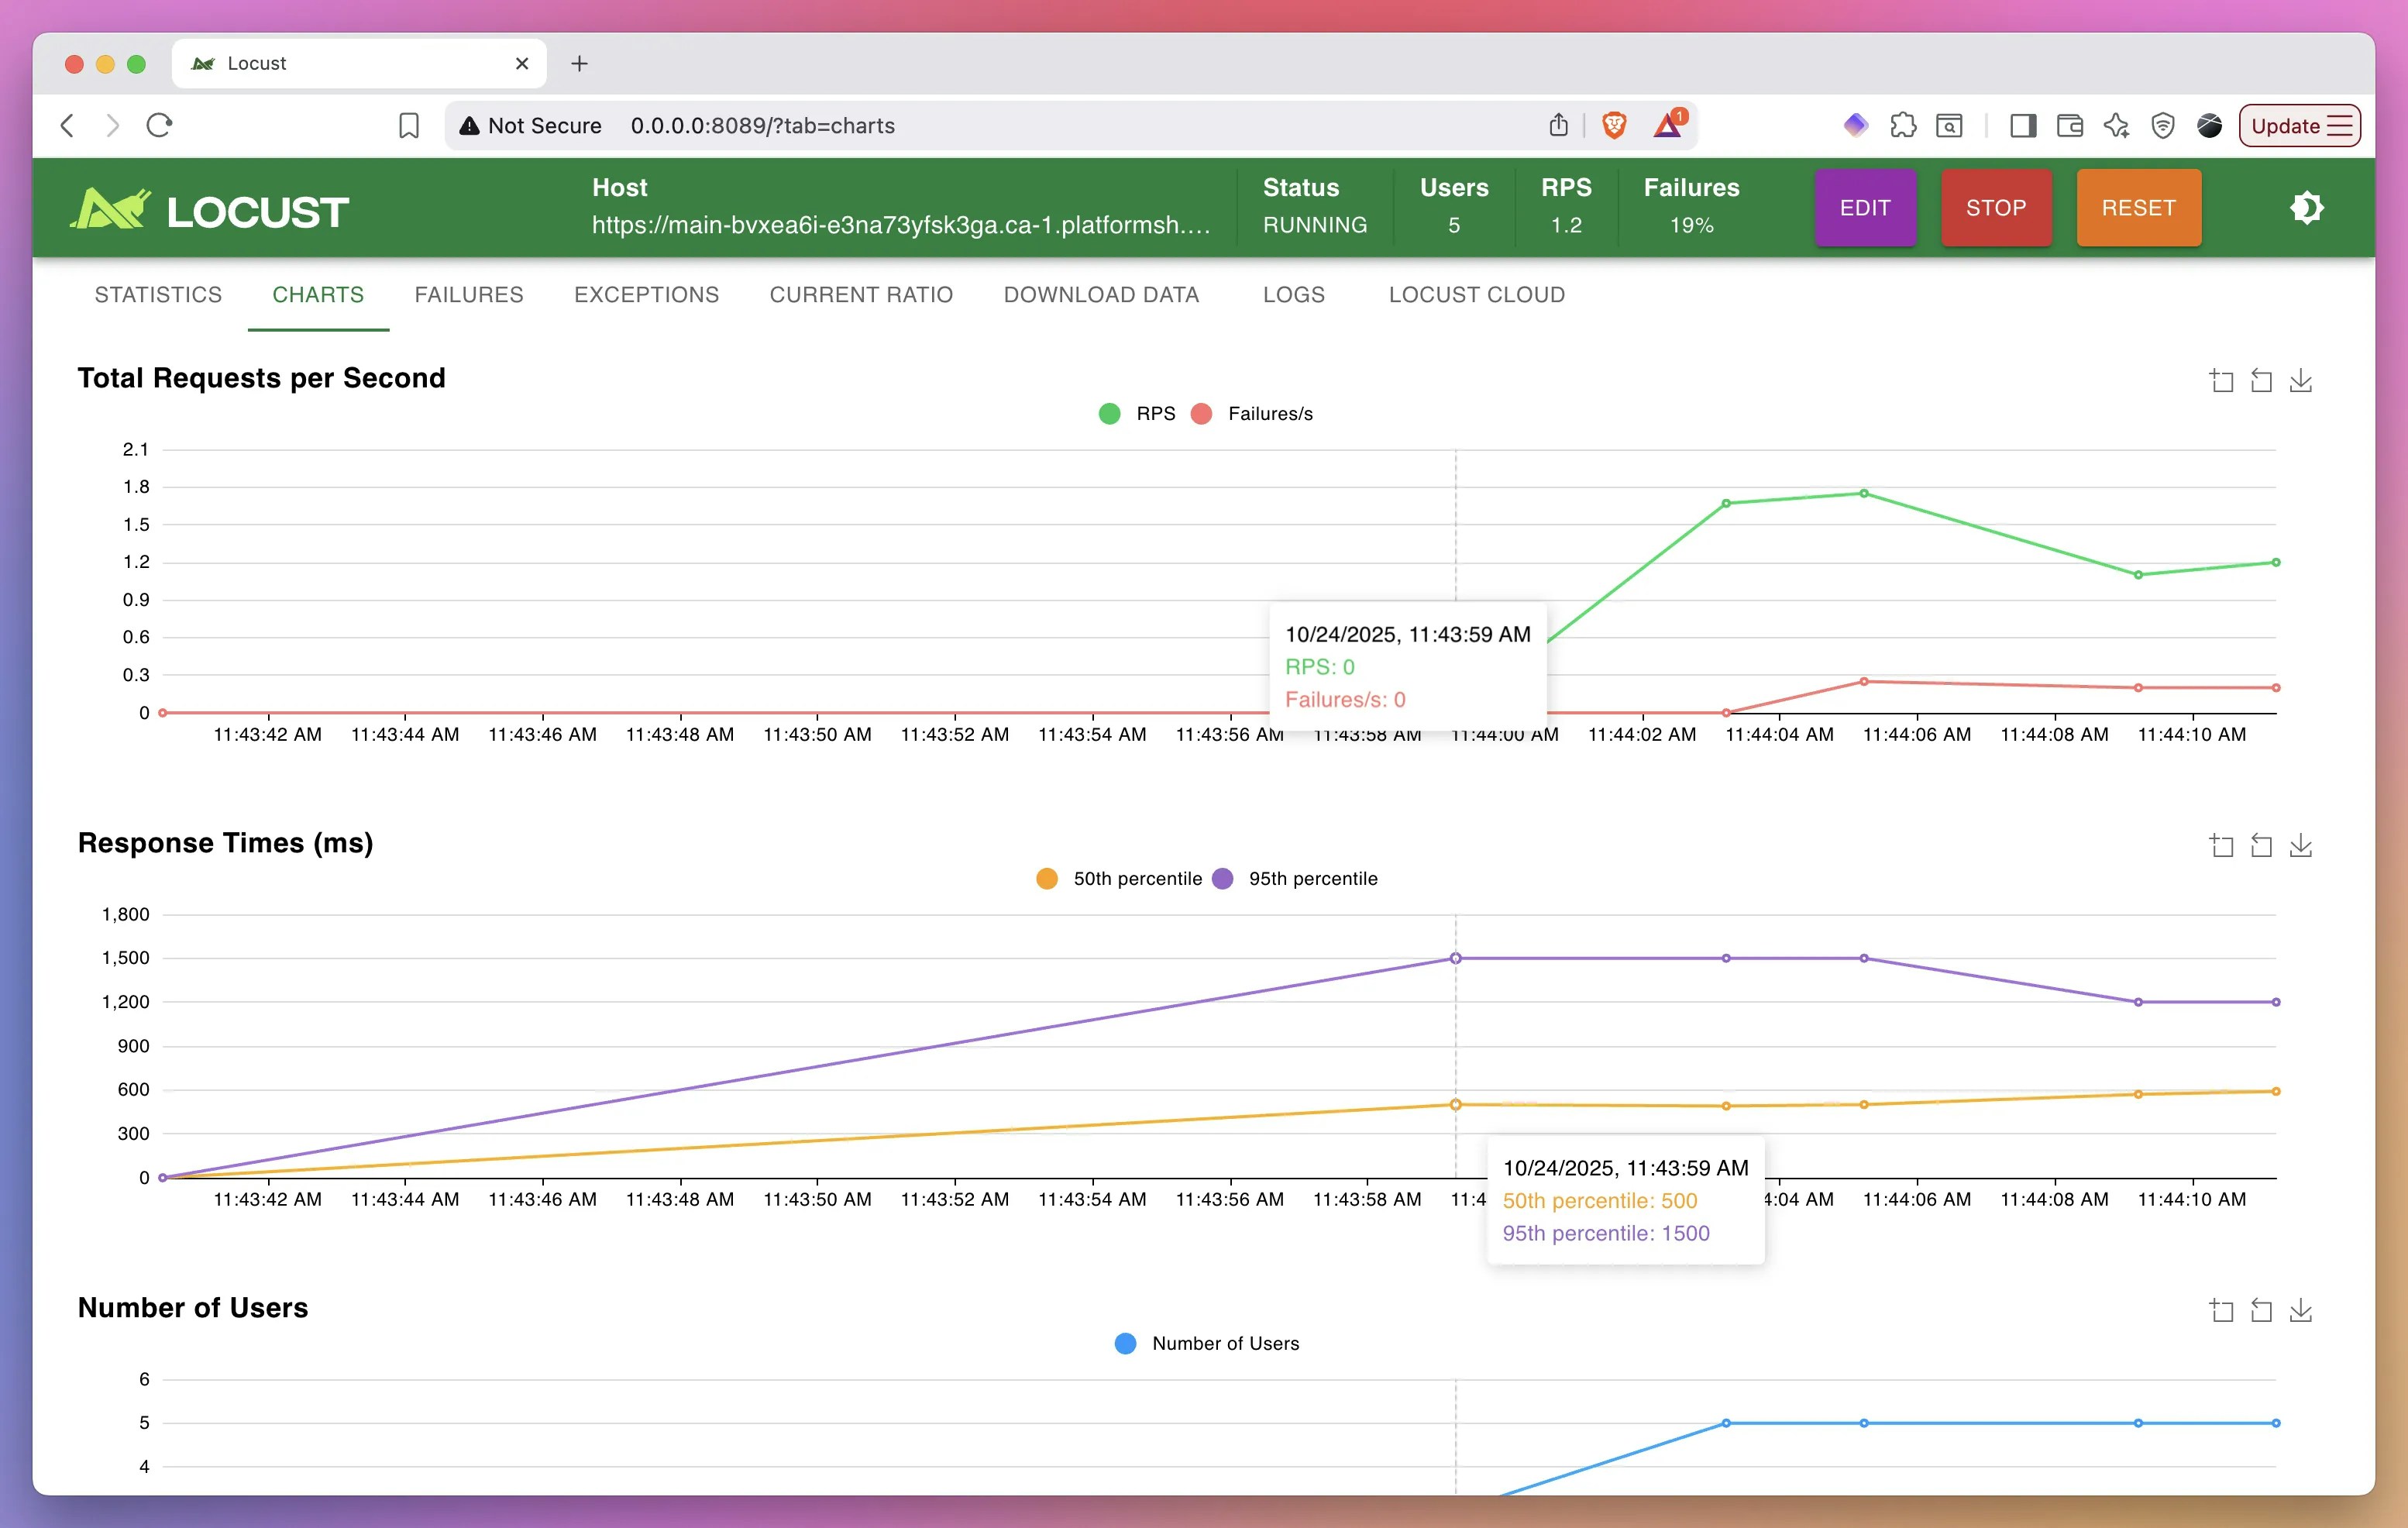
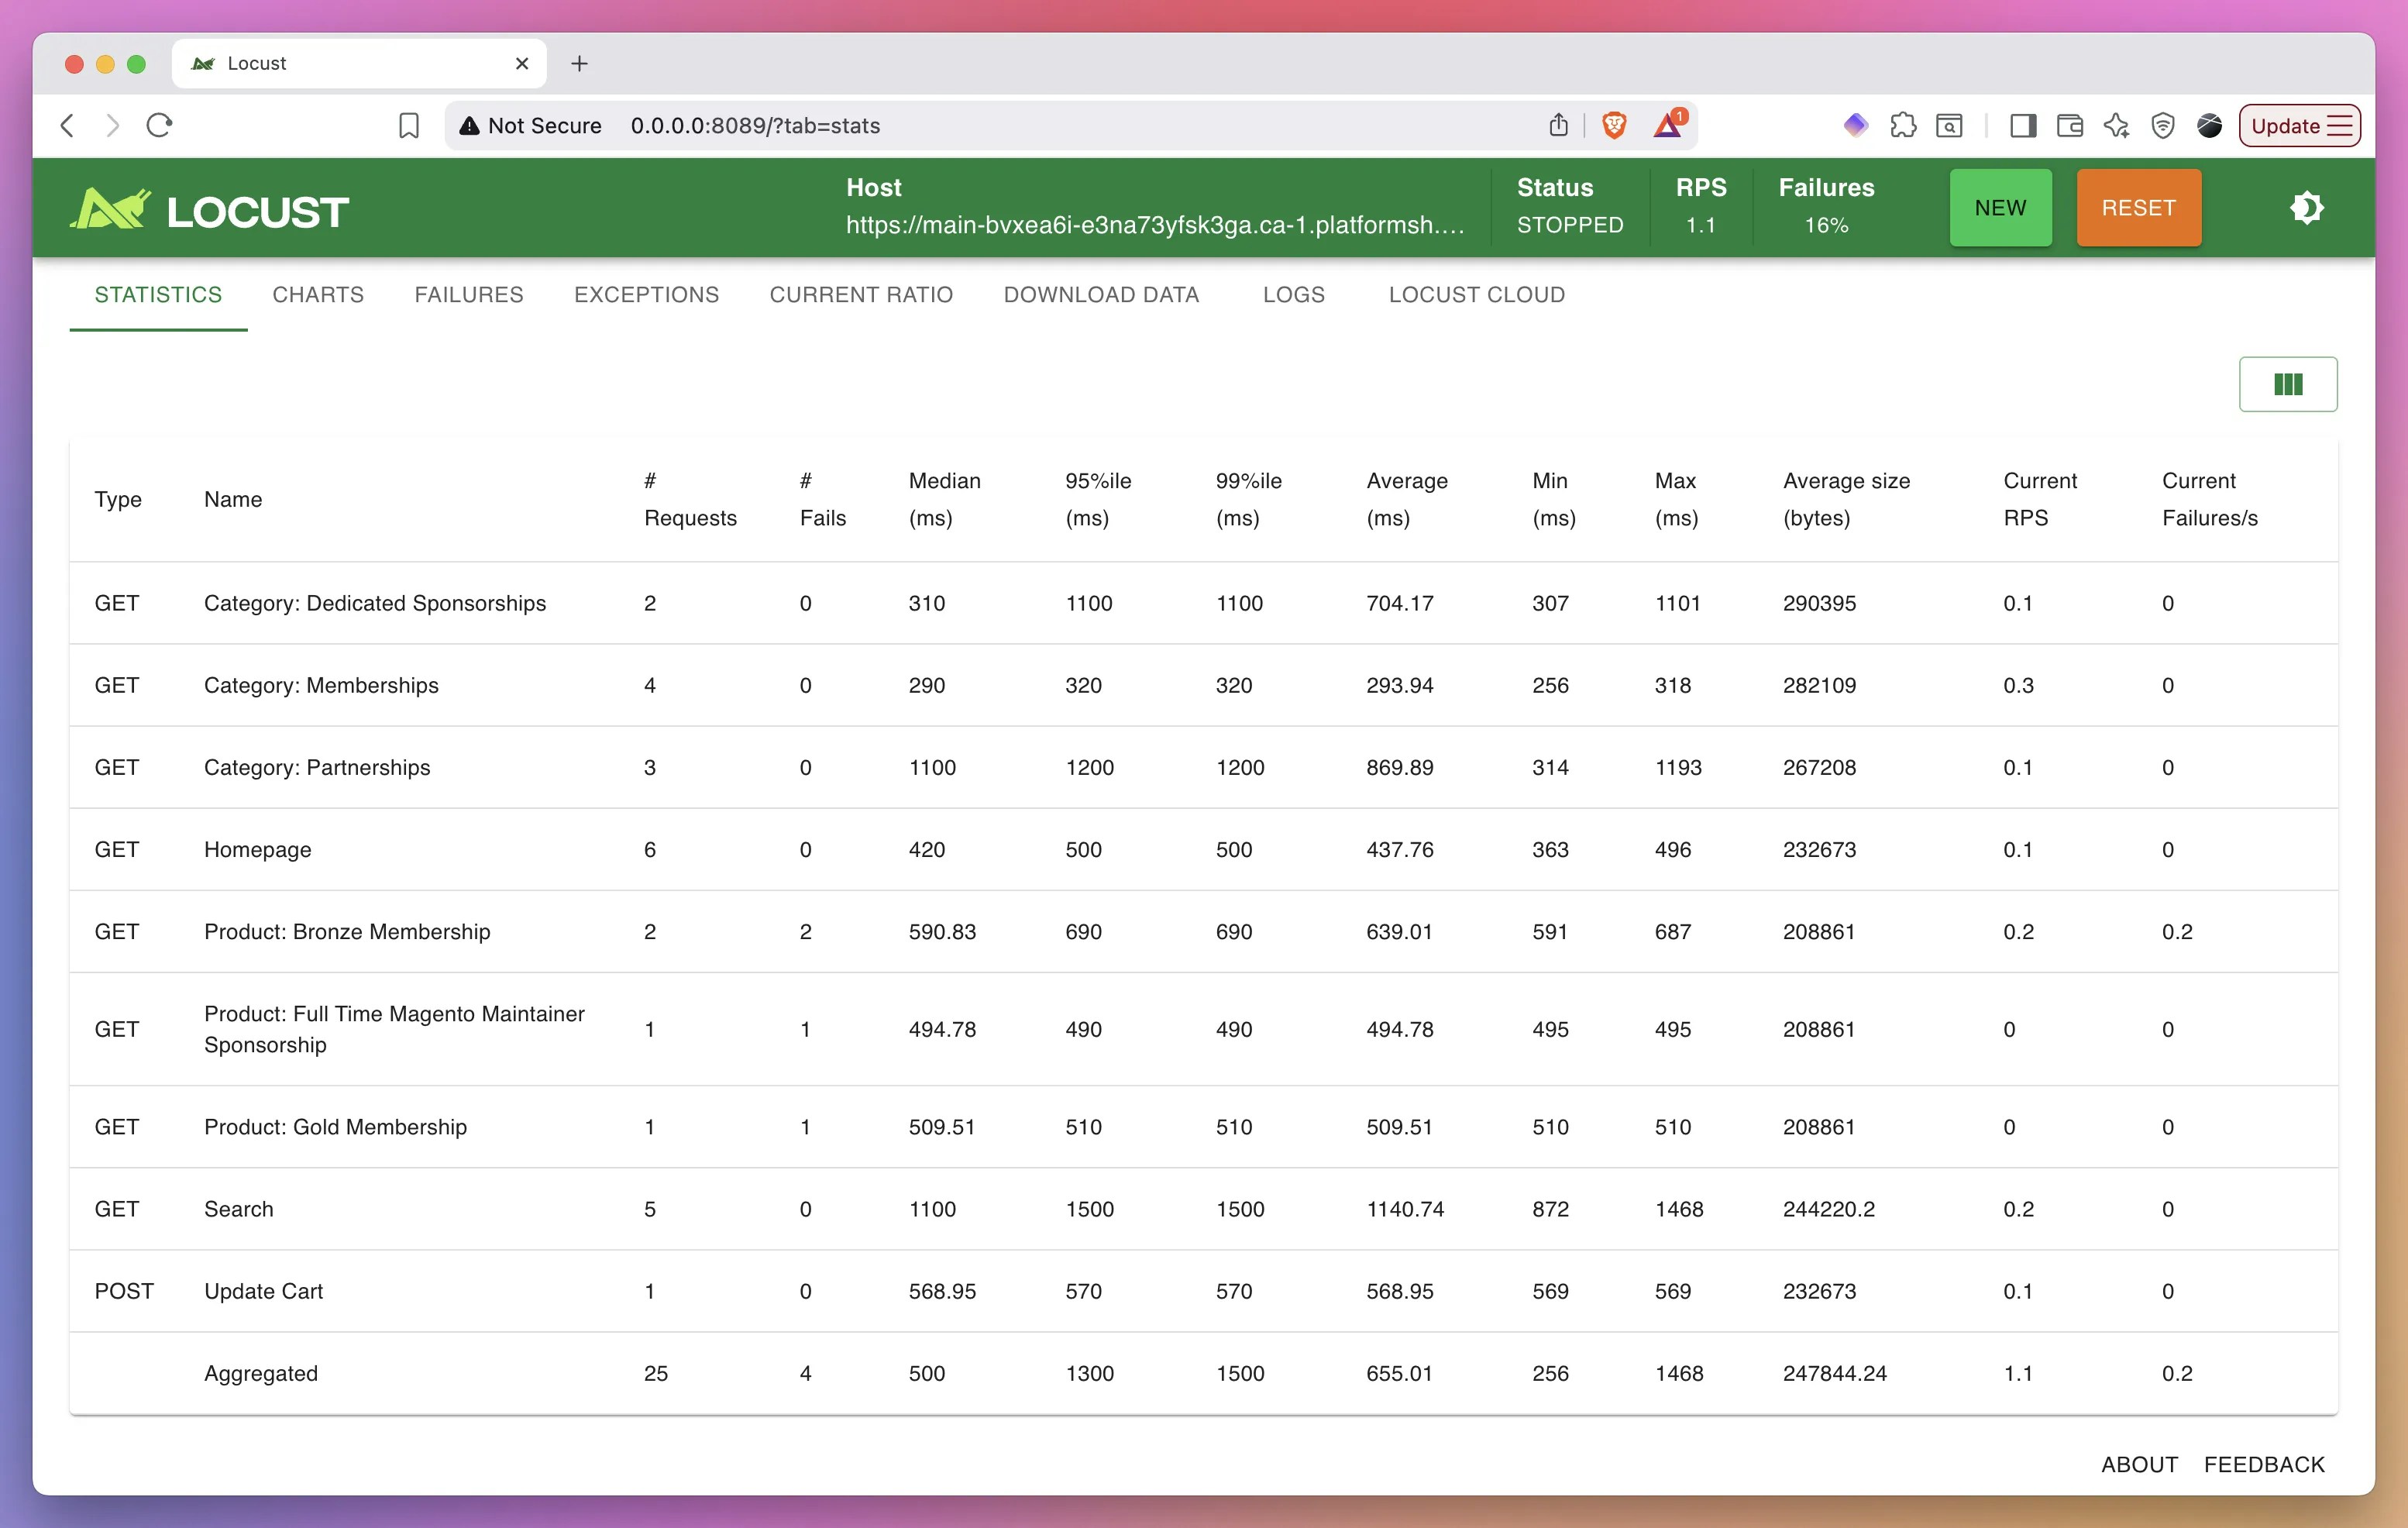
Once you have the locustfile, start testing:http://localhost:8089 to monitor test execution, view statistics, and adjust user counts.
What’s next?
Generating the test scenarios is just the beginning. Claude Code can continue assisting throughout your entire load testing workflow. Once your tests are running, you can ask Claude Code to analyze the Locust output, identify performance bottlenecks from the statistics, and interpret failure patterns. Simply share the results with Claude Code and request an analysis. Beyond diagnostics, Claude Code can suggest specific code optimizations based on your test results. If certain endpoints show high response times or failure rates, Claude Code can examine your application code, propose caching strategies, recommend database query optimizations, or suggest architectural improvements. This closes the loop from test generation to actionable performance improvements, all within a single AI-powered workflow.Ready to automate your load testing? Create a free Upsun account to deploy and run your generated Locust tests in isolated environments with full observability.